

Need to make a bodysuit with easy access for when nature calls? This tutorial on making a bodysuit with a snap crotch is what you'll need!

While they might not be as popular these days, they do serve the same purpose as they did back then: snap closures are just an easy solution for bathroom breaks.
A snap closure gives you near instant access, and can be much more convenient than just stripping down - an issue you can run into when wearing a Basic Bodysuit
It can be handy both in terms of speed, and just not having to bare it all in washrooms that may be lacking a bit in the privacy department!
And - as we lead up to the big Taylor Swift Lover bodysuit tutorial in a few weeks - I want to provide you with all the options you can use in making that famous bodysuit!
Beyond being an option for that specific bodysuit, this is a good option for everyday casual wear. You can have the smooth, “no roll-up” fit of a body suit, with ALMOST the same convenience factor of tucking in a fitted shirt.
It’s also a great option for festival outfits, especially given the iffy logistics you can run into in those situations!
Anyway, let’s get to that bodysuit tutorial!

Recommended Reading
Before getting started, here are a few posts with information that will come in handy for this project:
How to Measure for Spandex Costuming
Spandex Costuming Tools & Supplies
Basic Pattern Alterations
How to Install Snaps
Colour Blocking for Spandex
Neck & Back Style Variations
Types of Stretch Fabric for Spandex Costuming
How to Cut Spandex
How to Sew Spandex With or Without a Serger
How to Apply Elastic
How to Install Snaps in Spandex Garments
In some cases, I’ll be glossing over a technique in THIS post, as it is fully covered in another post.
Equipment and Supplies
Before you get started, make sure you have everything you need on hand:
Materials for Making A Snap Crotch Bodysuit
Pattern (I used an old Kwik-Sew Pattern)*
Exam Table Paper - you’ll use this to trace your pattern, as well as to make any pattern alterations on.
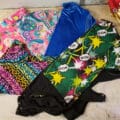
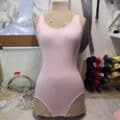
Spandex of Choice - I used a shiny baby pink Nylon lycra for the bodysuit in this tutorial. See my post on Types of Stretch Fabric for Spandex Costuming for more information on the various options. Always use high-quality materials, for the best and most durable results!
Swimsuit Lining (optional)
Thread for sewing machine (and serger, if using)
Elastic - I use ⅜" Braided White Elastic
* If your pattern isn’t specifically meant to have a snap closure on the bottom, see my post on Converting a Bodysuit Pattern for Snaps.
** See my post on How to Install Snaps for more information on the various types of snaps you can choose from.

This is the brand I can usually find near me.
Equipment for Making a Body Shirt
Scissors (I love Fiskar scissors)
Sewing machine
Serger (Optional)
Thick chunk of wood*
Rubber mallet*
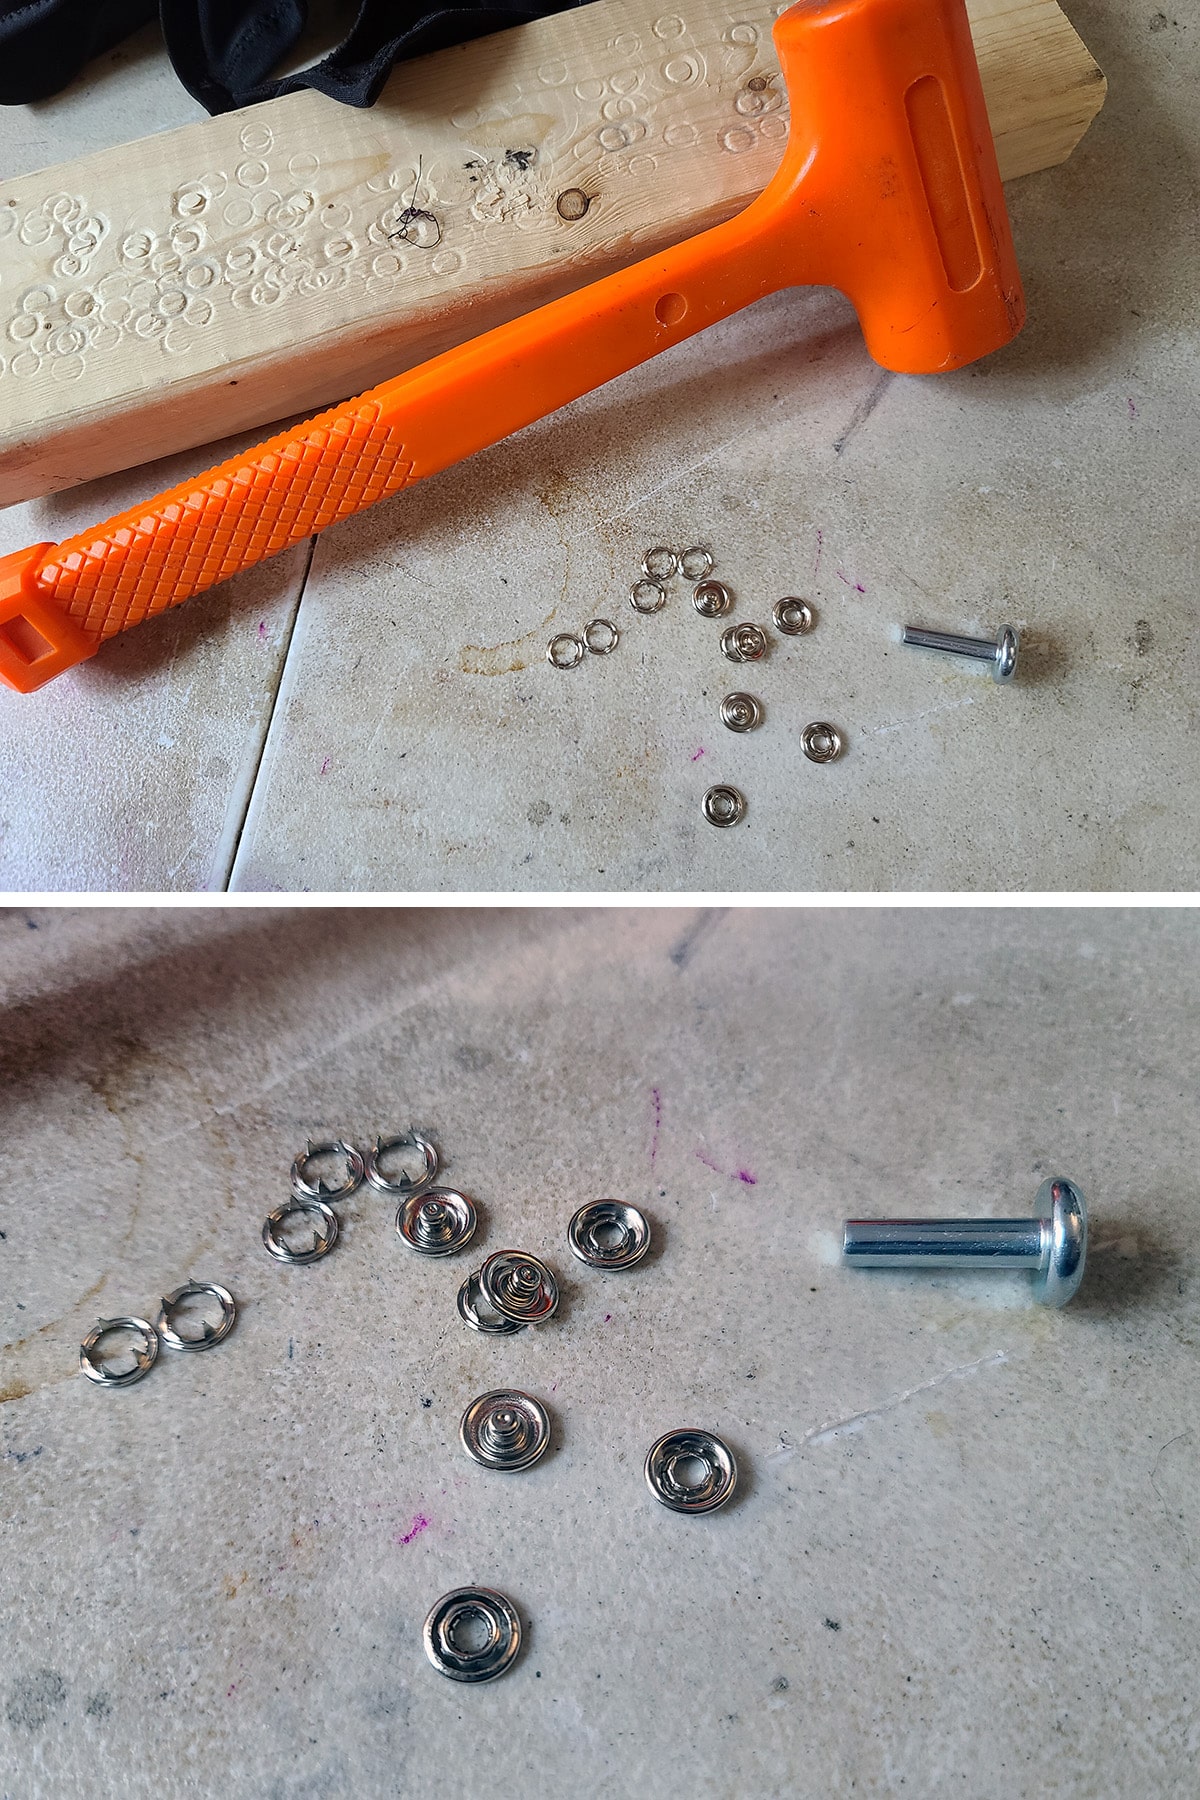
The chunk of wood protects your work surface, while also providing a stable surface to hit your fastener over!
* If you haven’t used halo snaps before, make sure that the package you get includes the applicator tool - you usually can buy them with or without (refills).
Also, while I’ve never used one before, there IS the option of buying a specialty tool to apply ring snaps.
As I haven’t used one, I don’t have any tips or feedback on how well they work - I just wanted to mention that it exists as a possibility!
If you use a specialty tool like this, I’m pretty sure you won’t need the mallet or wood, though.
Share the Love!Be sure to take some pics of your handiwork! If you post it to Bluesky, be sure to tag us - @SpandexSimplified. Also, be sure to follow me on Pinterest, and subscribe to my free newsletter and Youtube Channel, so you never miss out on any of my nonsense. (Well, the published nonsense, anyway!) |
How to Make a Bodysuit with a Snap Crotch
Need a video tutorial? There’s one embedded near the end of this post!
Patterning and Cutting
1. Make any alterations to the base pattern that you may need to do.
First, consider fit. Once getting your measurements (How to Measure for Spandex Costuming), go by the fitting guide on your pattern, and make any adjustments you need to for size or body shape. See Basic Pattern Alterations for information on getting the perfect fit.
Once you have the fit down, make any style adjustments you may want to make. See Neck & Back Style Variations for info on adjusting the neckline and back style on your bodysuit pattern.
If you’re looking to do any colour blocking, do that AFTER any alterations for fit and style are done. See Colour Blocking for Spandex for information on how that.
Finally, if your bodysuit pattern wasn’t designed to include snaps at the crotch, follow the directions on Convert a Bodysuit Pattern for Snaps to make the necessary changes.
Cut and Sew the Bodysuit
2. Using appropriate - and sharp - scissors, use your pattern pieces to cut your spandex.
If you’re new to this, see How to Cut Spandex for a lot of helpful information.

(See How to Sew Spandex With or Without a Serger for more info on sewing spandex!)
By the same token, if your body suit involves a zipper in the back, install that now - see How to Sew An Invisible Zipper for full details on how to do that.
4. From there, sew the shoulder seams.
5. If your bodysuit involves sleeves, there are two ways you can attach them - the flat method, or the inset method. See How to Sew Sleeves for information on both methods.
7. At this point, I like to I like to serge the bottom edge of each piece (front and back) - NOT together - just to give it a nice finish. You can zig-zag (NOT stretching!) or leave it raw if you prefer.

Sew the Elastic In to Neck and Arms
8. Following the directions in How to Apply Elastic, finish off your neck and arm holes.
Prepare to Sew the Leg Elastic
9. Now you’re going to elasticate the leg holes, which uses a different technique than I use in the leg section on the “how to apply elastic” tutorial. The same basic principles of elastic apply, though.
For this type of leg opening, I lay the brief pieces flat and measure elastic straight from one bottom edge to the side seam, and from the size seam straight across to the second bottom edge,as shown below.
Then I cut 2 elastics this length:

Note: If you are using a very flimsy fabric for the briefs, you may want to reinforce the bottom ½" of the briefs with some iron-on seam tape, or a thicker fabric.
While the halo snaps work just fine without reinforcement on normal weight lycras, they can pull out of weaker/thinner fabrics.
With that fold tucked under, hold the end of one elastic piece to the WRONG side of the brief.

Sew Elastic Into Leg Openings
10. I start it out with no stretching for the first 1", then measure the elastic straight across the leg opening (as shown previously), holding the elastic at the side seam, and stretching both elastic and fabric together as I stitch to the side seam.

Once again, stretching both elastic and brief together until I get to the 1.5" point.
Fold ½" of the remaining brief under, so that the right side edge is against the right side of the brief, continue sewing that last 1" to the folded bottom edge of the brief, with no stretch.
If any elastic is hanging over the edge - extending beyond the fold - I trim it back at this point.

Repeat elastic application on the other leg opening.

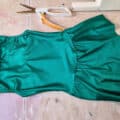
11. Once both leg elastics are applied, flip both bottom edges of the brief so the wrong side of the flap is facing the wrong side of the brief, enclosing the edge of the elastic, as shown:

Finishing the Leg Edge
12. Starting across one of the bottom edges, hold the folded section in place, stretching slightly to flatten/even everything out.
Using a medium-wide zig-zag, stitch across the raw/finished edge, ending at the leg elastic on the other side.

Drop your needle, turn the bodysuit, and stitch down the elastic all the way along that leg opening, ending at the second bottom edge.

Stitch across the raw or finished edge, ending at the beginning of the second leg opening.

Stitch back and forth a few times, remove from the sewing machine, and trim your thread ends.
Add the Snaps
13. Following the directions on How to Install Snaps in Spandex Garments, install your snaps.
That’s it, you’re done!
Note: If you follow the information in Proper Care of Spandex Costumes, you’ll get the most longevity out of your new homemade bodysuit with snaps.

Getting Started with Spandex Costuming
Looking for more posts on the basics of spandex costuming?
Basic Pattern Alterations
Colour Theory for Spandex Costuming
How to Measure for Spandex Costuming
Spandex Costuming Tools & Supplies
Spandex Costuming Design Principles
Types of Stretch Fabric for Spandex Costuming
How to Cut Spandex
How to Sew Spandex With or Without a Serger
... and be sure to check out our Table of Contents for an organized listing of all of our posts.
Thanks for Reading!If you loved this tutorial - or have any questions about it - please leave a comment below! I'll do my best to answer any questions you may have. |
Leave a Reply