

Learning how to install snaps will come in handy for various types of spandex costuming. Here's how I install both hollow & solid prong snaps.

This post is the first in a series, leading up to a full project post. Gotta to show how to do a few of the individual techniques that are involved, first!
Today I’m going to show you how to install snaps in a spandex garment.
This comes with a bit of a caveat: snaps may vary slightly from brand to brand - and style to style - but overall, this should give you a decent idea of what to do with whatever brand of these snaps you’re able to get.
There are two main types of snap - those with a center post, and those with prong settings. There’s a time and place for both, but today we’re looking at the prong type snaps.
They’re commonly found used in snap-crotch bodysuits, but can also be used as a closure for spandex collars, or as an alternative closure in a shoulder seam, etc.
The decorative versions - I’ll get to that in a minute - are often used to take the place of actual buttons on mens dancewear and skating costumes, as well as in Western shirts.
Unlike the post type ones, these prong-set snaps don’t really NEED stabilization, either!
Anyway, let’s look at the equipment and supplies you’ll need, then get into the run through of how to set snaps in a spandex garment!
Note: Apologies for the weird colours in the photography of this post. The lighting in my studio was being weird with the light pink spandex.
I adjusted the photos as much as I could, but I think they still look a bit weird!

Equipment and Supplies
There are a few things you’ll need in order to install snaps:
Snaps
Obviously, right?
Anyway, there are two main types of prong-set snap, with variations available of each. Each can also be referred to a few different ways:
Ring Snaps
These are the ones I use the most on bodysuits.
The can be called ring snaps, hollow snaps, or halo snaps - per the brand I normally get.
These snaps involve 3 different styles of pieces - a prong setting (one on each side of the garment), a socket piece (also referred to as the “female” side by some), and the post / stud / “male” side.
Sometimes a kit will come with two different style of prong setting: one with the prongs forming a smaller circle than the other.
When this is the case, be sure to refer to the instructions to see which of the other pieces each type pairs with.
I generally use these in the silvertone finish, but you can also find them with a coloured enamel type finish. This can make them more decorative, or easier to blend into the garment they’re being set into.
Here are a few different listings for this type of snap on Amazon:
Dritz Gripper Snaps (7/16")
TLKKUE 9.5 mm Metal Snaps
CHEPULA Metal Snaps 9.5mm(10 colours, comes with fastener)
ONLYKXY 9.5mm/0.37 Inch Metal Ring Snaps
Dritz Decorative Filigree Circle Snap Fasteners, 12mm
Dritz Ring Snaps 7/16"(Comes with tool)

Solid Snaps
As with the ring snaps, these can be known as a few things - button snaps*, solid snaps, and capped snaps, when the snap is plain.
You can also find this general style snap with either a cabochon style gem or pearl on top - pearl snaps - or with a faceted gem set into the top.
Both the pearl and jewel style come in a variety of colours, and are popular for certain styles of mens’ dance wear and western shirts.
I don’t tend to use a lot of these - mostly just the white ones below, on boy’s skating outfits. I’ll use them on white dress shirts, mostly.
* “Button snaps” is also used commonly for the post-type setting snaps that we’re not demonstrating in this post!
Here are a few different listings for this type of snap on Amazon:
Minestylish 100 Sets Metal Snaps Buttons (Multicoloured, comes with fastener)
Faceted Gem Jewelery Snaps, 9 mm (Multicoloured)
Supvox Snap Fastener Kit, Pearl Heads (Multicoloured)
12 mm Pearl Prong Snaps (Multicoloured)
ZZHXSM 20 Sets 12mm Pearl Snaps Fasteners
Dritz 25-R Pearl Snap Fasteners, 7/16-Inch
Dritz Long Prong Snaps Antique Brass ⅝" (Good for faux jeans snaps)
CRAFTMEMORE10MM White Pearl Snaps
... and here are a couple listings for mixed sets of matching ring / solid snaps:
Mandala Crafts Metal Snap Button Kit, 9.5 mm (Multicoloured, comes with fastener)
LAHONI Snap Buttons Kit(10 colours, comes with fastener)

Rubber Mallet and Wood
Setting these snaps involves whacking them firmly, so you’ll want a Rubber Mallet.
I don’t recommend using a hammer - much easier to hit yourself in the thumb with, IMHO.
I also like to use a spare chunk of wood, to absorb the force of the hit - and protect my work surface.
This can be anything, really - this is just a scrap of 2x4, but I’ve also used ½" or ¾" plywood on occasion, as well.
That said, if you’re not worried about hitting your table - or want to just do it on the floor - you can lay out a towel under your work, and just use that!
Note: When using a domed, pearl, or gem type fastener, I like to place a thick layer of towel over my chunk of wood. This protects the head of the fastesner.

Setting Tool
This one is going to be kind of vague - it’ll depend on your brand of snaps.
Some packages of snaps come with a little tool set - usually a small post type thing with a shaped head on one end, and a small metal cap / recessed disk type thing.
Some kits don’t bother with the disk piece, but it’s nice to have - you set it under the snap before you hit it, and it prevents the snap from being misshapen by whatever is under it when you whack it.
Anyway, you’ll want to take a look at the package of snaps you’re buying.
If there’s no tool in it, it’s essentially a “refill” kit - you save a little money by not having it included, for those who already have a tool.
That said, some brands and styles have different tools entirely, like:
CRAFTMEMORE Pearl Snap Fastener Setting Tool (Good for certain sizes of domed buttons)
or
Dritz 24P Heavy Duty Snap Pliers (For specific products).
To be honest, I’ve never used these types - I just go with the basic tool in the base kits.
While the basic idea of this post will work - which side goes where, etc - you’ll want to consult the product’s directions for actually using a plier type tool.
A Note on Stabilizing
As I mentioned earlier, you don’t necessarily need to stabilize your spandex with a non-stretch backing (interfacing, usually), in order to use these styles of snaps.
Due to the nature of their design, they work REALLY well on spandex - is why they’re what you tend to see on ready-to-wear bodysuits.
Those are almost always on un-stabilized spandex.
Aside from not really needing it, there’s the matter of added thickness.
Unlike the post type snaps - which involve using a punch to create a hole in the garment to put the post through - you have to push these prongs directly through the fabric.
It’s a lot more difficult than punching it, especially when you’re talking about multiple layers of fabric!
Also, additional layers of fabric are additional thickness up the length of the prong - which means less “free” prong to set into the receptacle.
Less prong for the receptacle = less durable hold.
That said, I find that the snaps available in fabric and craft stores tend to be a little less durable than the commercial ones used in ready-to-wear garments.
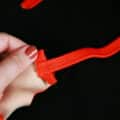
I recommend gently separating them - I tend to jam a thumb nail in to pry them apart - rather than trying to rip them apart by holding the surrounding fabric.

Share the Love!Be sure to take some pics of your handiwork! If you post it to Bluesky, be sure to tag us - @SpandexSimplified. Also, be sure to follow me on Pinterest, and subscribe to my free newsletter and Youtube Channel, so you never miss out on any of my nonsense. (Well, the published nonsense, anyway!) |
How to Install Ring Snaps
Once your garment is finished to the point of needing snap installation, clear your work space and get out your snaps, tool, wood, and mallet.
Organize your Snap Pieces
You’ll want to divide your snap parts out into pairs.
For ring snaps, that will either be 2 rings, a socket, and a stud for each snap, or one snap, one stud, one “open prong” and one “closed prong” / “bottom prong”.
Pair them off. In this case, my prongs are the same style for both sides.
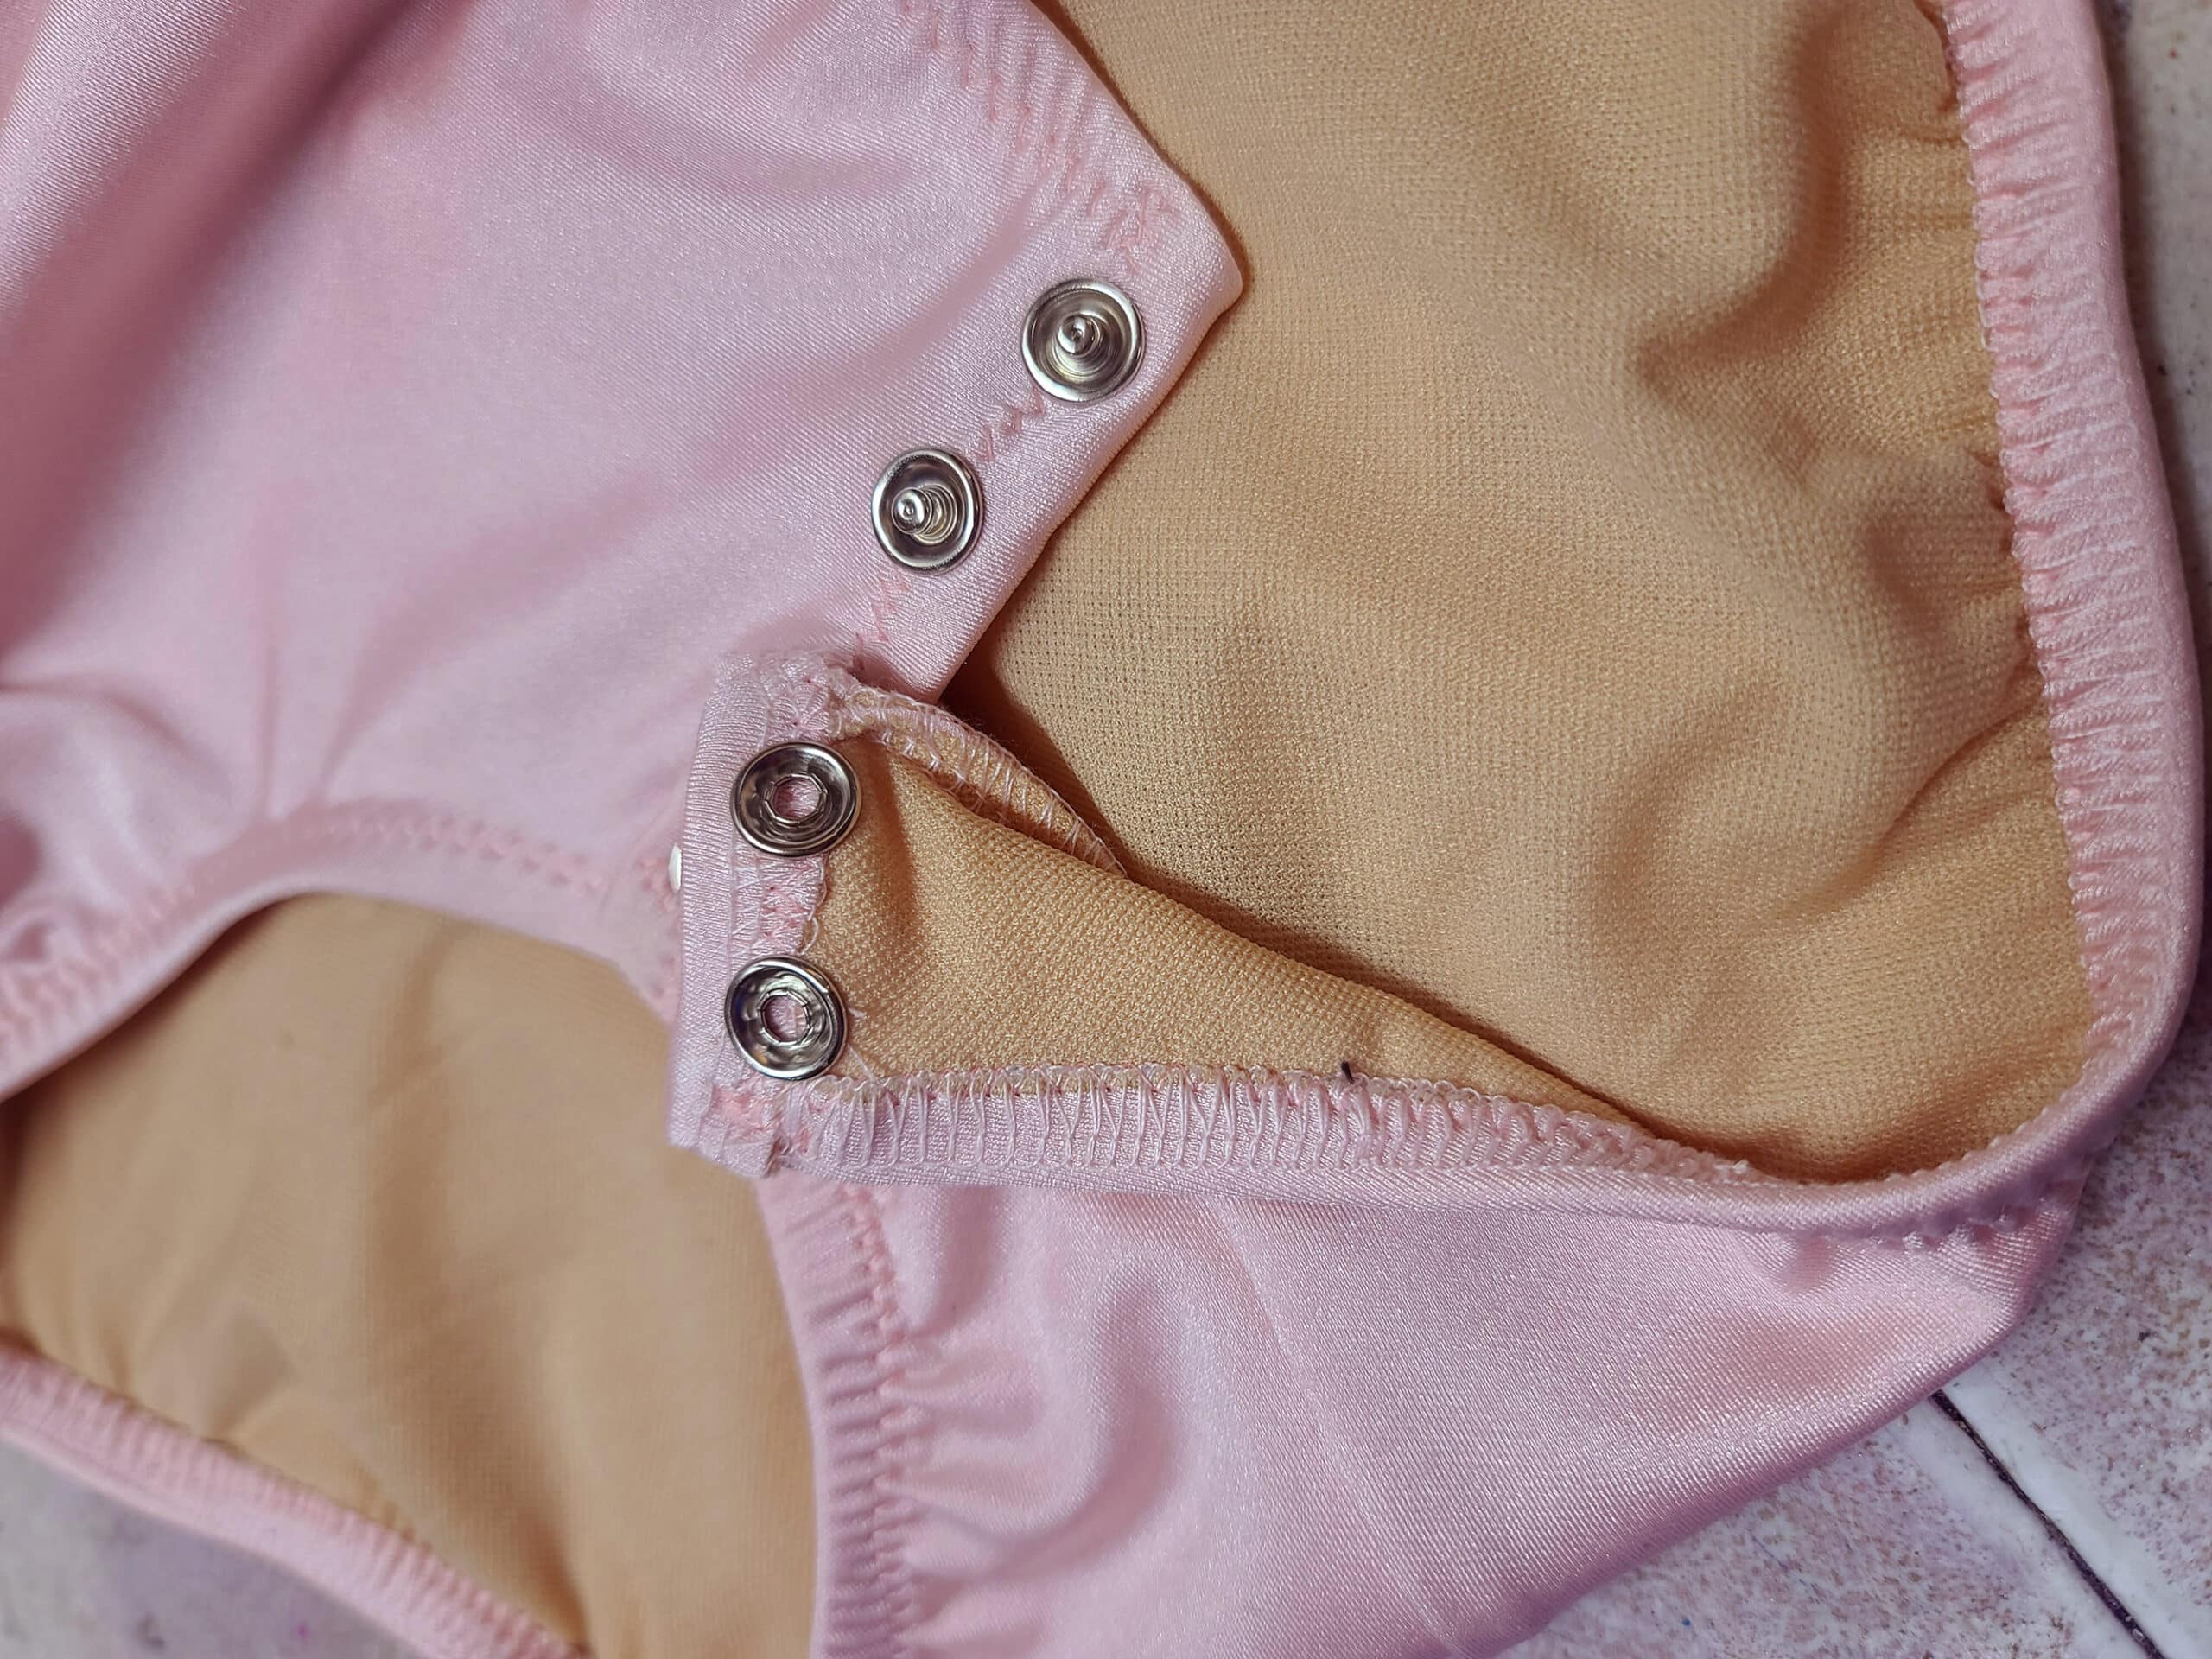
Take a look at your socket piece, and identify which side snaps into the stud, and which side will receive the prongs in its setting. For my brand of settings, this is what it looks like:

Install the First Side of Each Snap
Decide which side of your garment will be overlapping the other. We’ll start with that side.
Press one prong setting down through the RIGHT side of the garment. This will be the visible part of the snap.
Flip the garment over, and press the wrong side of the fabric down into the prongs.
I like to use the post end of the tool - pressed down into the center of the ring of prongs - to force the fabric down into the prong setting.
Position the garment - wrong side up - over your piece of wood (covering the wood with a thick towel, if needed).
Lay one of the “socket” pieces over the prongs.
Be sure you’ve got the appropriate side - as shown above - facing down, and be sure you’ve got the socket really well centered over the prongs.
You want the prongs to go where they’re supposed to!

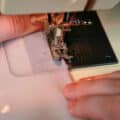
Carefully hit it - straight down, not at an angle - with your mallet, several times.

Repeat along the length of the garment you’re looking to have fasteners on.

Mark Setting Spots
Lay the side of the garment with the installed snaps in place over the other side of the garment, exactly how you want them to line up.
Carefully pull back the top (snaps) part, and mark off the positions for the second set of snaps, on the RIGHT side of the fabric, on the second side of the garment.
In this case, I placed the front crotch piece over the back bottom/crotch, so that the front overlapped the back of the bodysuit.
Forgot to take photos, sorry! Let me know if my description isn’t clear enough.
Install the Second Side of Each Snap
Press a prong setting up through the WRONG side of the second piece of the garment, so that the prongs are coming up on the RIGHT side of the garment, centered around the marked setting point.
Press the fabric down over the prongs - same as you did for the first round of snaps, and position the garment over the block of wood.
Carefully center a stud piece over the ring of prongs.

Again, you want to hit it straight down, not at an angle. You don’t want to do anything that could cause the top (stud) piece to come off the prongs underneath it.

Repeat with the remaining snaps.

Check Your Work
Look over both sides of each snap, ensuring that there aren’t any wayward prongs sticking out.
Snap your garment together, making sure everything lines up as you want it to.
If anything needs to be redone, VERY CAREFULLY use needlenose pliers to separate the two pieces of a setting, and start over with a fresh set of snap pieces.
I don’t recommend re-using pieces that you had to pry apart.
That’s it, you’re done!

How to Install Solid Snaps
Generally speaking, you’ll install solid snaps / capped snaps in the same way you do the ring snaps, just swapping out one of the ring prong pieces for the solid / flat / pearl snap piece.
So, following the previous directions for installing ring snaps, you’re going to do the first round of snaps - just using your button / decorative snap top instead of a ring piece.
Push the flat or pearl top down into the RIGHT side of the overlapping garment, and continue with the installation instructions as above:

Install the stud side of each snap exactly as described in the ring snaps section, above.
Easy!

Tips for Installing Snap Fasteners
1. When possible, have your garment finished - or as finished as possible - before installing the snaps.
2. When setting multiple sets of snaps, install all of your snaps on one side of the garment, then use those settings to mark off where the corresponding sets will go on the other side of the garment.
3. Washable markers or dressmaker’s chalk are both good options for marking your garment.
4. The further from “flat” the head of your snap is, the more cushion you should have over the wood,
5. When you’re installing snaps into the crotch of a bodysuit, it’s better to have slightly unevenly-placed snaps, then to place one of them through a center back seam. Seam = thickness = less durable setting.
6. When your snaps come with two different tools, be sure that the one with a hollowed out center - to fit the stud / post - is the one you’re using for the stud piece.

More Spandex Sewing Technique Tutorials
Interested in learning the basics of sewing with spandex? Here are a few more posts
How to Cut Spandex
Sew Spandex with or without a Serger
Hemming Spandex Skirts
How to Apply Elastic
Appliquing Spandex
How to Make Elastic Straps
Padded Applique
How to Make Bikini String
... and always, be sure to check out our Table of Contents for a full, categorized listing of all of our posts and tutorials!

Thanks for Reading!If you loved this tutorial - or have any questions about it - please leave a comment below! I'll do my best to answer any questions you may have. |


Leave a Reply