

Did you know that there are two different ways to sew sleeves into a spandex garment? Here's my sewing tutorial on both set in & flat methods.

Personally, I find flat sleeves to be the easiest way to attach sleeves.
They’re slightly less hassle than set-in sleeves, which is the main reason that most of my “how I made that” posts show me using that method.
That being said, it’s good to know both ways - sometimes a particular sewing project will just work better if you use a set in sleeve.
While I’m demonstrating with the most basic of sleeves, the same basic idea will work with other sleeve styles, with minor alterations.
If your sleeves aren’t symmetrical, you’ll just want to be sure to use the proper sleeve piece for the side of the garment you’re attaching it to.
If you have a gathered / puff sleeve, you’ll want to gather it down to the size of the armhole before attaching - and I get into that a bit, further down in this post.
On that note, let’s get to it...

Recommended Reading
Before getting started, here are a few posts with information that will come in handy for this project:
Spandex Costuming Tools & Supplies
Basic Pattern Alterations
How to Cut Spandex
How to Sew Knit Fabrics With or Without a Serger
In some cases, I’ll be glossing over a technique - or information - in THIS post, as it is fully covered in another post.
Share the Love!Be sure to take some pics of your handiwork! If you post it to Bluesky, be sure to tag us - @SpandexSimplified. Also, be sure to follow me on Pinterest, and subscribe to my free newsletter and Youtube Channel, so you never miss out on any of my nonsense. (Well, the published nonsense, anyway!) |
How to Sew Sleeves into a Spandex Garment
Before you get to the point of setting your sleeves in, you’ll want to have done any Basic Pattern Alterations to your base pattern.
Following the advice in How to Cut Spandex, use your pattern to cut your spandex into the needed garment pieces.
A Note on Patterns
For the purposes of this tutorial, we’re working on the assumption that you’re using the correct sleeve for your project:
1. That the amount of sleeve cap ease you’ll need for the armhole of the garment you’re making has been worked out.
2. That you’re either using a sleeve pattern piece intended for the bodice you’re using
or
3. You have based the measurement of the sleeve cap you’re using on the body of the garment you’re making, and that the shape of the sleeve cap is appropriate.
Finally, if you’re making puff sleeves (again, a separate post needed for this!), you will want to gather the excess fabric in the sleeve cap before inserting the sleeve.
Personally, I use clear elastic to gather the extra fabric so that the length of the gathered sleeve cap is the same size as the arm hole.
You can use basted or machine gathering stitches (long stitch length) if you prefer, I just find that elastic is easier and more durable.
Now, for the sewing instructions:
2. With the right sides of the bodice pieces - front and back pieces - facing each other, sew the shoulder seams.

How to Sew a Flat Sleeve Insertion
3. Spread your bodice piece out on your work surface, so that the edges of the armhole opening are flat, and the right side of the garment is facing up.
Position and Pin the First Sleeve
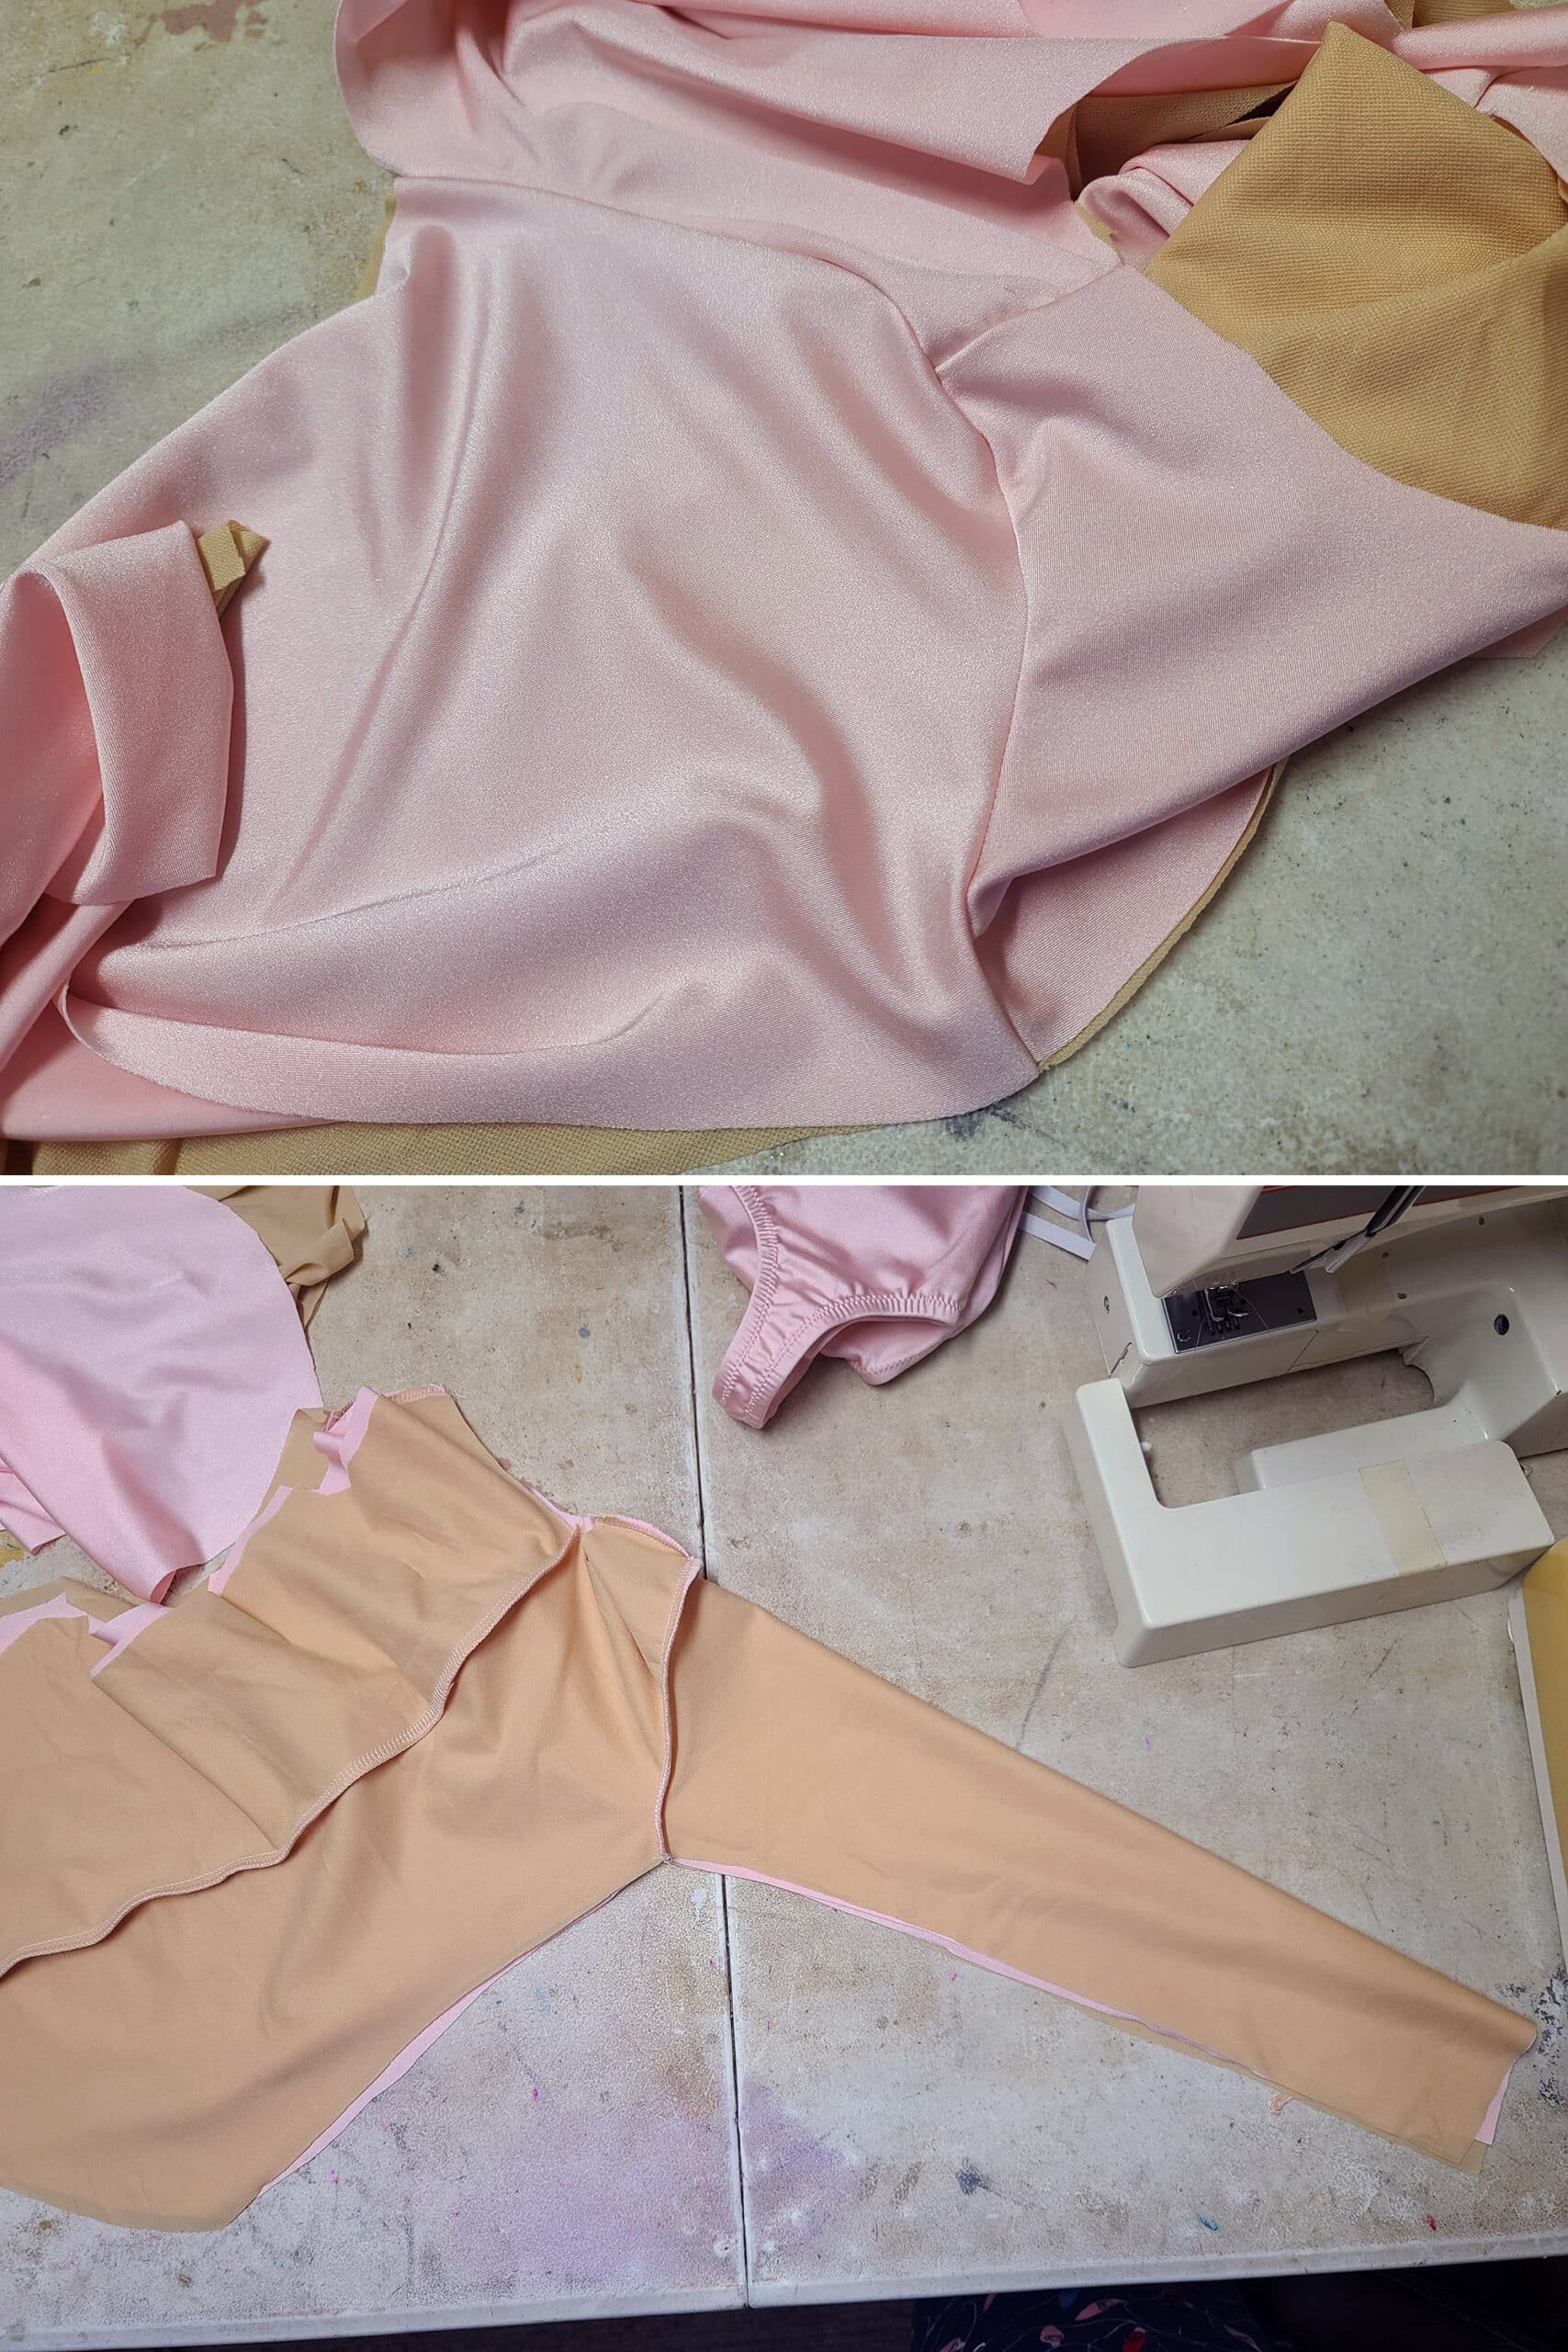
4. Lay sleeve piece face down on the bodice, so that the top of the shoulder of the sleeve piece is over the arm hole.
If your sleeve pattern has a specific front of the sleeve / back of the sleeve, be sure to keep that in mind as you’re placing your sleeve. The half of the sleeve piece meant to be the “front” piece should be over the arm hole of the front bodice piece, etc.
Check your sleeve pattern instructions for information on any specifics for YOUR pattern.
Usually, keeping front and back straight is just a matter of matching single notch to single notch, and double notch to double notch - to it’s good to transfer any notches when you’re cutting your sleeve pieces out!
For my sleeve, I fold the sleeve in half to find the halfway point of the cap, and I pin that to the shoulder seam - which is the halfway point of the arm hole, in this case.
Your sleeve may get pinned to the top of your shoulder, or your reference points for pinning may be part way onto the front or back side of the sleeve / bodice. It all just depends on your pattern.
If you’re someone who likes a lot of pins to hold things in place, feel free to pin the halfway points between the ends and the designated pins.
... Or the halfway points of the halfway points, for that matter!

Sew the Armhole Seam
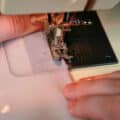
6. Using either a serger - as I am - or a regular machine set to a straight stitch (See How to Sew Spandex With or Without a Serger ), sew the sleeve to the bodice.
I tend to sew with the sleeve piece on top.
Start you seam to anchor the two pieces together, then grasp the two garment pieces together at the first pinned spot.
Gently stretch the two pieces together to even out the two pieces:

Remove the pin, grasp the next marker, and stretch the two pieces together again.
In my case, this brings me to the end of the sleeve seam. If you used more than one pin, just keep repeating the last step until you reach the end of yours.
If you used a straight stitch, you can sew a wide zig zag along the raw edges to bind them together and provide a bit more strength to your sleeve attachment.

Sew the Rest of the Sleeve
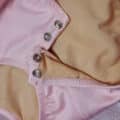
7. Turn your garment inside-out, and line everything up so that the sleeve is folded and the front/back bodice seams are lined up.
8. Holding your sleeve edges together, feed your garment into your sewing machine or serger, so you’re starting at the cuff and sewing the sleeve together, towards the arm pit.

Hold all layers together (in this case, the folded sleeve and the lining), stretch everything together and sew the underarm seam of the sleeve.

Once you reach the armpit, grasp the lower edges of the bodice seam, hold them together...

Repeat on the other side, and you’re done!

How to Sew a Set-In Sleeve Insertion
3. After sewing the shoulder seams, sew the side seams of the bodice as well.
4. Sew each of the two sleeve pieces as a separate sleeve piece. Sew each sleeve seam from cuff to arm hole, stretching everything together as you go.

6. Place one sleeve into an armhole of the bodice, cuff first.
Note: If your sleeve pattern has a specific front and back, be mindful of which sleeve you’re placing into which arm hole!)

8. If you have notched markers to deal with, line up the cap of the sleeve and the bodice at those points, and pin them together in those spots.

I like to start at the junction of the sleeve and bodice seams, and stretch everything to match from there until the first pin.

Continue this way all around the sleeve, back to the starting point. Trim your thread tails.

Repeat on the other sleeve, and you’re done!

Finishing The Sleeve Cuff
There are many different ways to finish your sleeve - cuffs, banding, applique, etc. The most basic - and commonly used - is just a plain stretch hem:
1. Stretching slightly as you go, serge or zig zag along each cuff opening.

I like to use about the same zig zag I do for an elastic flip - fairly wide stitch width, medium-ish stitch length.

If you’re not careful, you can get weird waves along the way, rather than a nice clean hem.
When in doubt, fold and pin the whole hem before sewing it!

Getting Started with Spandex Costuming
Looking for more posts on the basics of spandex costuming?
Basic Pattern Alterations
Colour Theory for Spandex Costuming
How to Measure for Spandex Costuming
Spandex Costuming Tools & Supplies
Spandex Costuming Design Principles
Types of Stretch Fabric for Spandex Costuming
How to Cut Spandex
How to Sew Spandex With or Without a Serger
... and be sure to check out our Table of Contents for an organized listing of all of our posts.
Thanks for Reading!If you loved this tutorial - or have any questions about it - please leave a comment below! I'll do my best to answer any questions you may have. |


Leave a Reply