

This tutorial teaches how to make a basic bodysuit - sleeveless, or with sleeves. A foundational garment, both literally and in terms of technique!

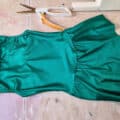
Today, we’re looking at how to make a super basic bodysuit - as pictured, this is with a slight scoop neck, and a flattering low back.
I’m going to show you the basic construction, in this tutorial, but let’s go over some of the options you can work in, before actually sewing it together:
Colour Blocking for Spandex is how you can break up your bodysuit into blocks of different colours.
Neck & Back Style Variations will show you how to change the neck and/or back style.
How to a Sew an Invisible Zipper shows you how to add an invisible zipper.
Convert a Bodysuit Pattern for Snaps will show you how to take a basic bodysuit pattern and alter it to accommodate a snap bottom.
Sew a Bodysuit with a Snap Crotch shows you how to actually make a snap bottom bodysuit, once you have a pattern for it!
Finally, How to Sew Sleeves shows you how to add sleeves to your bodysuit.
Of course, every one of these options is optional. You can make a super basic bodysuit like the one I’m demonstrating here, or you can mix and match the options above to make the best bodysuits for your own needs.
Anyway, let’s get to it!

Recommended Reading
Before getting started, here are a few posts with information that will come in handy for this project:
Colour Theory for Spandex Costuming
How to Measure for Spandex Costuming
Spandex Costuming Tools & Supplies
Spandex Costuming Design Principles
Basic Pattern Alterations
Colour Blocking for Spandex
Neck & Back Style Variations
Types of Stretch Fabric for Spandex Costuming
How to Cut Spandex
How to Sew Spandex With or Without a Serger
How to Sew Sleeves
How to Apply Elastic
How to Install Snaps in Spandex Garments
In some cases, I’ll be glossing over a technique in THIS post, as it is fully covered in another post.

Equipment and Supplies
Before you get started, make sure you have everything you need on hand:
Materials for Making A Basic Bodysuit
Pattern (I used an old Kwik-Sew Pattern)
Exam Table Paper - you’ll use this to trace your pattern, as well as to make any pattern alterations on.
Spandex of Choice - I used a shiny baby pink Nylon lycra for the bodysuit in this tutorial. See my post on Types of Stretch Fabric for Spandex Costuming for more information on the various options. Always use high-quality materials, for the best and most durable results!
Swimsuit Lining (optional)
Odif's 505 Temporary Fabric Adhesive - Optional, but comes in handy if you’re lining it.
Thread for sewing machine (and serger, if using)
Elastic - I use ⅜" Braided White Elastic
Equipment for Making a Body Suit
Scissors (I love Fiskar scissors)
Sewing machine
Serger (Optional).
See my post How to Sew Spandex With or Without a Serger for details on sewing... with or without a serger, shockingly enough 🙂
Share the Love!Be sure to take some pics of your handiwork! If you post it to Bluesky, be sure to tag us - @SpandexSimplified. Also, be sure to follow me on Pinterest, and subscribe to my free newsletter and Youtube Channel, so you never miss out on any of my nonsense. (Well, the published nonsense, anyway!) |
How to Make a Basic Bodysuit
Need a video tutorial? There’s one embedded near the end of this post!
Patterning
Before doing anything else, use the directions in How to Measure for Spandex Costuming to get an accurate set of measurements.
Using those measurements, decide which size you’ll be making your pattern - consult the sizing chart on your specific bodysuit pattern.
If needed, do any alterations for size and basic shape (wedgie proofing, sway back, etc) that you may need, following the directions in Basic Pattern Alterations.
Once you have a pattern that’s been adjusted for size, do any Neck & Back Style Variations that you’re wanting.
After that, do any Colour Blocking for Spandex you want to do.
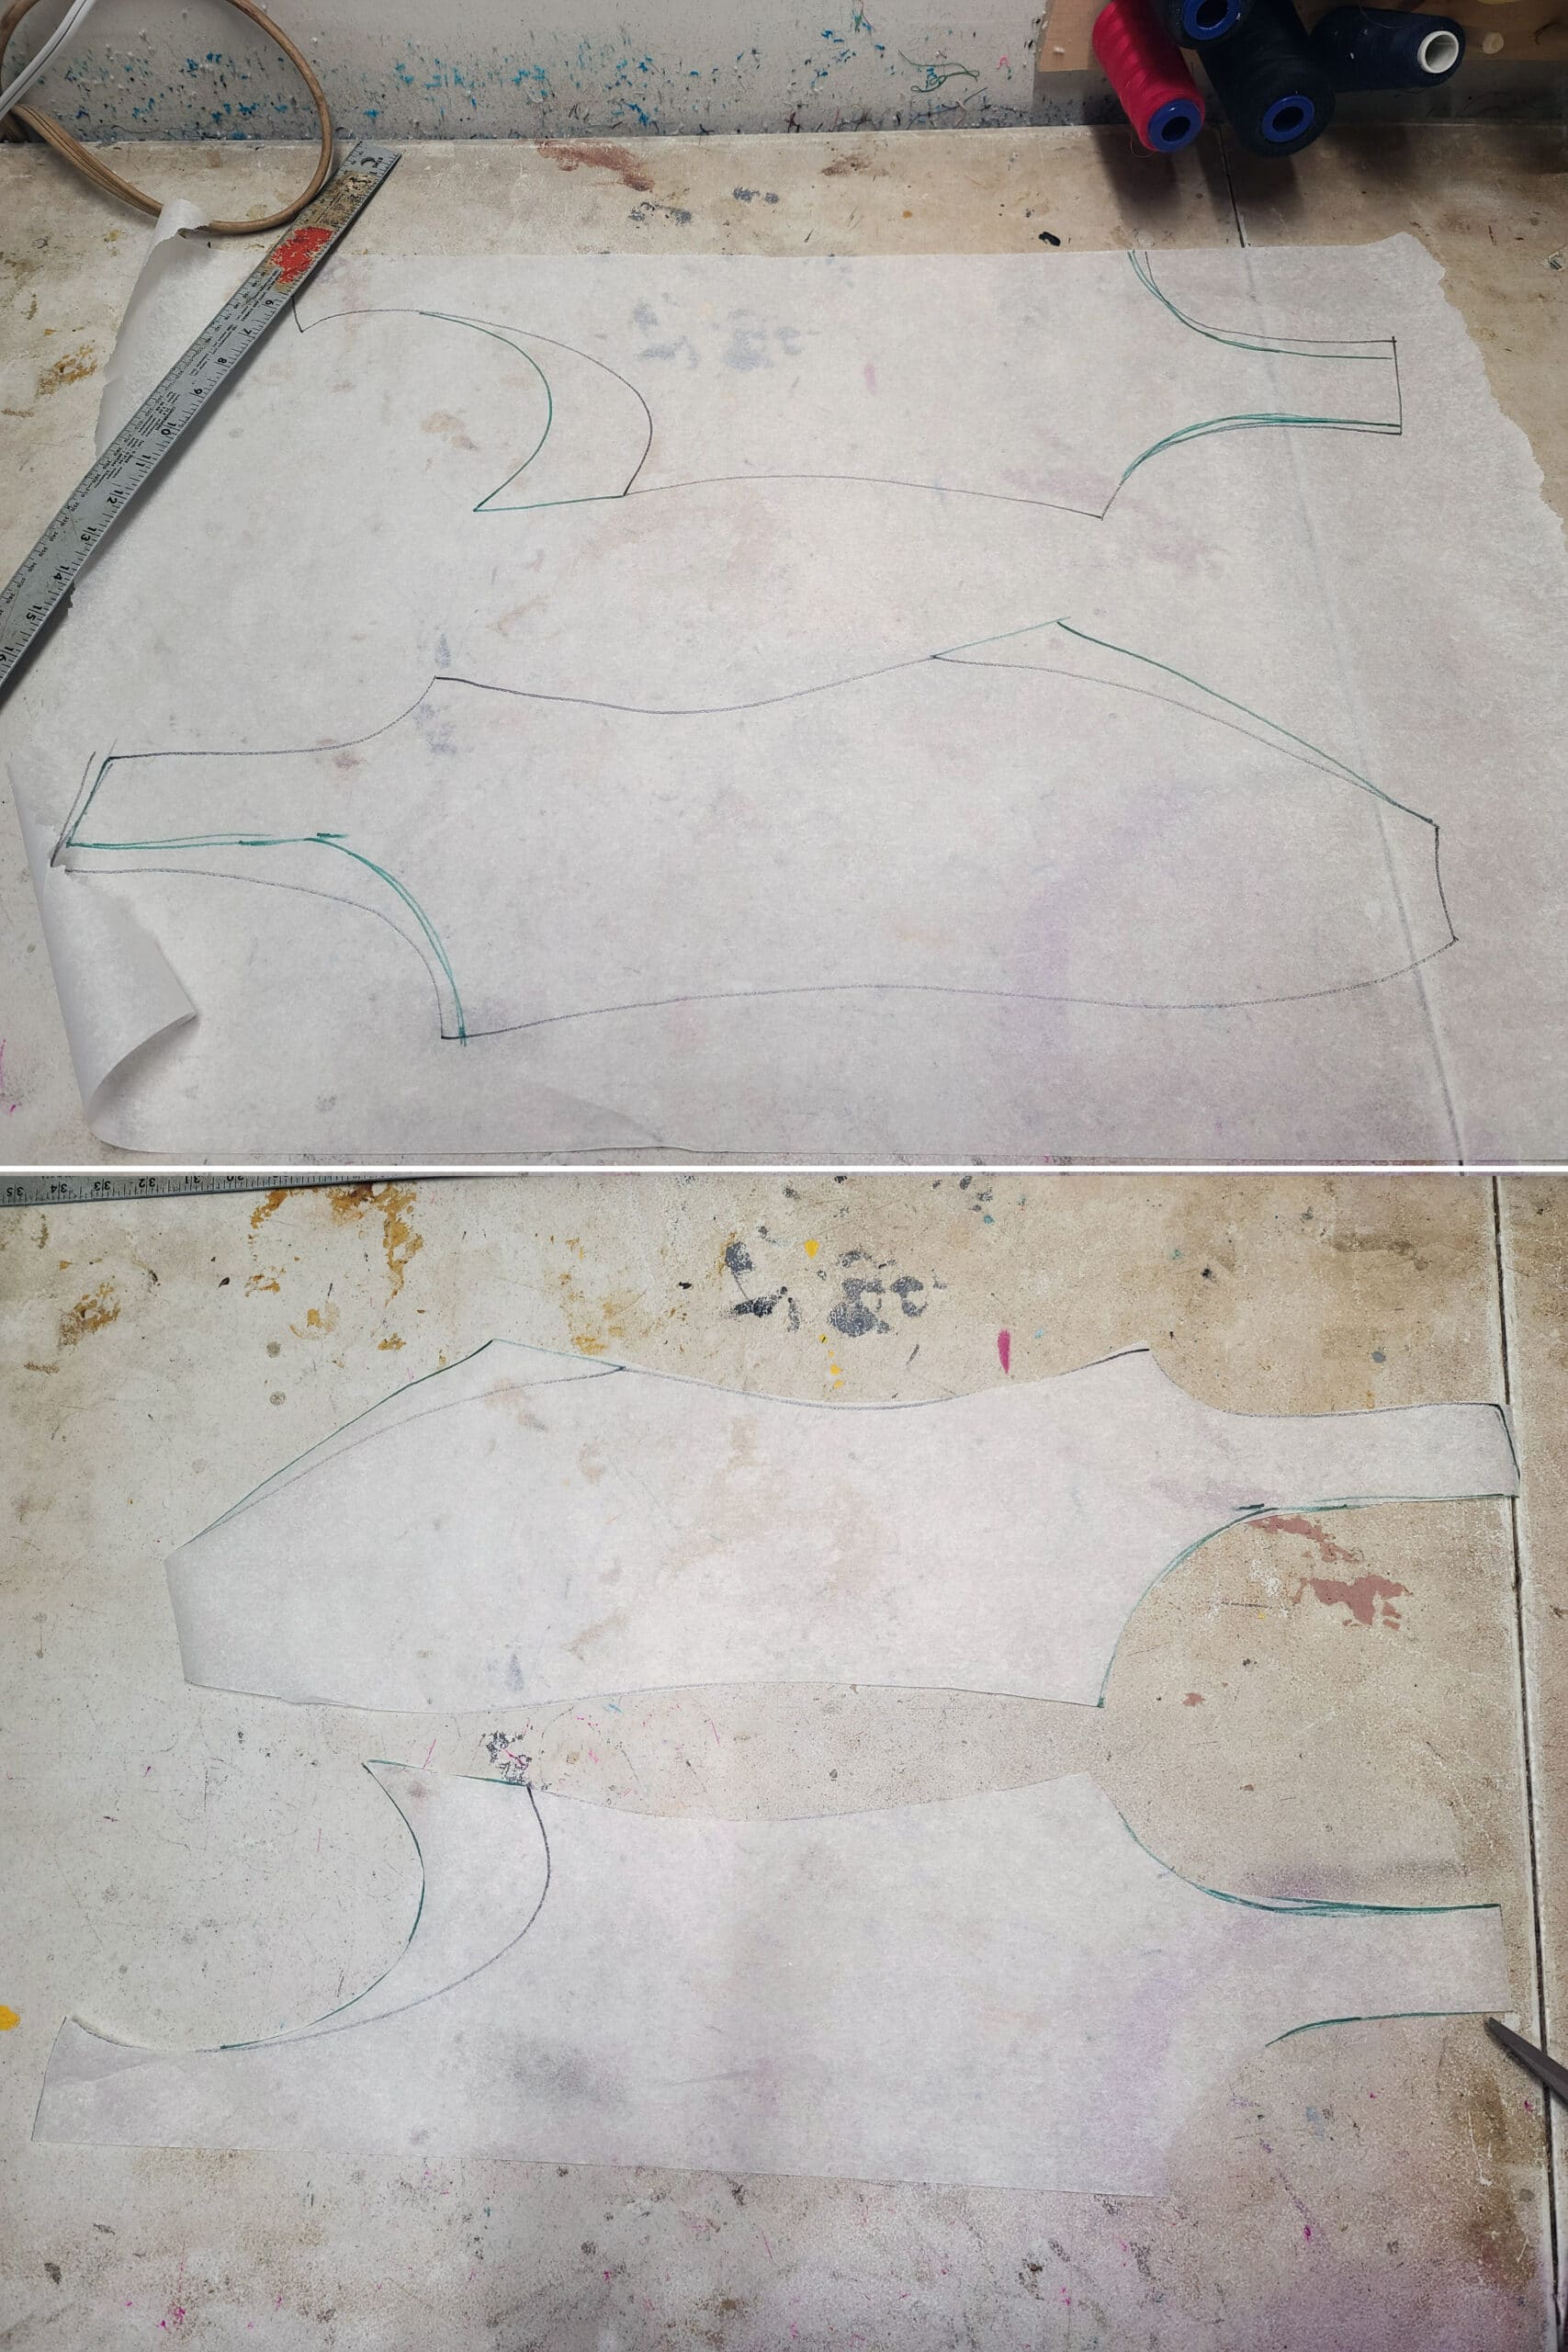
1. I lowered the leg for a more modest cut.
2. I widened the back neckline a bit, so that the shoulders were shaped more like wide straps, rather than the normal curve from the shoulder to the centre back.
3. I made the same sort of adjustment to the front, but also redrew the bottom of the round neckline to be more of a shallow rounded V.
Once you’re happy with your pattern, cut it out.
Cut the Spandex
Following the information in How to Cut Spandex, cut your pieces out.
Assuming no colour blocking, you’re going to have one front piece (usually cut on a fold), and either one or two back pieces, cut to be mirror images.
Of particular note: Be sure to cut your pieces such that the greatest degree of stretch for your fabric goes ACROSS the body, rather than up and down.

In general, it’s easier to work with than a separate lining. In this case - where the bodysuit will be heavily rhinestoned - it gives the best structure.
Rhinestone glue tends to seep through the outer fabric and onto the lining sometimes - having your pieces bonded means there won’t be any movement between the inner and outer pieces, as you’re gluing the rhinestones.
To bond your pieces, spray the wrong side of your outer fabric pieces, and place them glue side down on your lining - again, making sure that the greatest degree of stretch in the lining is going around the body side-to-side, rather than up and down.
Smooth everything out, ensuring than neither the fabric nor the lining is stretching or warping in the process.
Once you’re happy, use sharp scissors to cut the pieces out of the lining.
From here on out, you’ll treat each lined piece as just a single piece of fabric - I won’t be mentioning the lining specifically.

Sew the Structural Seams
If your pattern involves a centre back seam / 2 back pieces, lay them out with the right sides together.
Following the directions in How to Sew Spandex With or Without a Serger, sew the center back seam.

Lay the front bodysuit piece over the back piece, right side facing down. (Right sides together).
If you want to pin the side seams together, you can do that at this point - I generally don’t bother.
Sew the side, crotch, and shoulder seams.

Trim all your threads, then turn the bodysuit right side out.

Apply the Elastic
If you haven’t yet read How to Apply Elastic, do so now.
You’re literally just going to do what I show there, in the leg openings:

In the arm holes:

... and in the neckline.

Once you’ve got the elastic sewn in, flip the elastics and stitch them down as directed in that post.

Boom - you’ve got yourself a custom bodysuit!

Oh, you wanted one with sleeves? I’ve got you...
How to Sew a Bodysuit with Sleeves
As I mentioned earlier, I have a whole post dedicated to showing you the two basic ways to attach sleeves. You can read How to Sew Sleeves separately, but I’ll show you how to do the easier method here.
As a note, I did this with loose lining pieces, rather than bonded.
Follow the earlier directions, up to the point of sewing your center back seam.
Lay this back piece out on your work surface, with the right side facing up:

Lay your front piece(s) down on top of it, right sides together. Sew JUST the shoulder seams.

As shown, my pattern has a symmetrical sleeve - no distinct front vs back. Also, the arm holes on the bodysuit itself are about the same length, front and back.
So, I fold the sleeve piece in half to find the halfway point of the sleeve cap (rounded top edge), and pin that point to my shoulder seam - right sides together.
If your pattern has a distinct front/back on the sleeve, and/or is different on the front and back sleeve opening, it’ll have marks to match up your sleeve to the body.
If this is the case, pin the sleeve to the body, matching up the marks on your pattern.
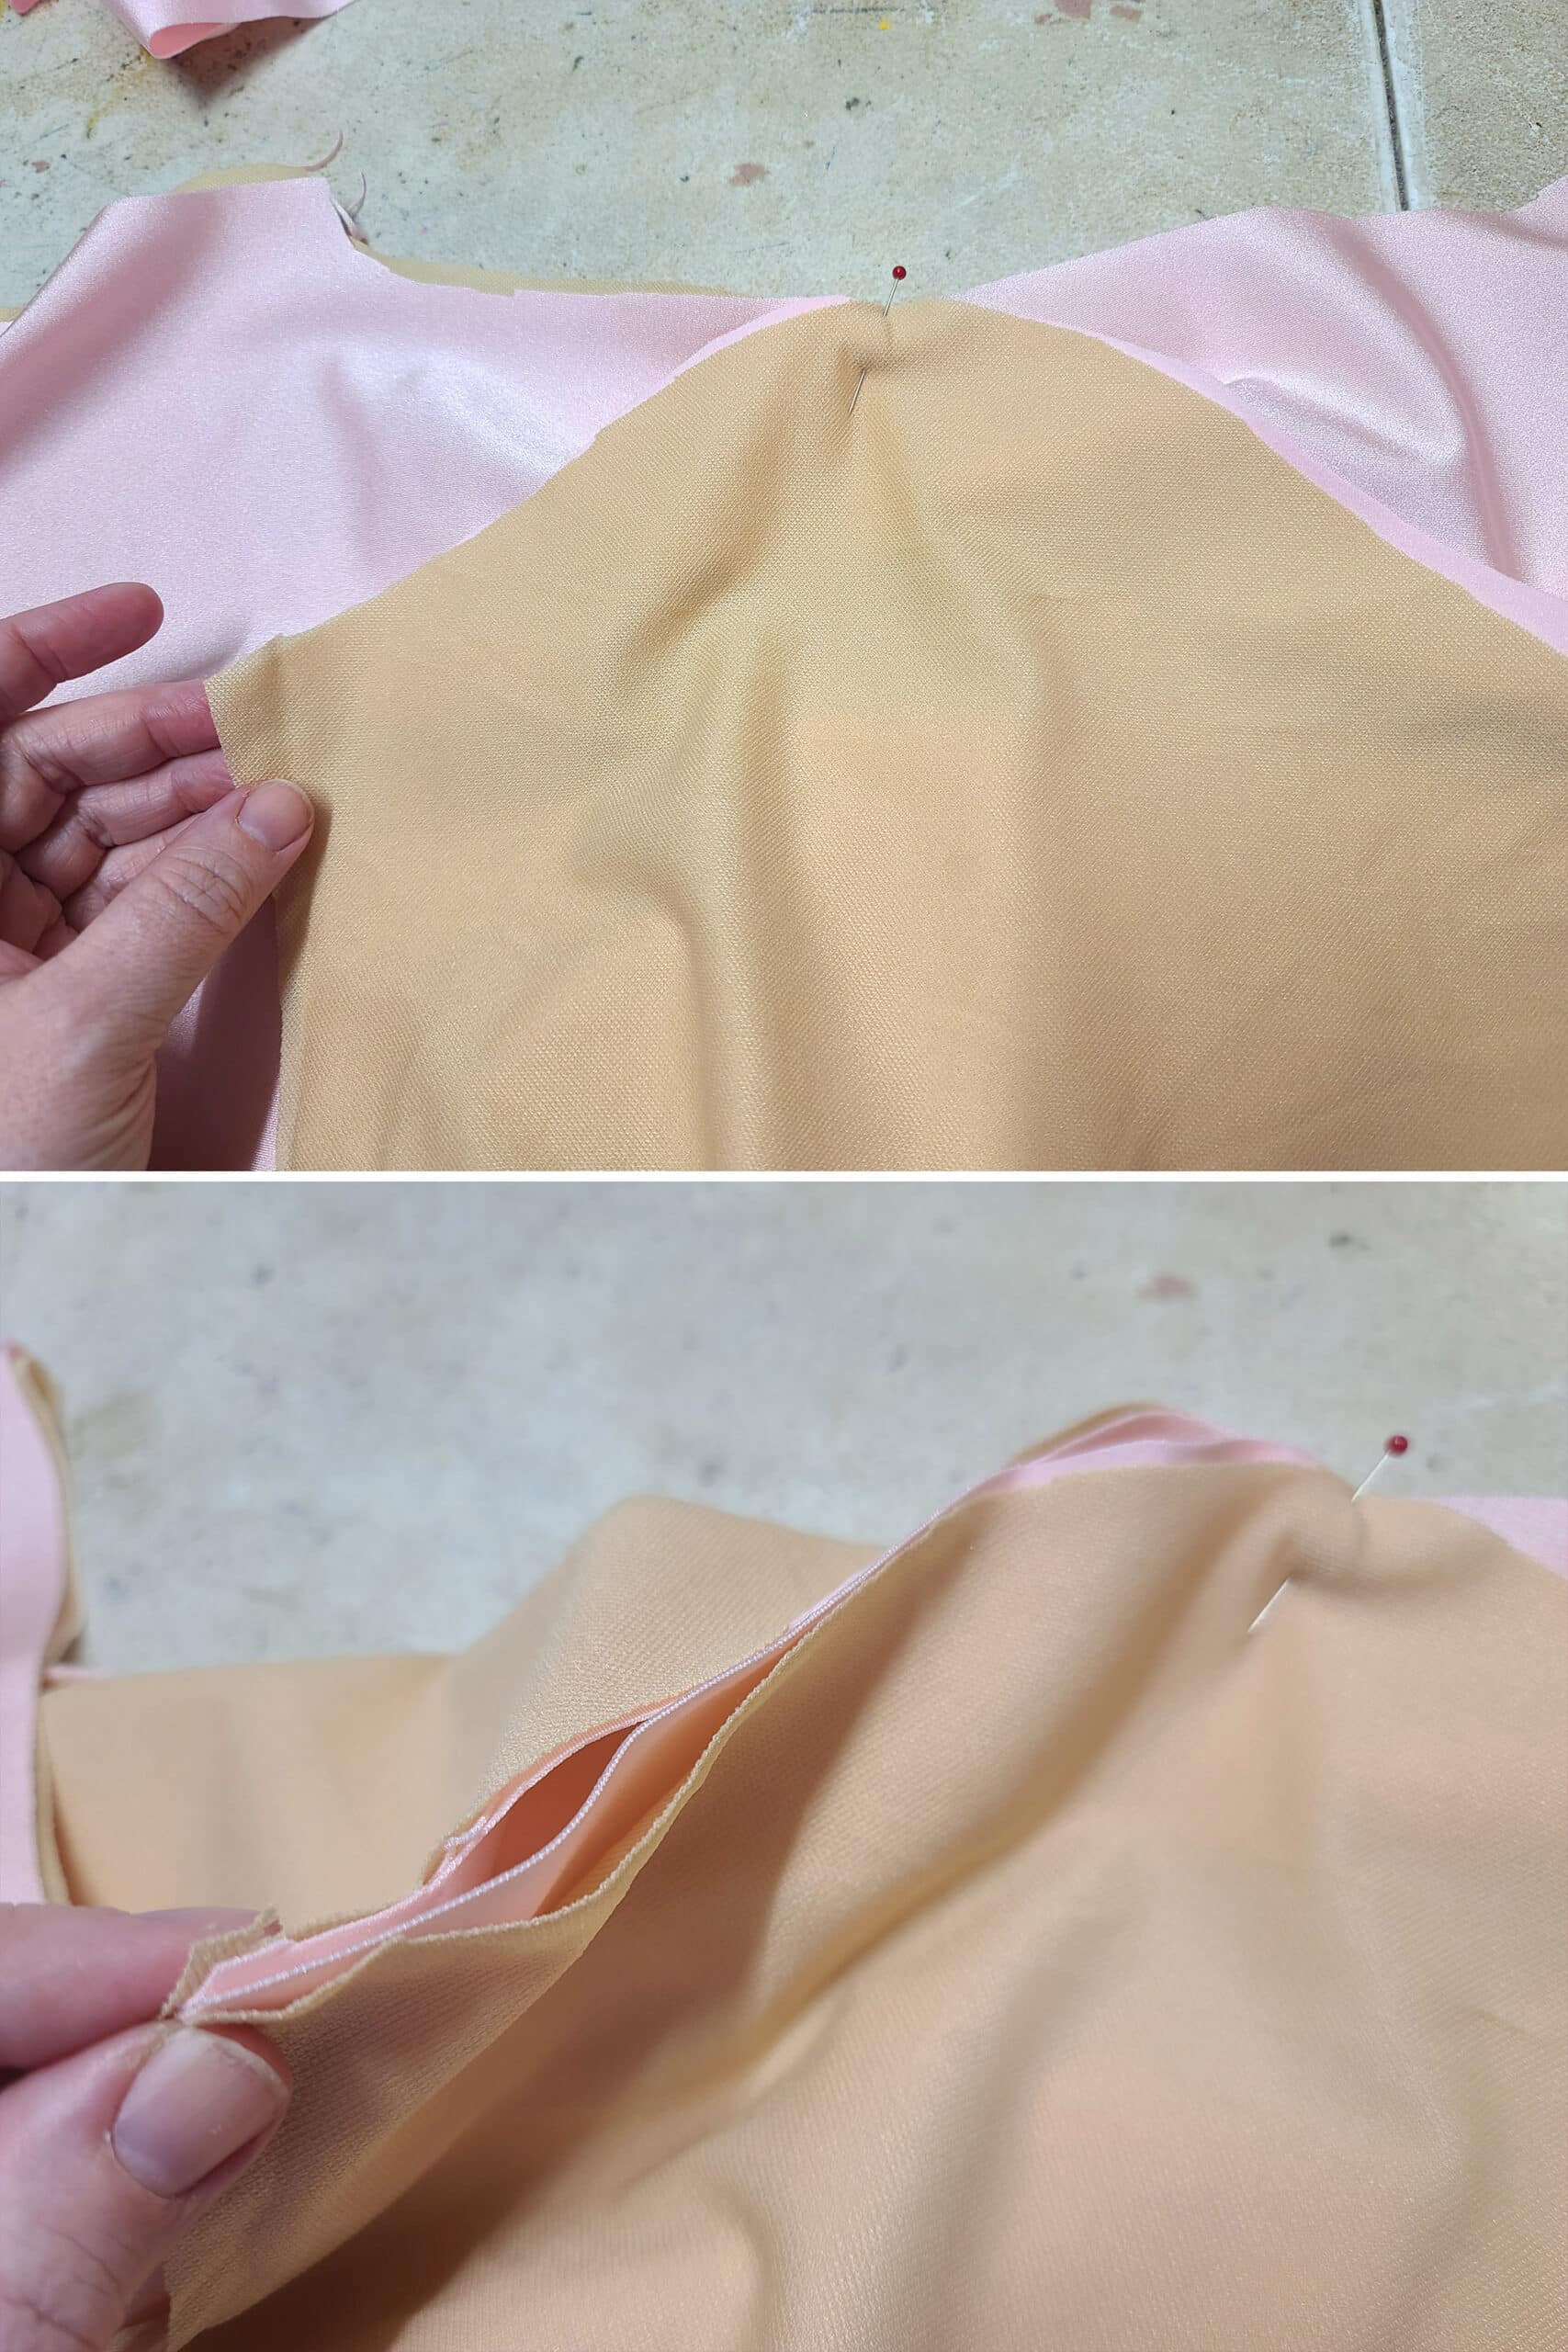
Whichever way you want to do it, match the first end of your sleeve cap up with the beginning of your armhole, as pictured above.
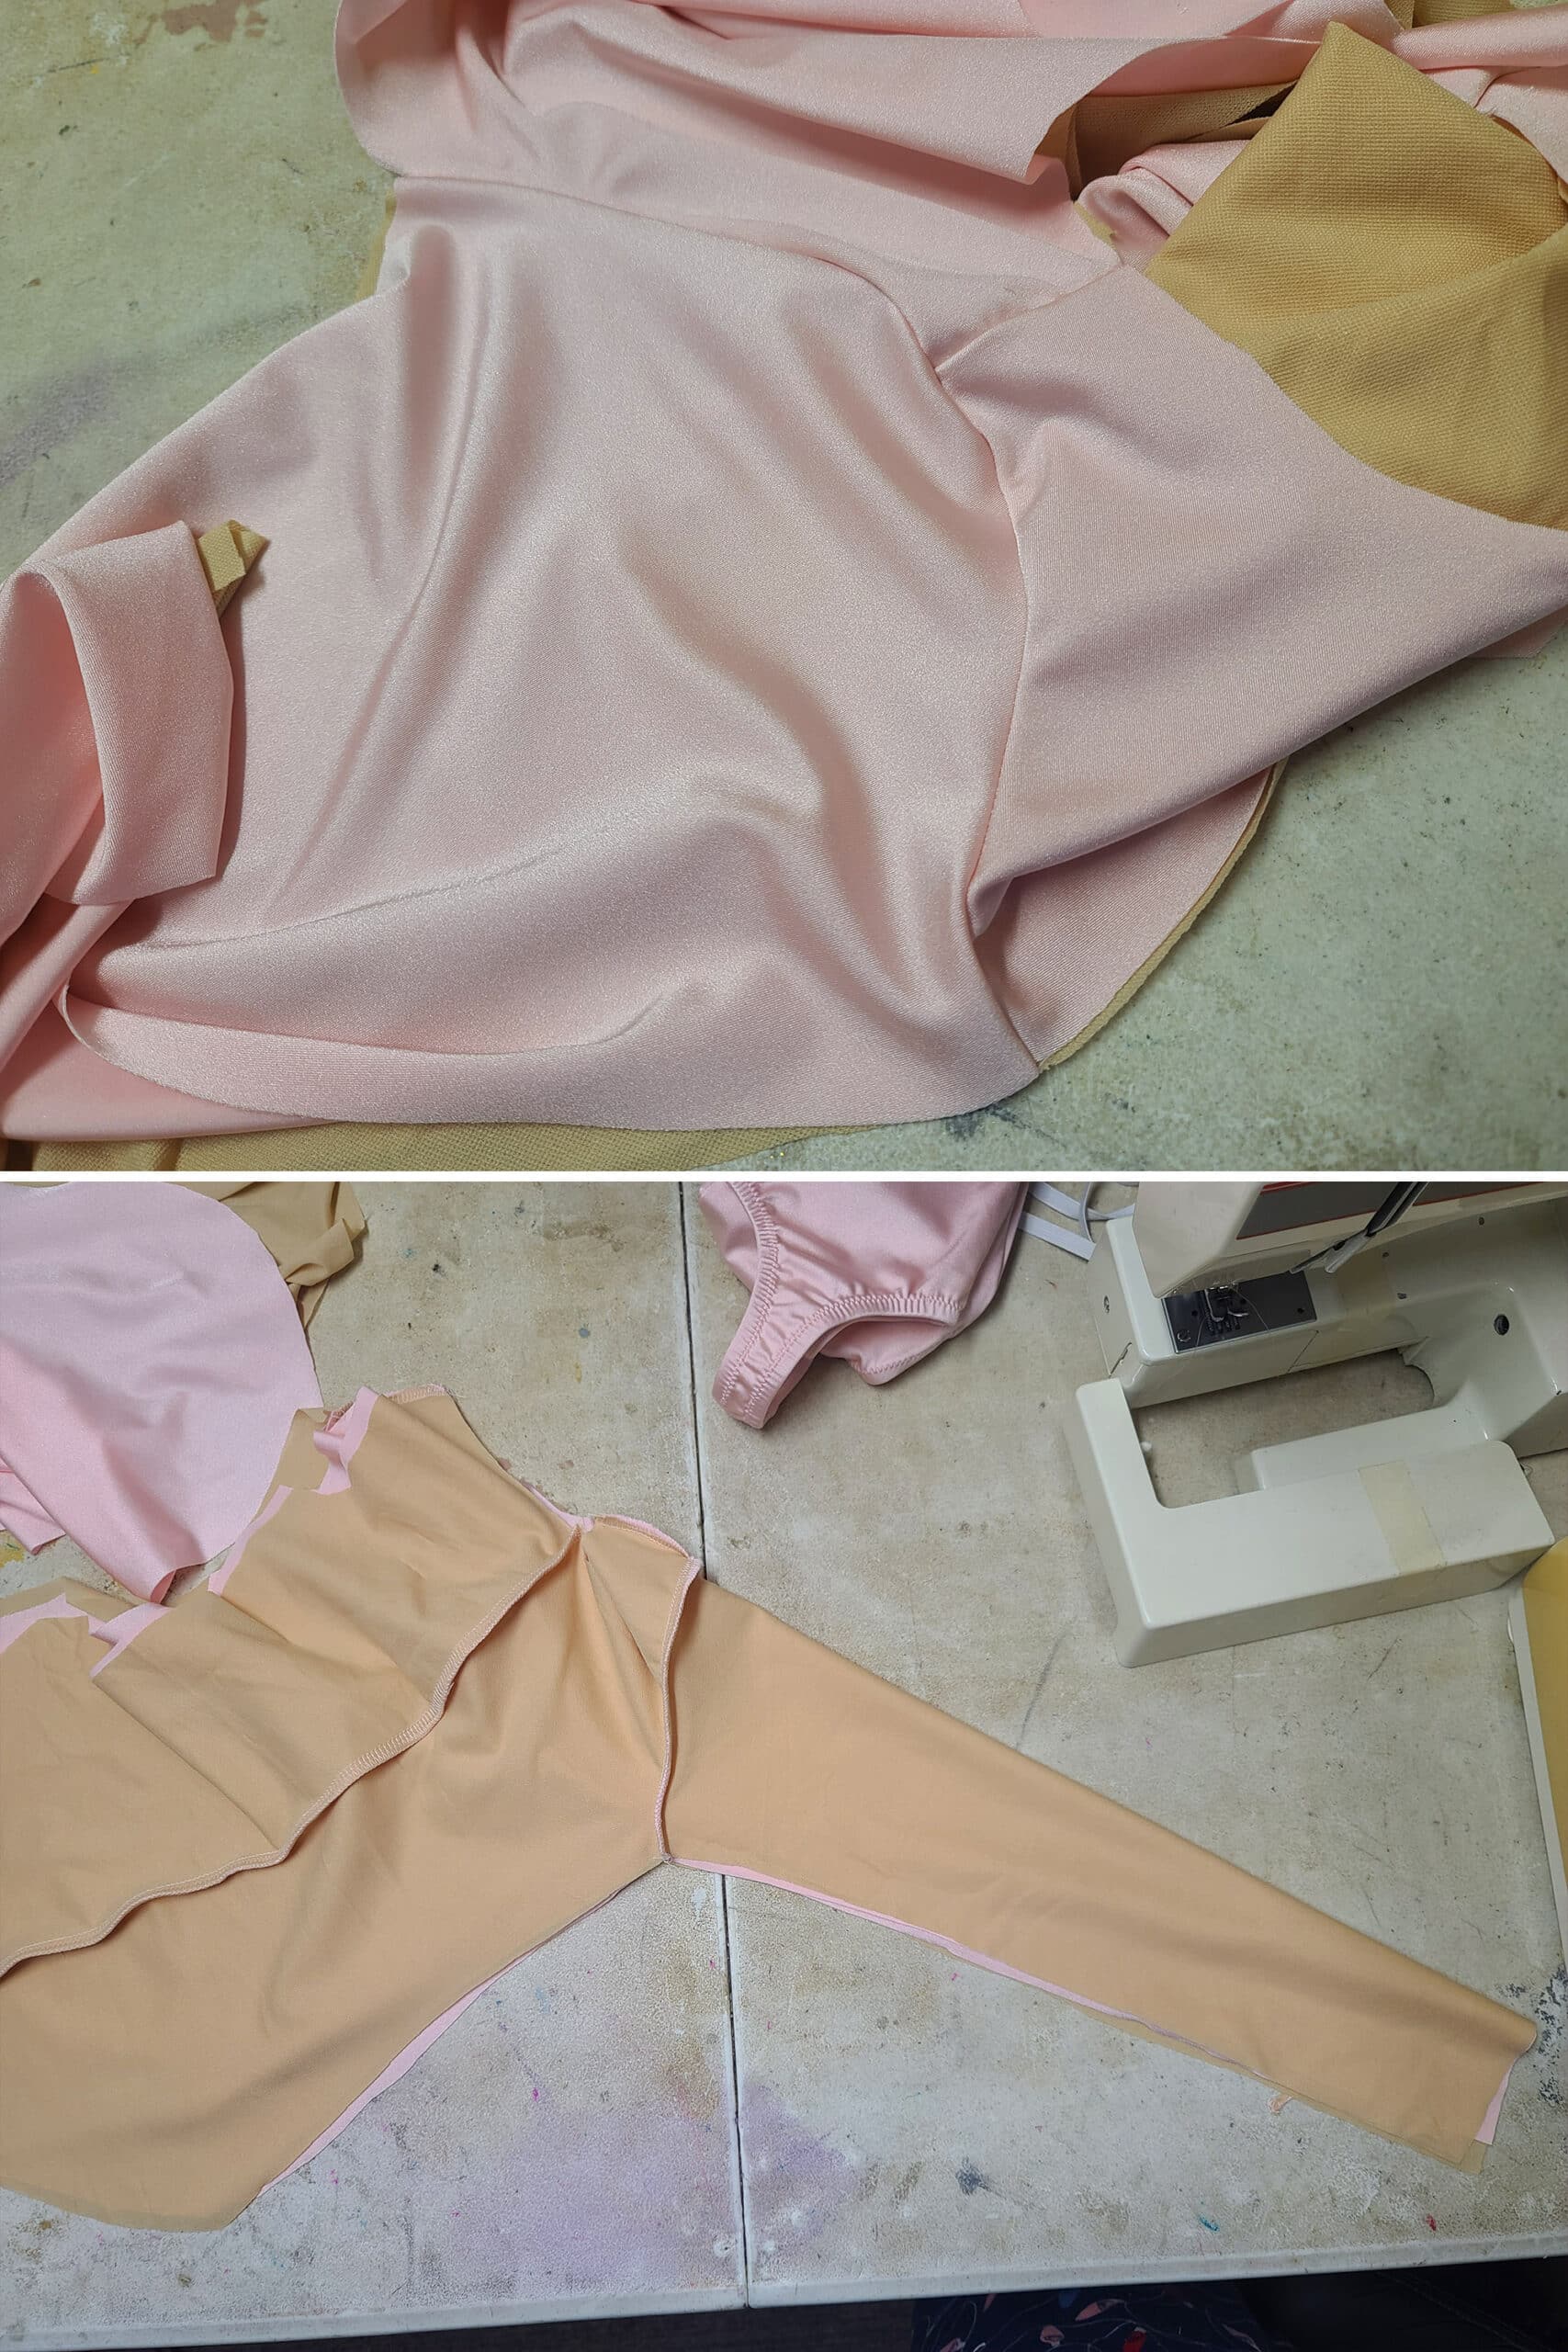
Stretching all layers to match up, sew from the starting point, to the first pin.
Remove the pin, stretch the fabric layers together and sew to the next pin, as applicable.
As shown, I’d sew from the starting point to the shoulder seam, then hold everything together at the end point, and sew straight through to the end of the sleeve attachment seam.

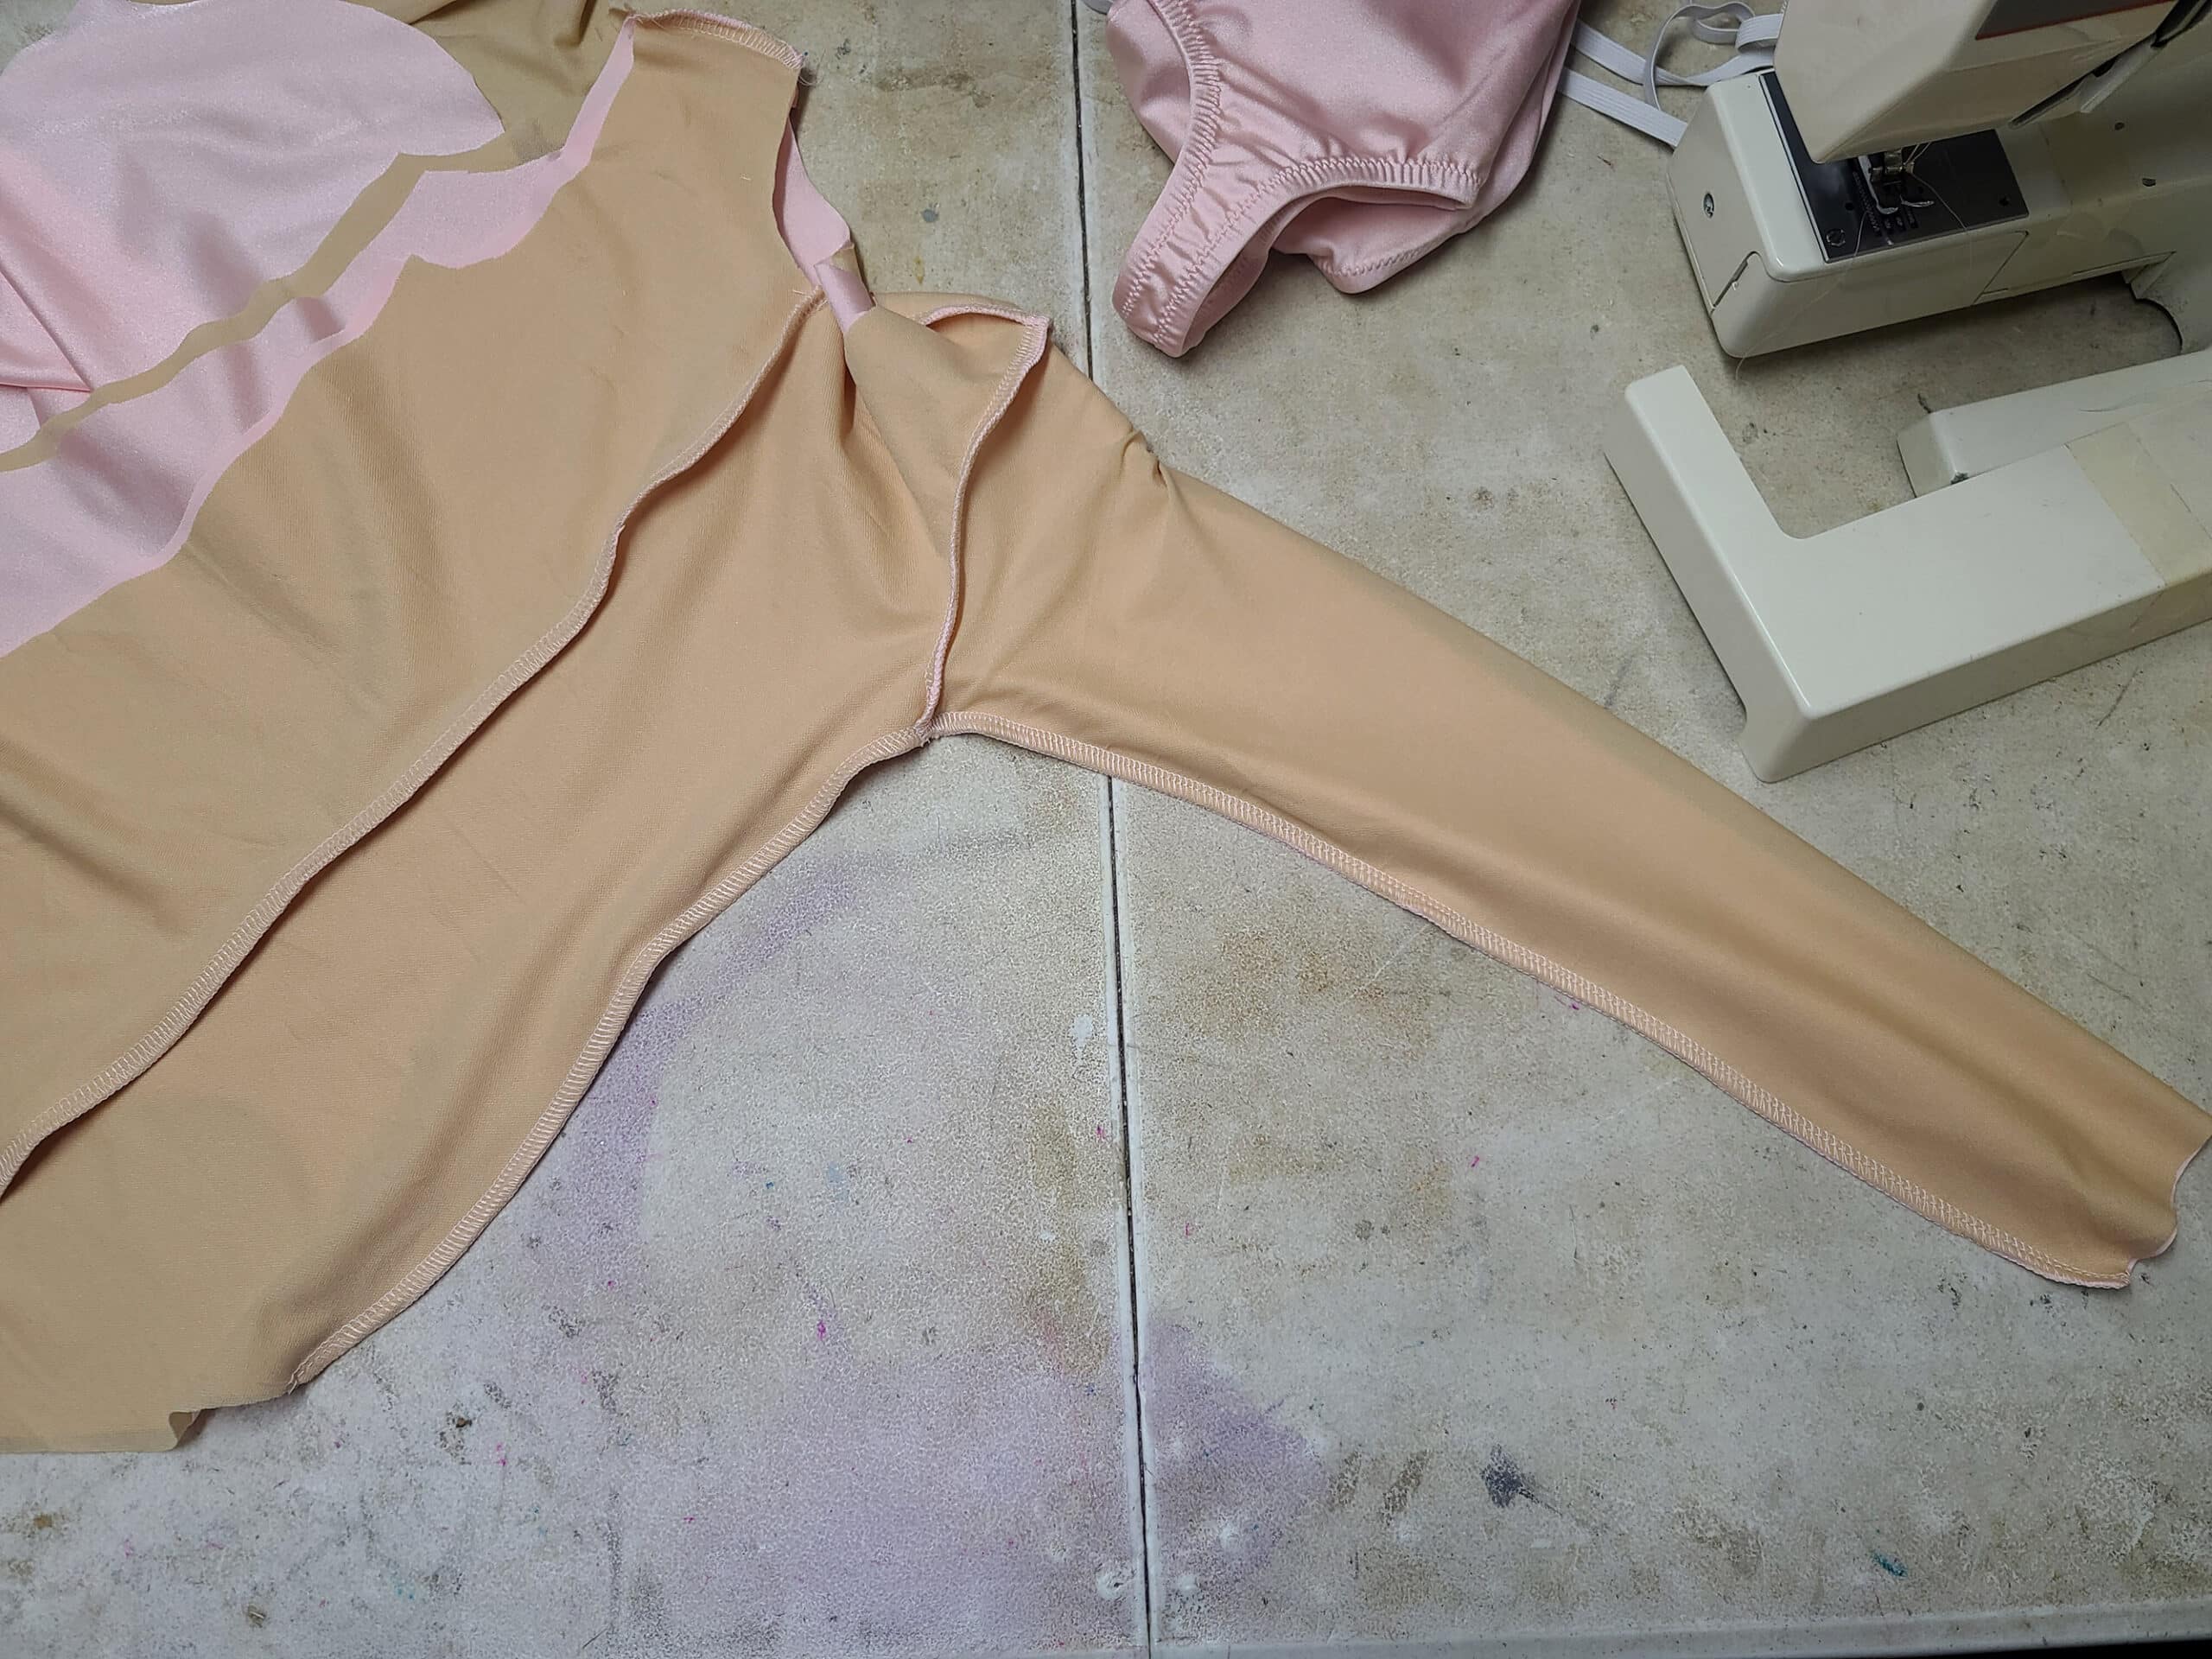
Once your seam is sewn and you’re happy with it, turn your bodysuit inside out, as shown.
Pin the front to the back, matching them up at these key areas. Add more pins in between, if you like.
Personally, I just go without.

Once you’re done, repeat everything on the other side - sewing the sleeve on, then sewing the side seam.
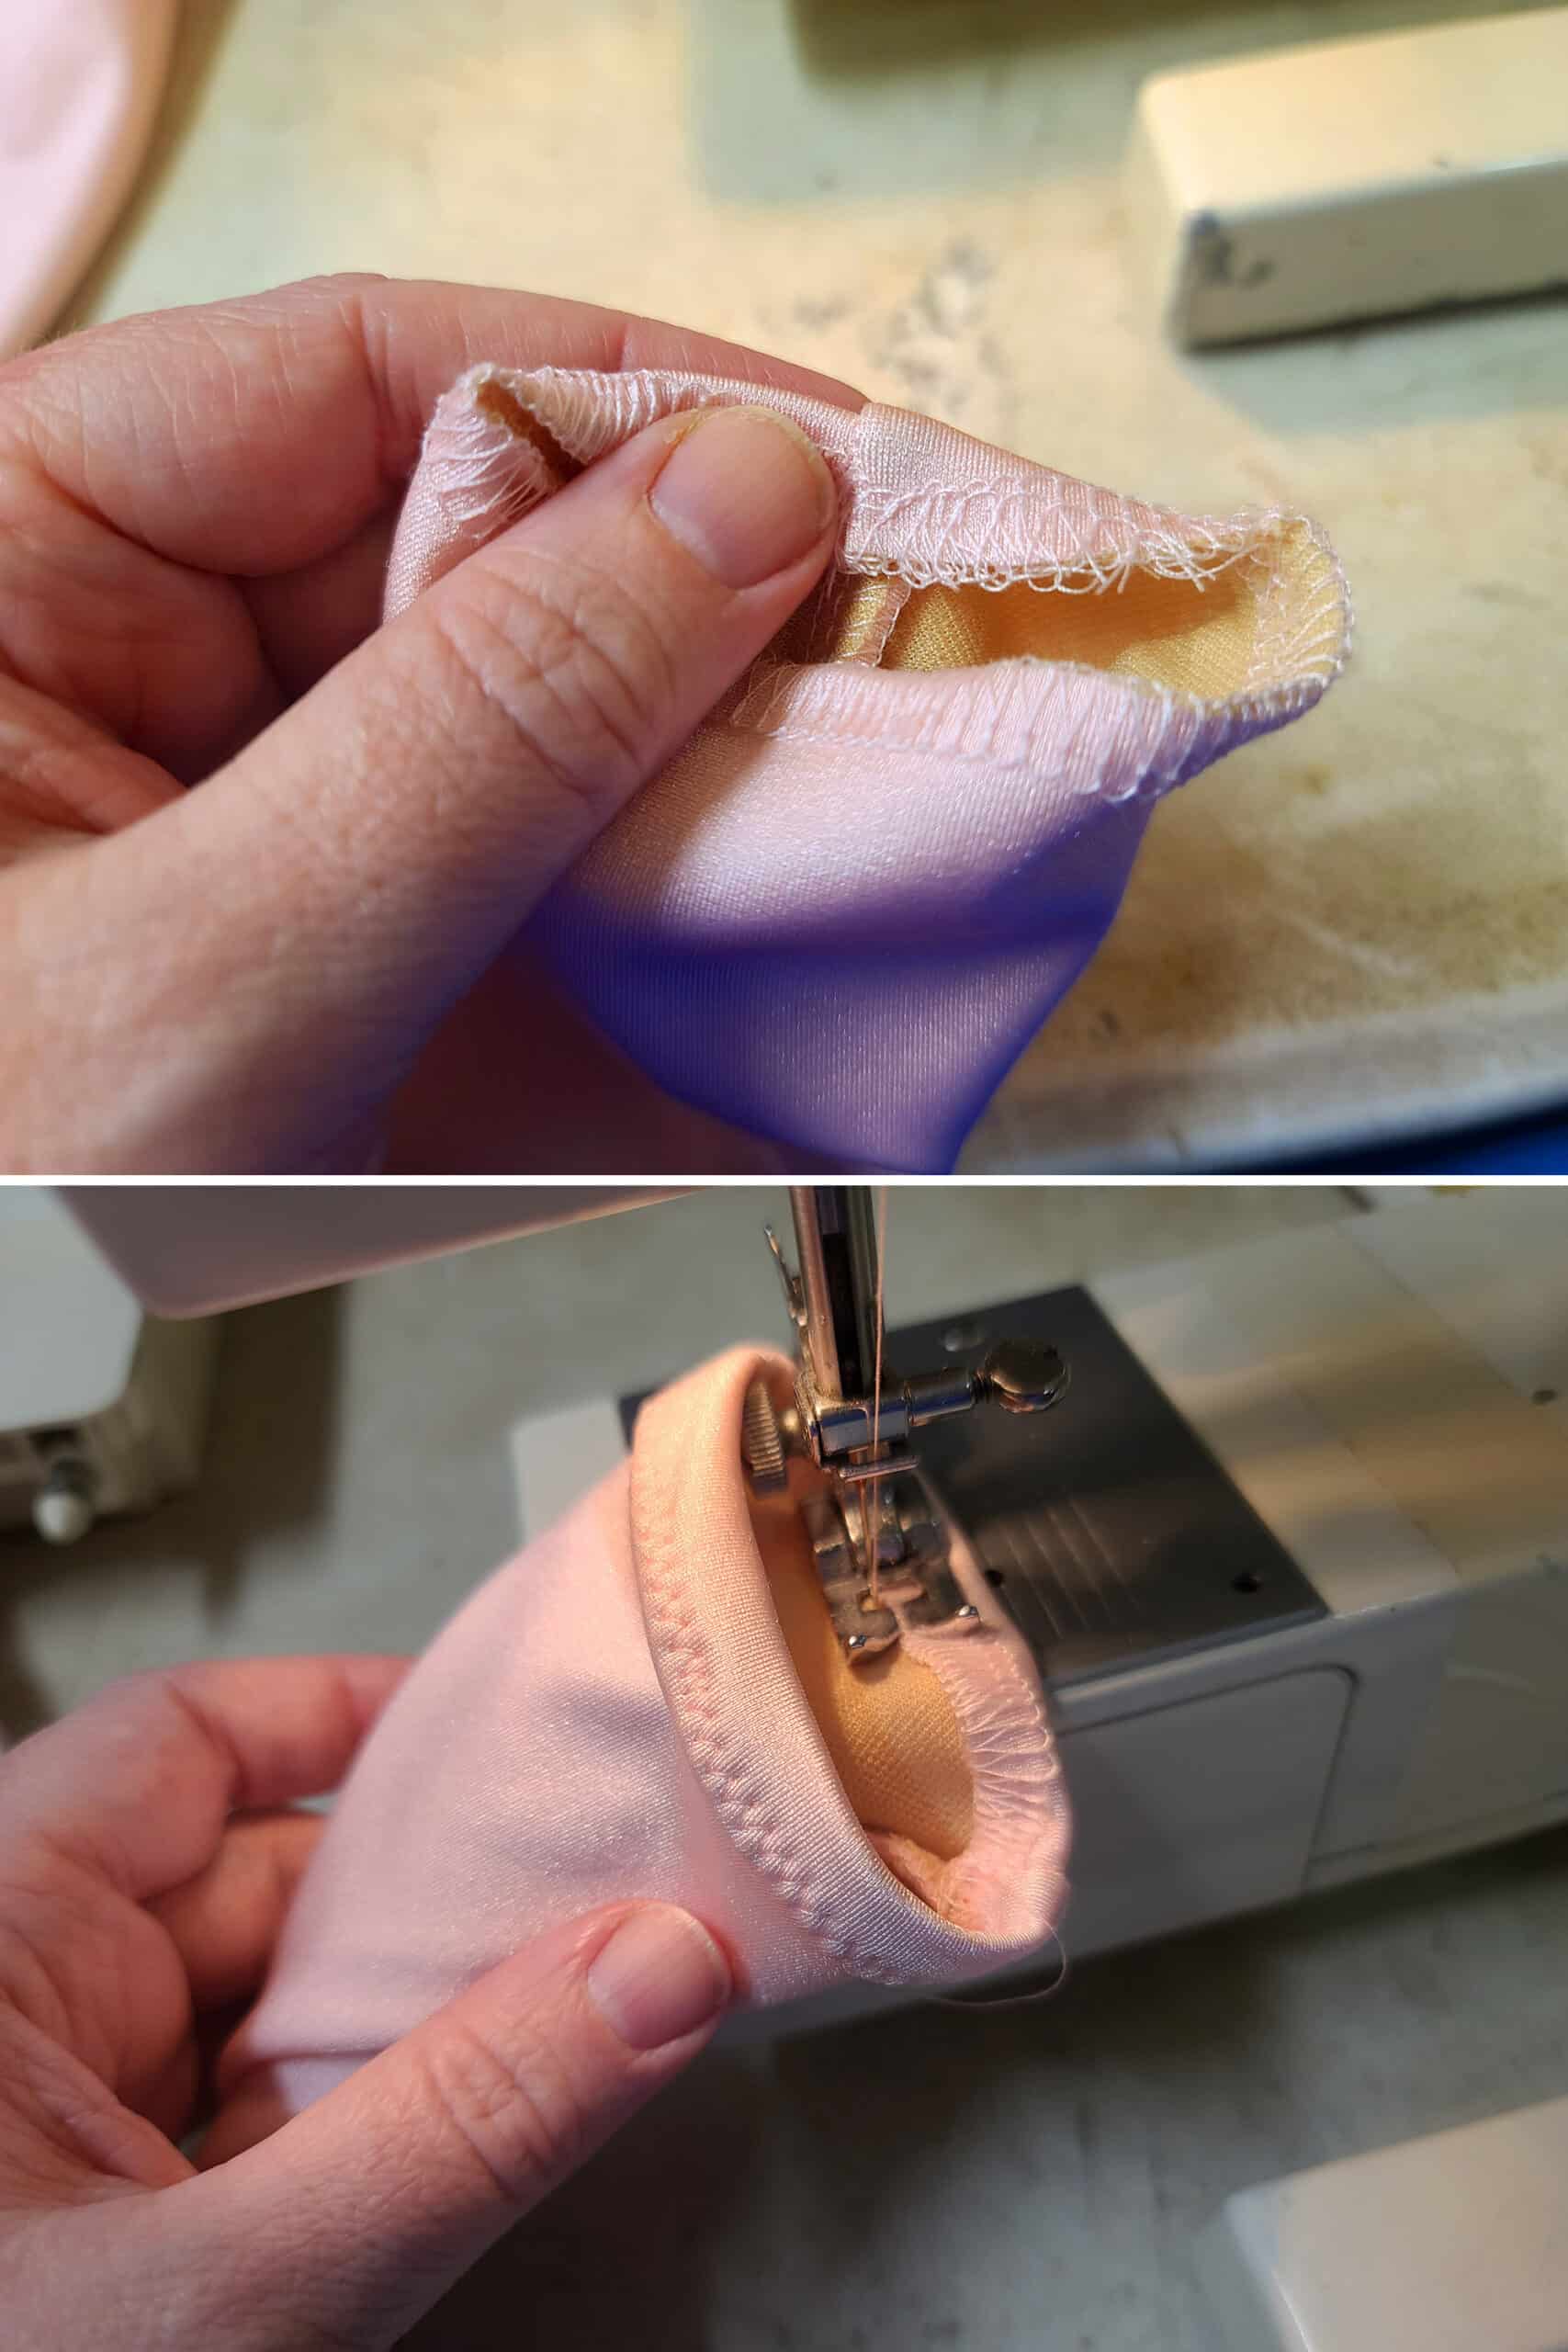
Turn your bodysuit right side out, and either serge or zig zag around the wrist openings of each sleeve.

As you’re turning it under, make sure it’s one smooth fold the whole way around, and an even amount being folded back - the whole way.
You want a nice crisp edge, without the wrinkles and waves that can happen if you’re not careful here.
Stitch down with a wide zig zag.
And with that, you’ve got yourself a basic bodysuit with sleeves!

Garment Care
See my post Proper Care of Spandex Costumes for how to wash and dry your bodysuit, to ensure the best longevity!
Getting Started with Spandex Costuming
Looking for more posts on the basics of spandex costuming?
Basic Pattern Alterations
Colour Theory for Spandex Costuming
How to Measure for Spandex Costuming
Spandex Costuming Tools & Supplies
Spandex Costuming Design Principles
Types of Stretch Fabric for Spandex Costuming
How to Cut Spandex
How to Sew Spandex With or Without a Serger
How to Sew Sleeves
... and be sure to check out our Table of Contents for an organized listing of all of our posts.

Thanks for Reading!If you loved this tutorial - or have any questions about it - please leave a comment below! I'll do my best to answer any questions you may have. |


Leave a Reply