

Katniss Wedding Gown Wings
Originally published on Celebration Generation on January 7, 2015. Updated and moved over to this blog on 9/16/2021

How I Made That: Katniss Wedding Gown Wings, from "Catching Fire". Not quite a costume tutorial, but a ton of information on how to make them!
You all remember my adorable Mini Katniss, right? Great kid!
She rocked that costume all the way to a "Best Workmanship" win at Convergence this past summer.
The wings on that gown is one of the costume elements I've been asked about the most, and it was actually quite easy to do!
So, here we are with another “How I Made That”. Not QUITE a costuming tutorial, but with enough information, photos, etc to help you on your way!

How I Made The Katniss Wedding Gown Wings
Reference Images
The first thing I had to do was to gather reference images.
This was easy for the front - there were some gorgeous, hi-res images online, including the magazine photo that Mini Katniss's portrait was based on.
The back was not so easy - I ended up having to put the Blu-Ray on, and pause/photograph my TV screen when it came to the perfect, clear view of the back of the gown:

From there, I opened the front and back images up in Photoshop, and sized them to a printing size that would reflect my Mini-Katniss's actual size.
That is, I used Mini Katniss's backwaist measurement to determine the print size of the photo, by using markers on that original photo - where Jennifer Lawrence's waist and prominent vertebra in her neck is.
I tweaked it slightly to work with Mini Katniss's shoulder measurement: She has the build of an 11-year-old girl, after all: the proportions are a little different than from a grown woman!
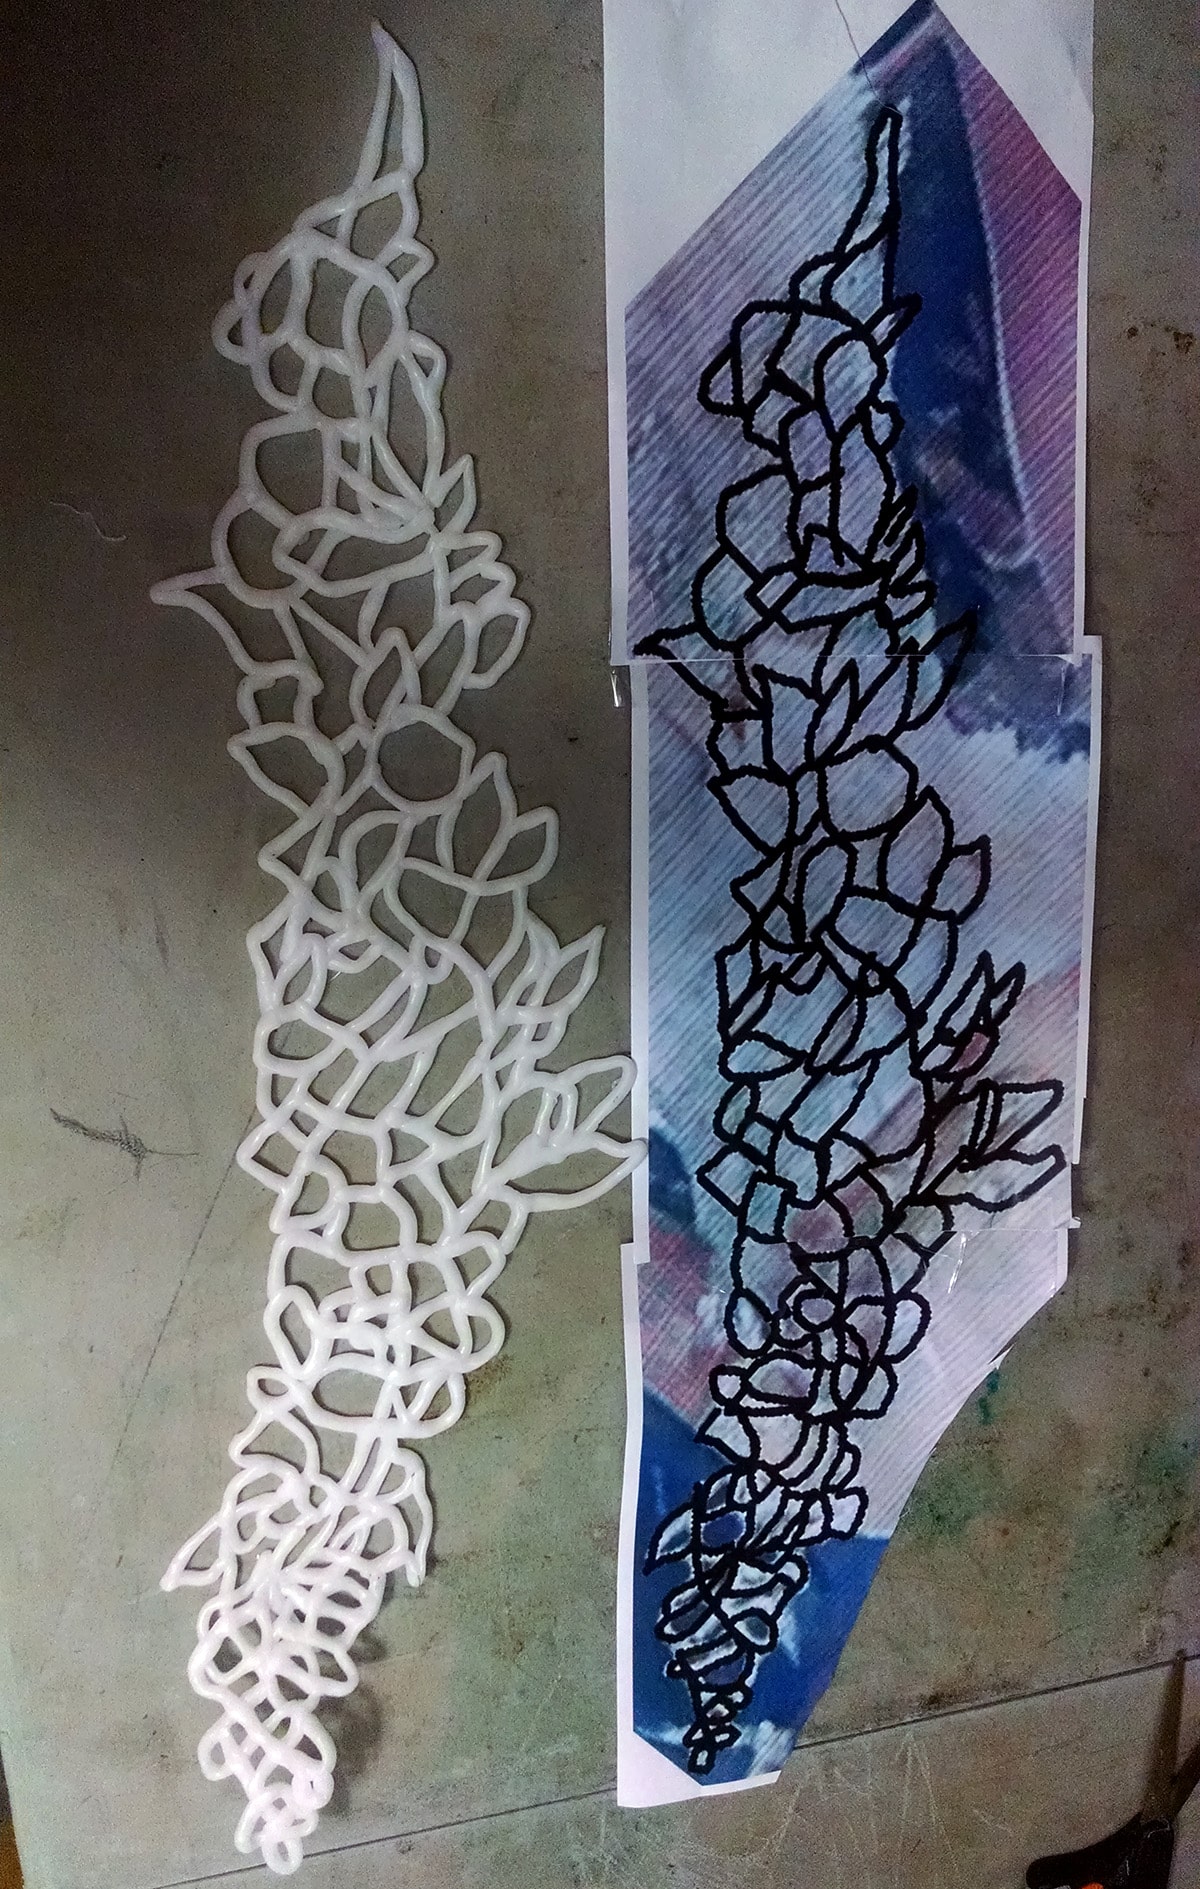
Once I had it properly sized, I started a new layer and traced the design with thick black lines.

I set the file to print the background - the screenshot - at a lighter opacity - probably 50%? This would allow the pattern to easily show through the parchment paper I'd use in the next step.
Finally, I divided each file up into 8x10 sized sections.
I printed them all out and assembled them together with tape. This created the template for the two wings.
Forming Katniss’s Wings
One wing at a time, I taped the template down to my work surface, and covered it with a large piece of parchment paper.
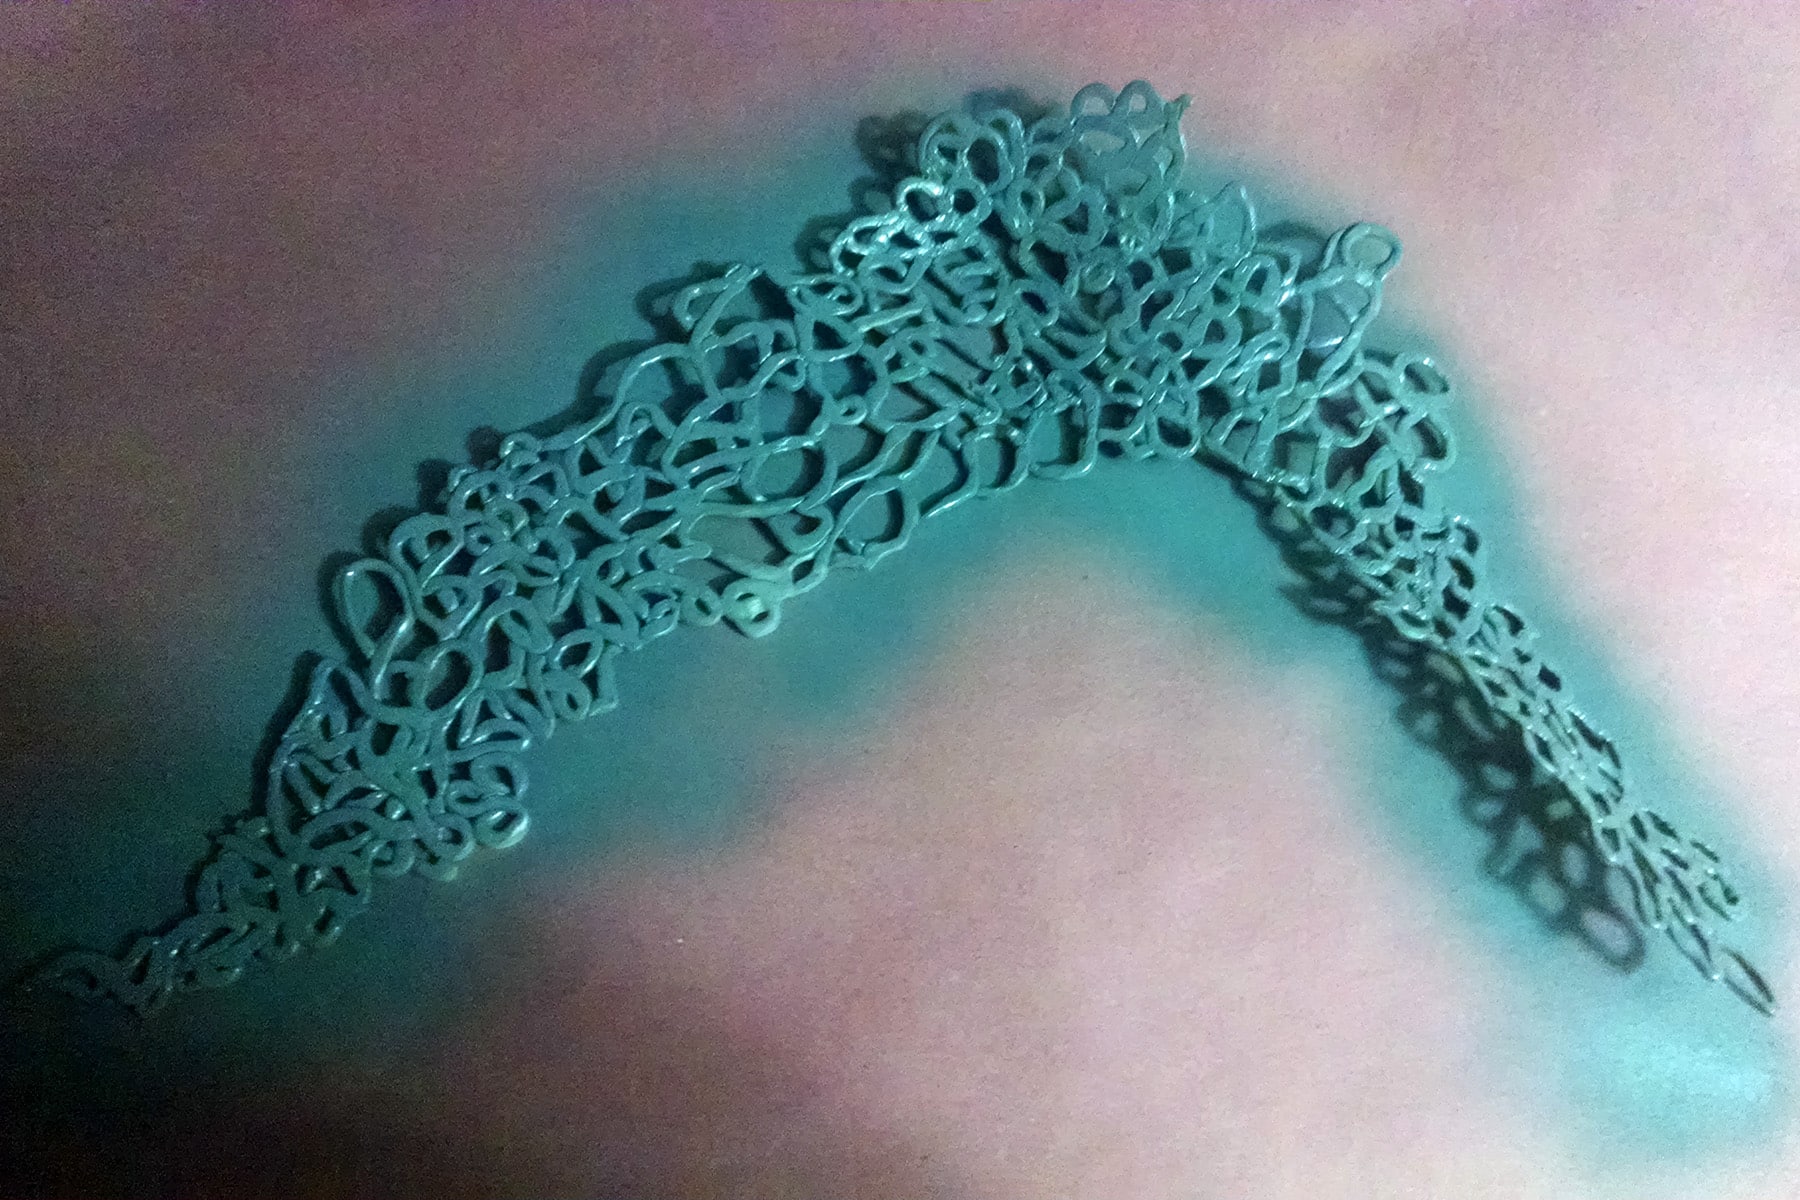
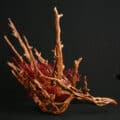
Using Instamorph*, I stretched hot strips of melted thermoplastic into long "snakes", and laid them out following the pattern I'd made.
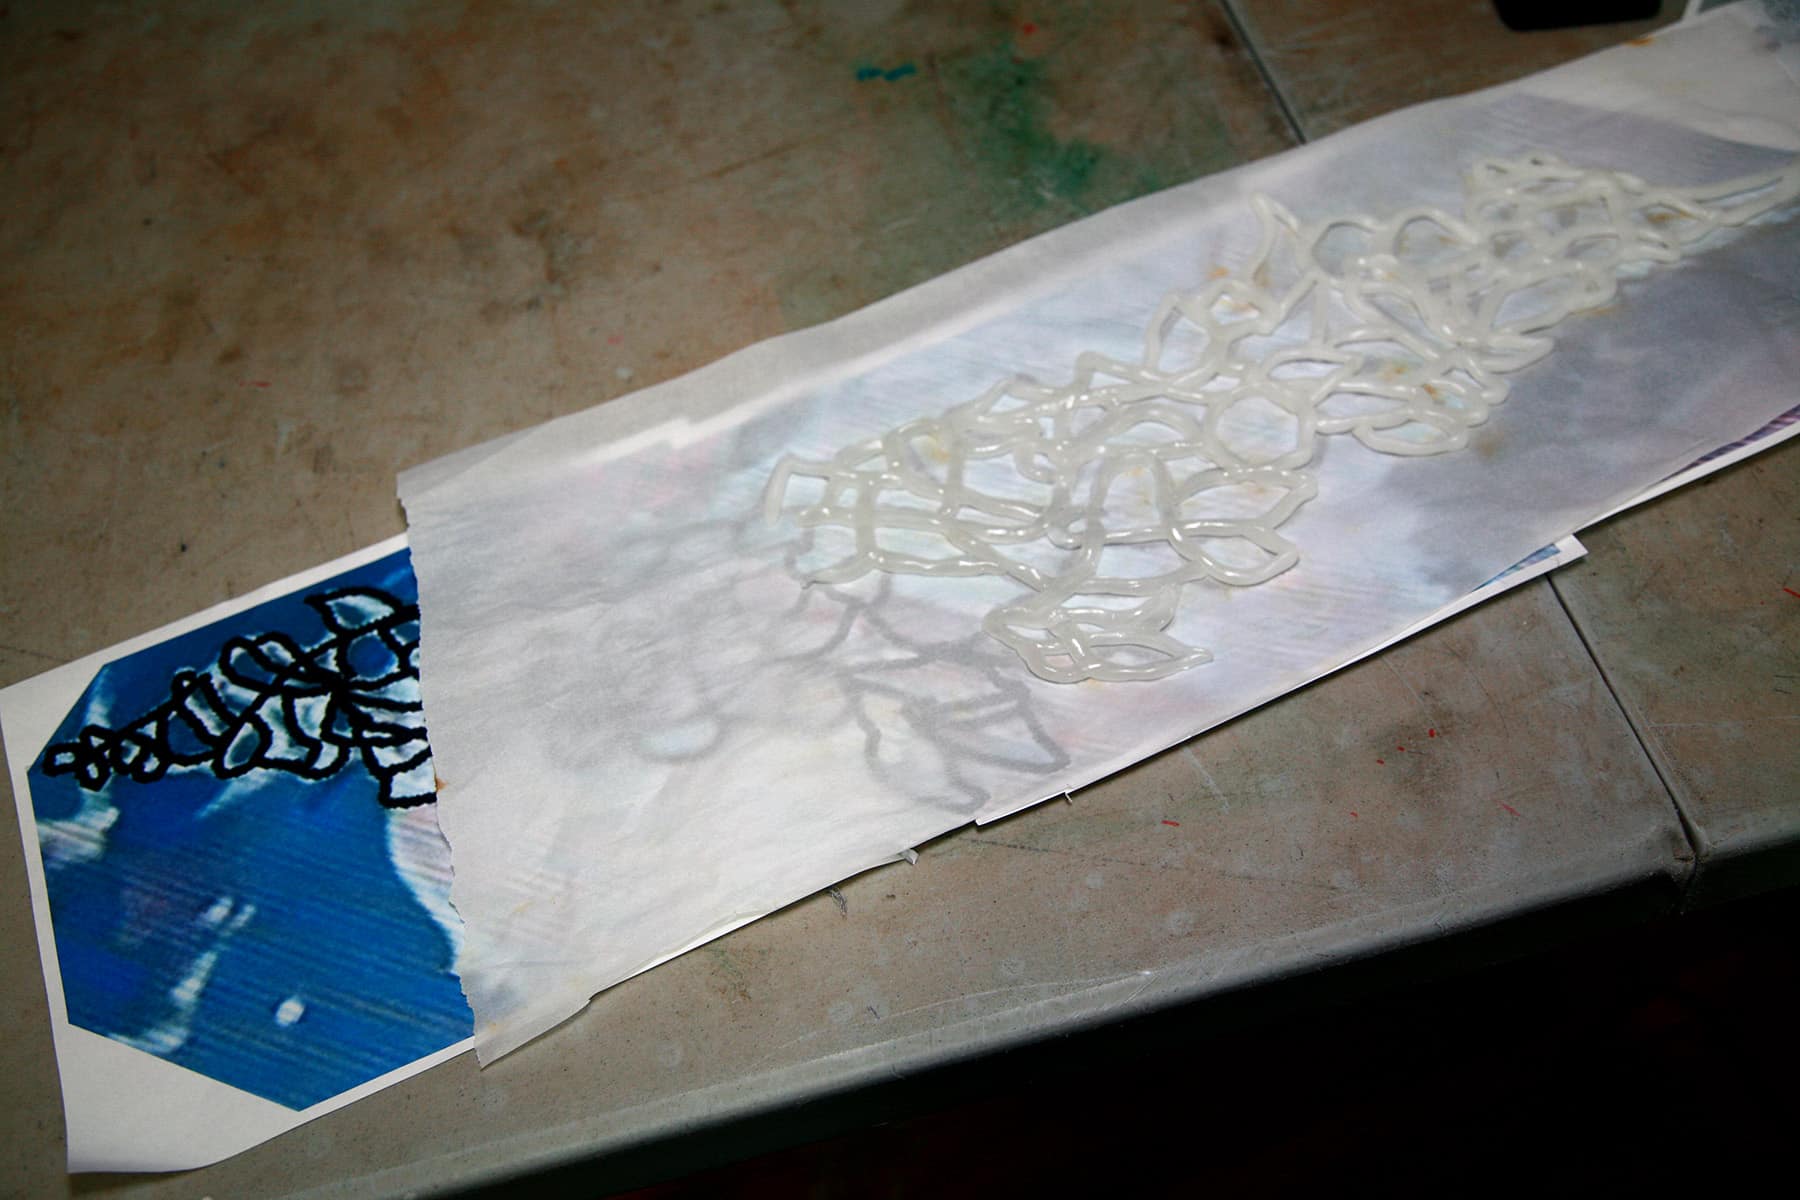
I continued this until the entire wing design was laid out, then let it cool.
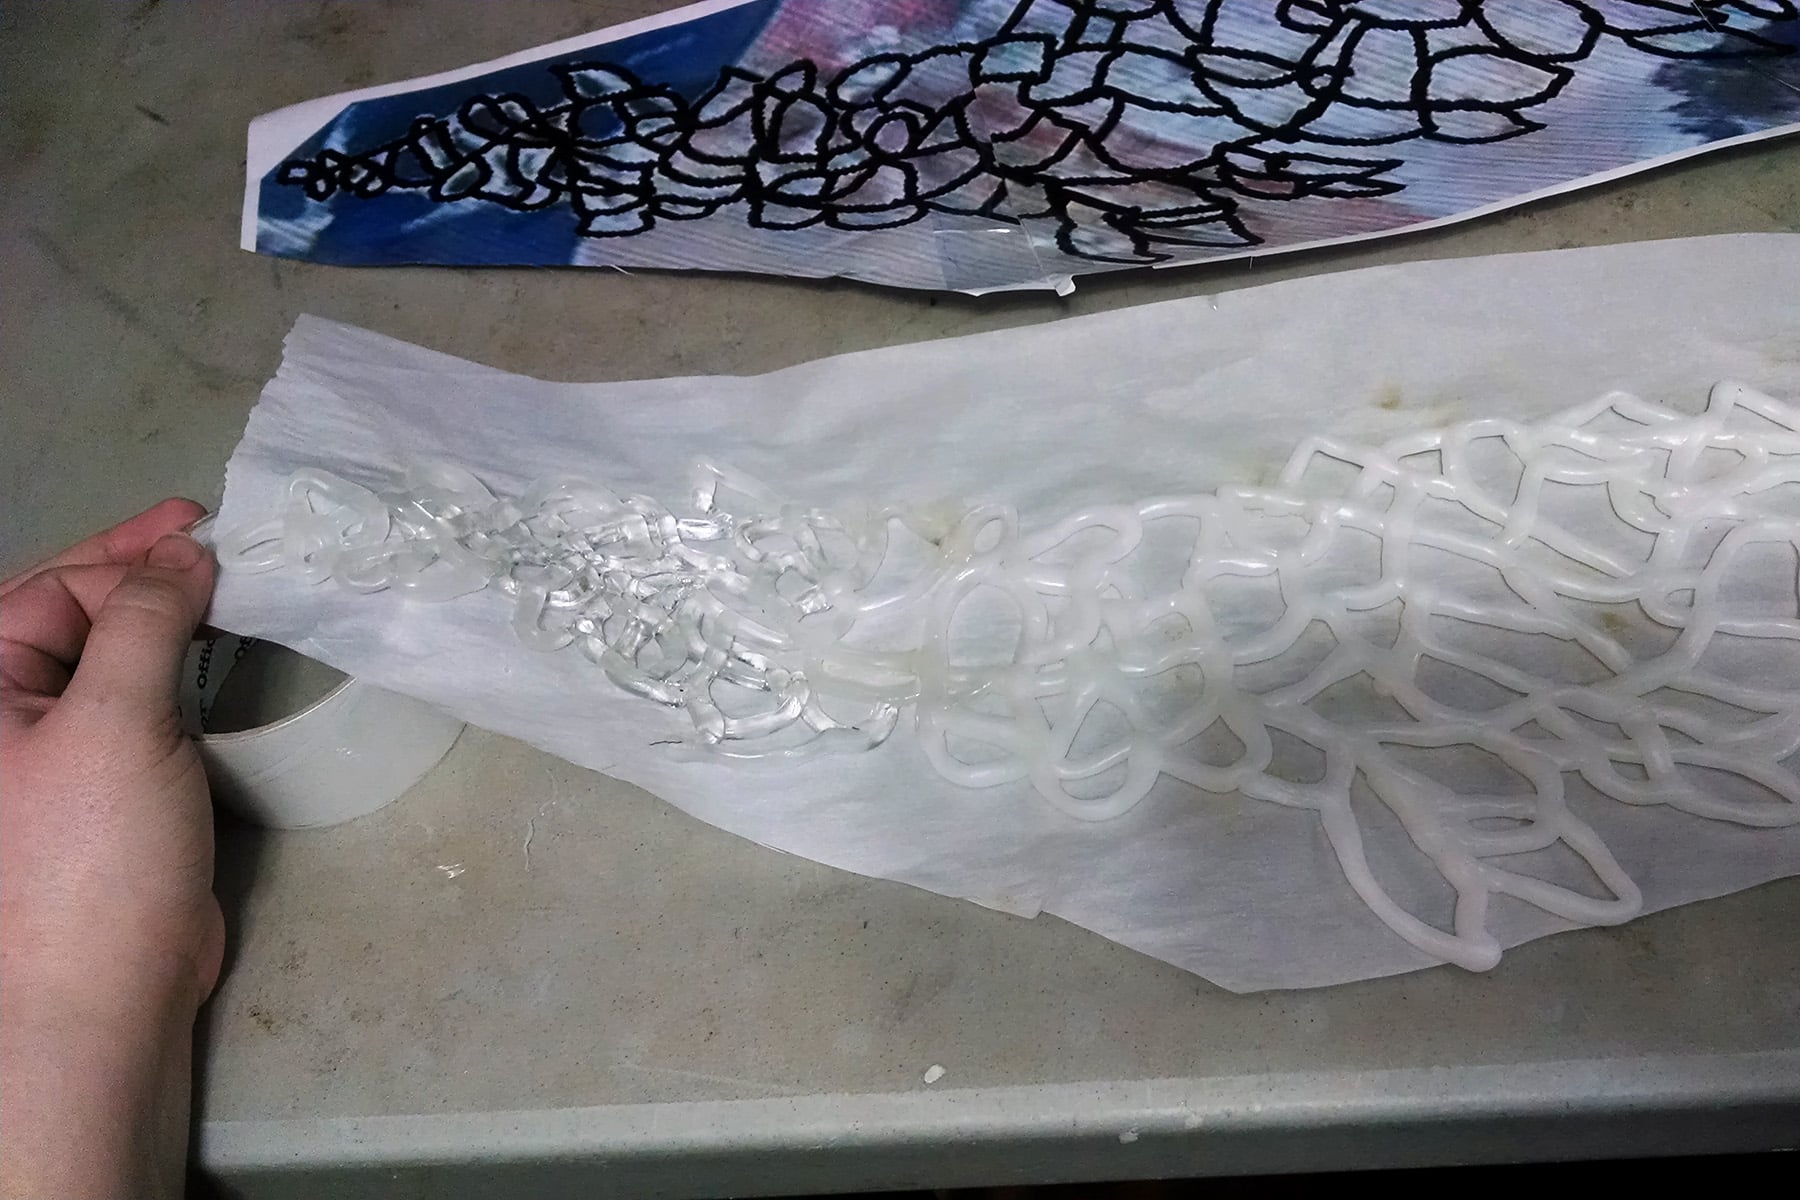
Then, I went back over it with a heat gun. At every intersection of pieces, I heated the area up and gently pressed the pieces together to form a lasting bond.
This is important!
When laying the design out, the pieces cool too fast to bond with each other, and you really want that security.
* The stuff I got into more detail about in my Thranduil Crown Tutorial.
Once everything was bonded and cooled, I had to shape it.
I started with the bending at the points above the shoulder of the dress, by heating the whole area with a heat gun, and propping it up til it cooled:
As it turned out, the sizing/shaping of my dress form was pretty similar to Mini Katniss, so I covered it in foil to protect it, and used the heat gun to mold the pieces to shape:

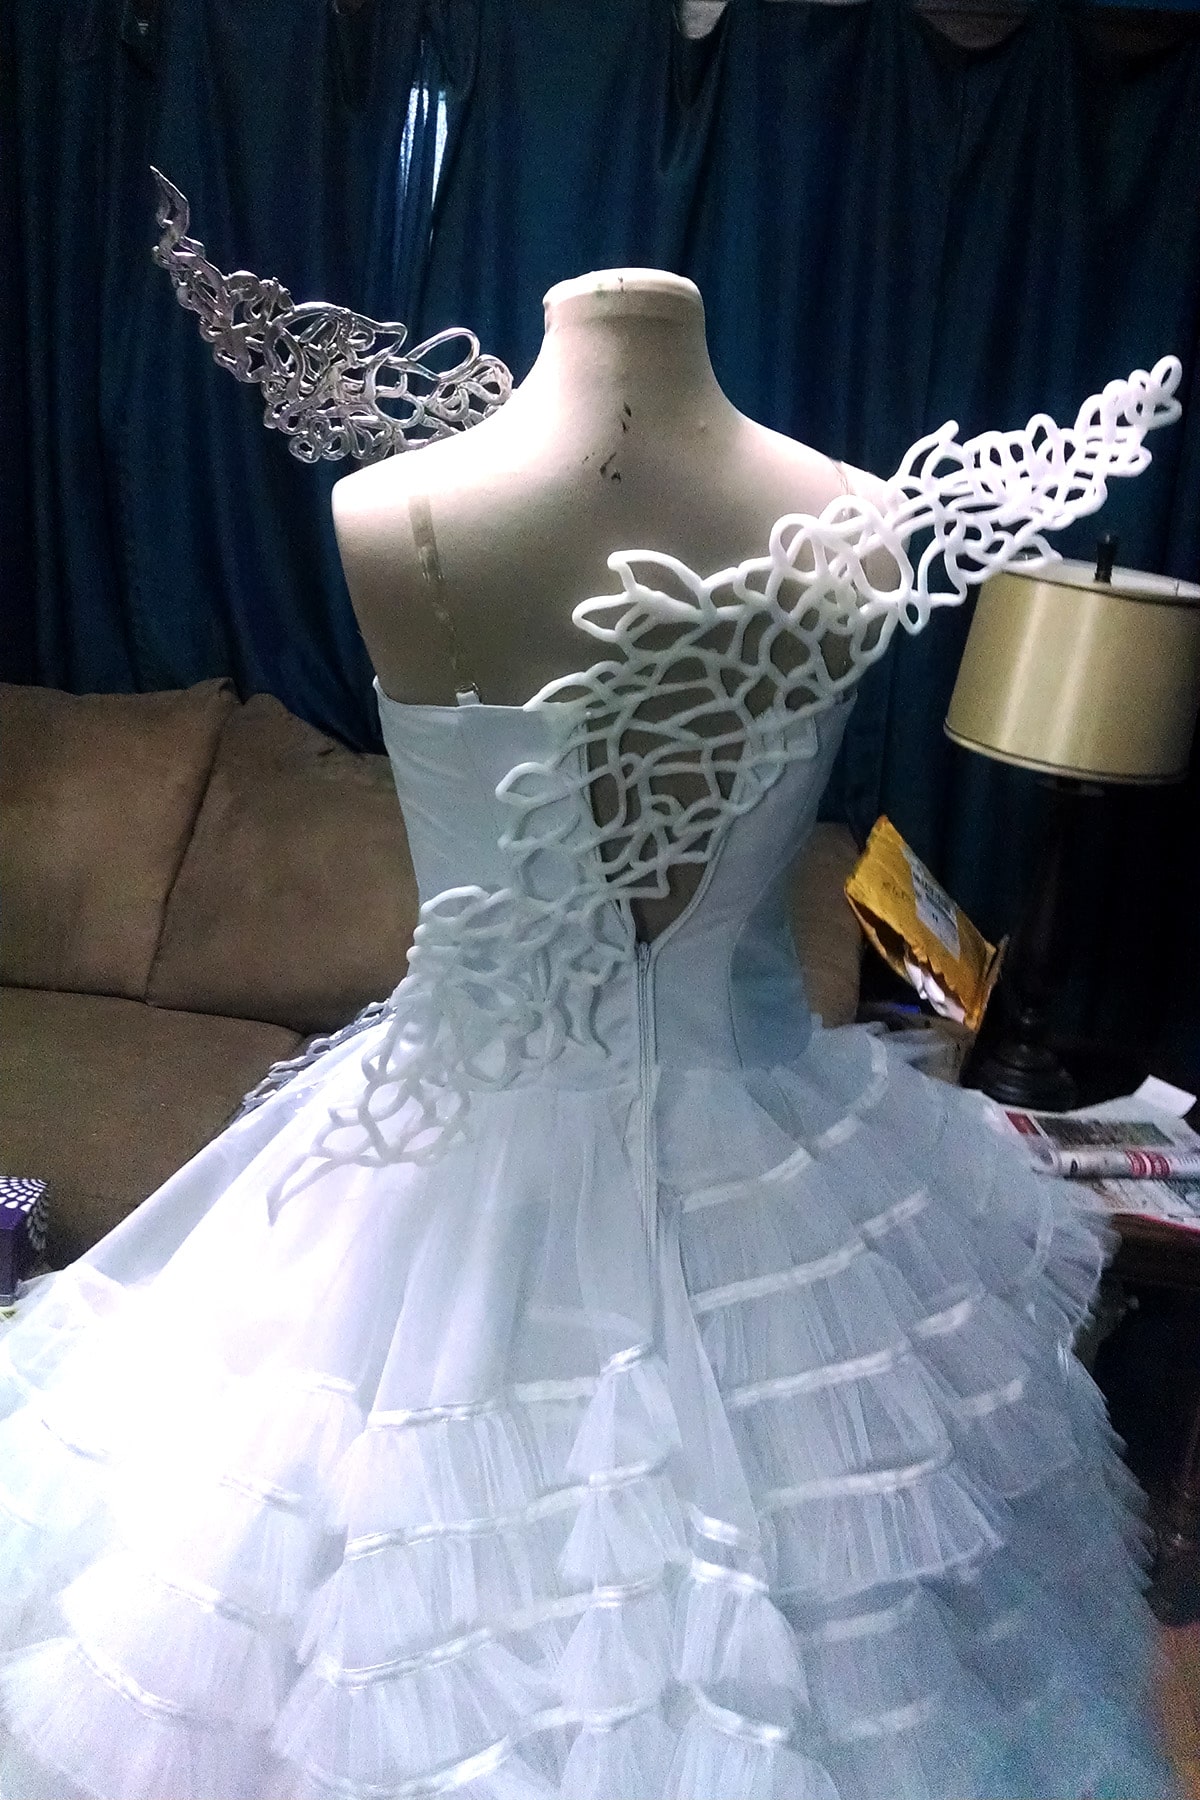
Trying it out on the dress.
Painting & Finishing the Katniss Wedding Gown Wings
From there, both sides of each wing were hit with grey primer:
A mirror-finish shiny metallic spray paint (that I ended up not liking):

I decided that it should really be more of a matte / pearlized finish, so I coated it with a white glitter spray. It really worked to tone down the obnoxious shine of the metallic silver!

At that point, the outward-facing sides of the wings were accented with crystals.
Use the Swarovski ones for maximum shine! I used E-6000 to glue them down:
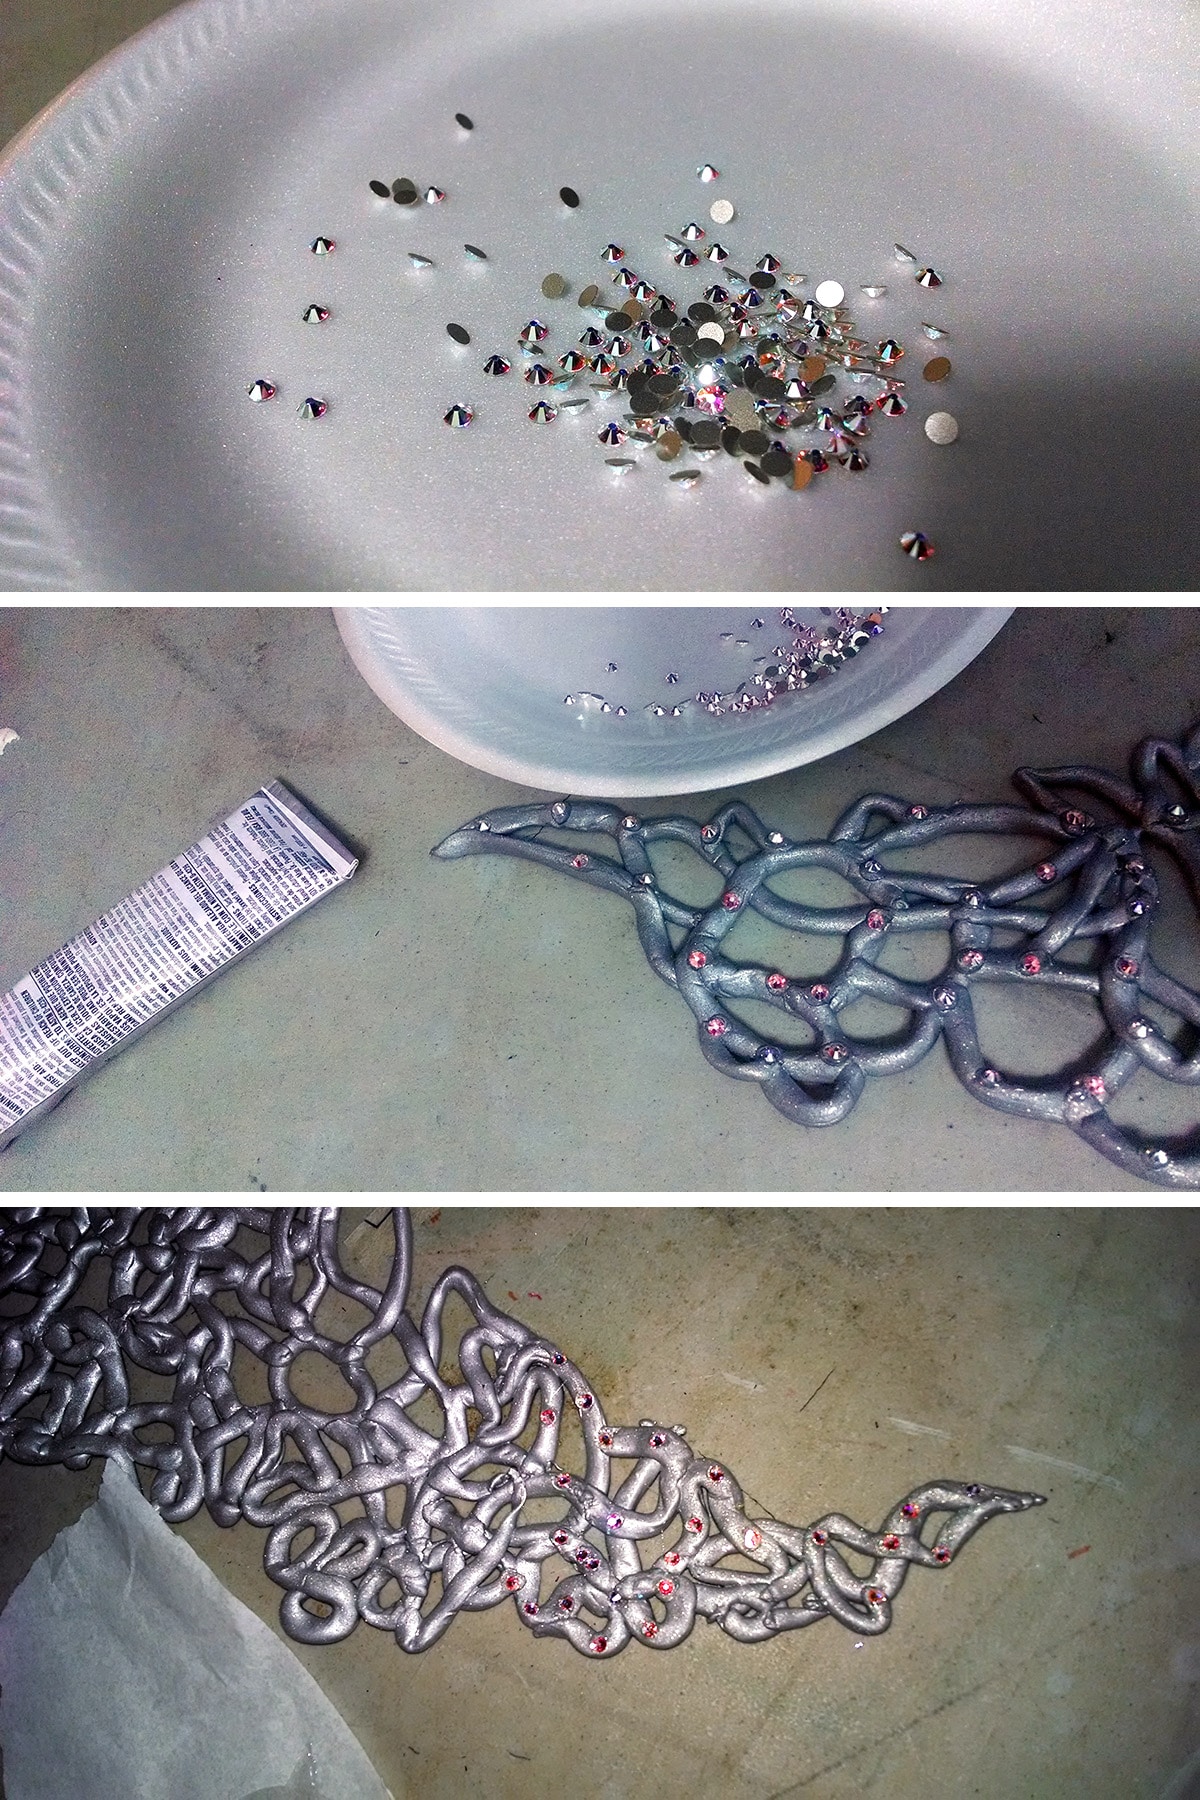
Yes, I usually recommend using E-6000 Fabri-fuse - for many reasons - but the original formula works much better for this use.
Be sure to see my Crystalling on Spandex tutorial for details and warnings about using E-6000, btw.

Attaching the Wings to Katniss’ Wedding Gown
At this point, the wings themselves were finished, and all that remained was attaching them to the gown.
Early on, I had decided that they would need to be easily removable - we were talking about an 11-year-old girl, after all.
Had to keep logistics in mind!
I also knew that she intended to spend most of her time in the gown SPINNING (who could blame her?), so I knew the attachment would have to withstand that force.
The solution? Ribbon ties!
I pinned the wings into place on the dress, which had been sewn and fit, but not FINISHED (feathers).
I took great care to make sure everything was in place where I'd want it to be.
This would provide the guide not only for where the ribbons would be sewn on, but where the feathers would be stitched as well:
So I pinned along where the edges of the wings were, as a guide, and made note of where ribbons should go - I think I sewed 3 each on the front and back.

On the front, this was up near the top of the left side of the bodice (her left), one at the right side of her waist, and one at her left hip. This held it in place well.
I machine sewed the middle of each length of ribbon right to the bodice, then pinned the ribbons up and out of the way for sewing all of those feathers down:

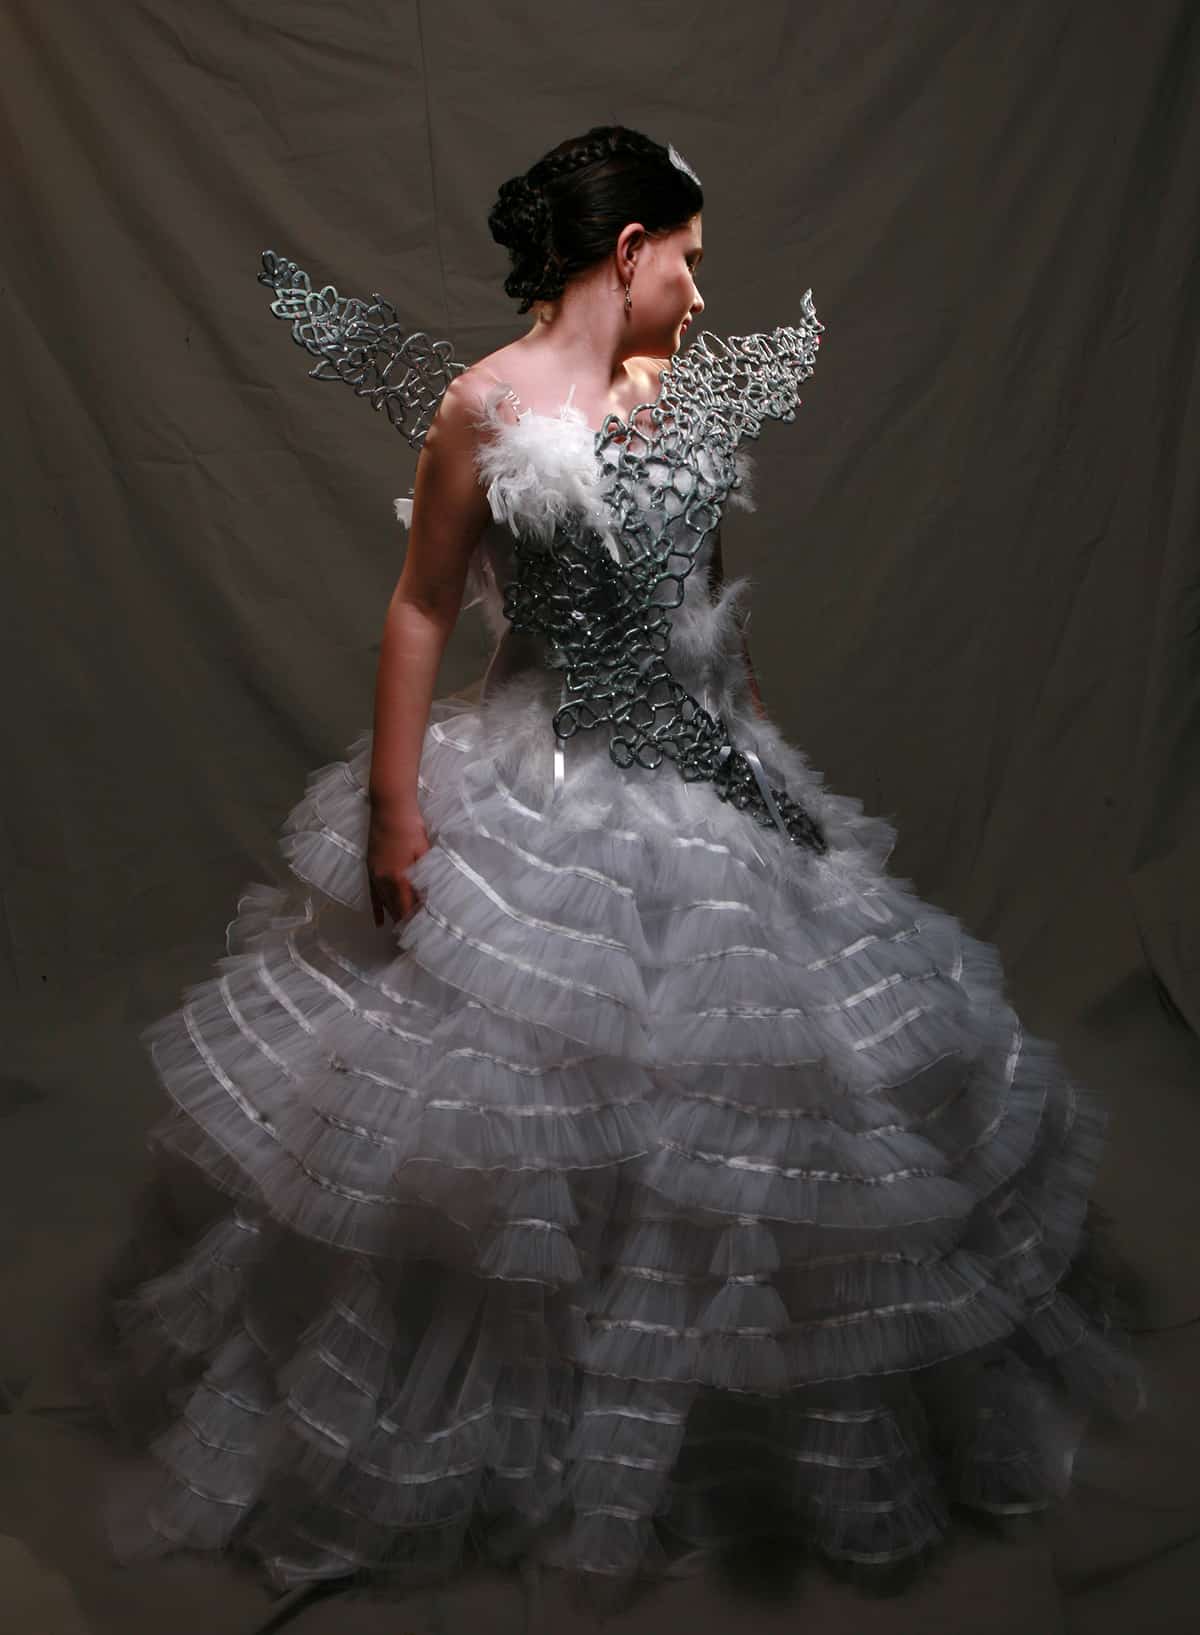
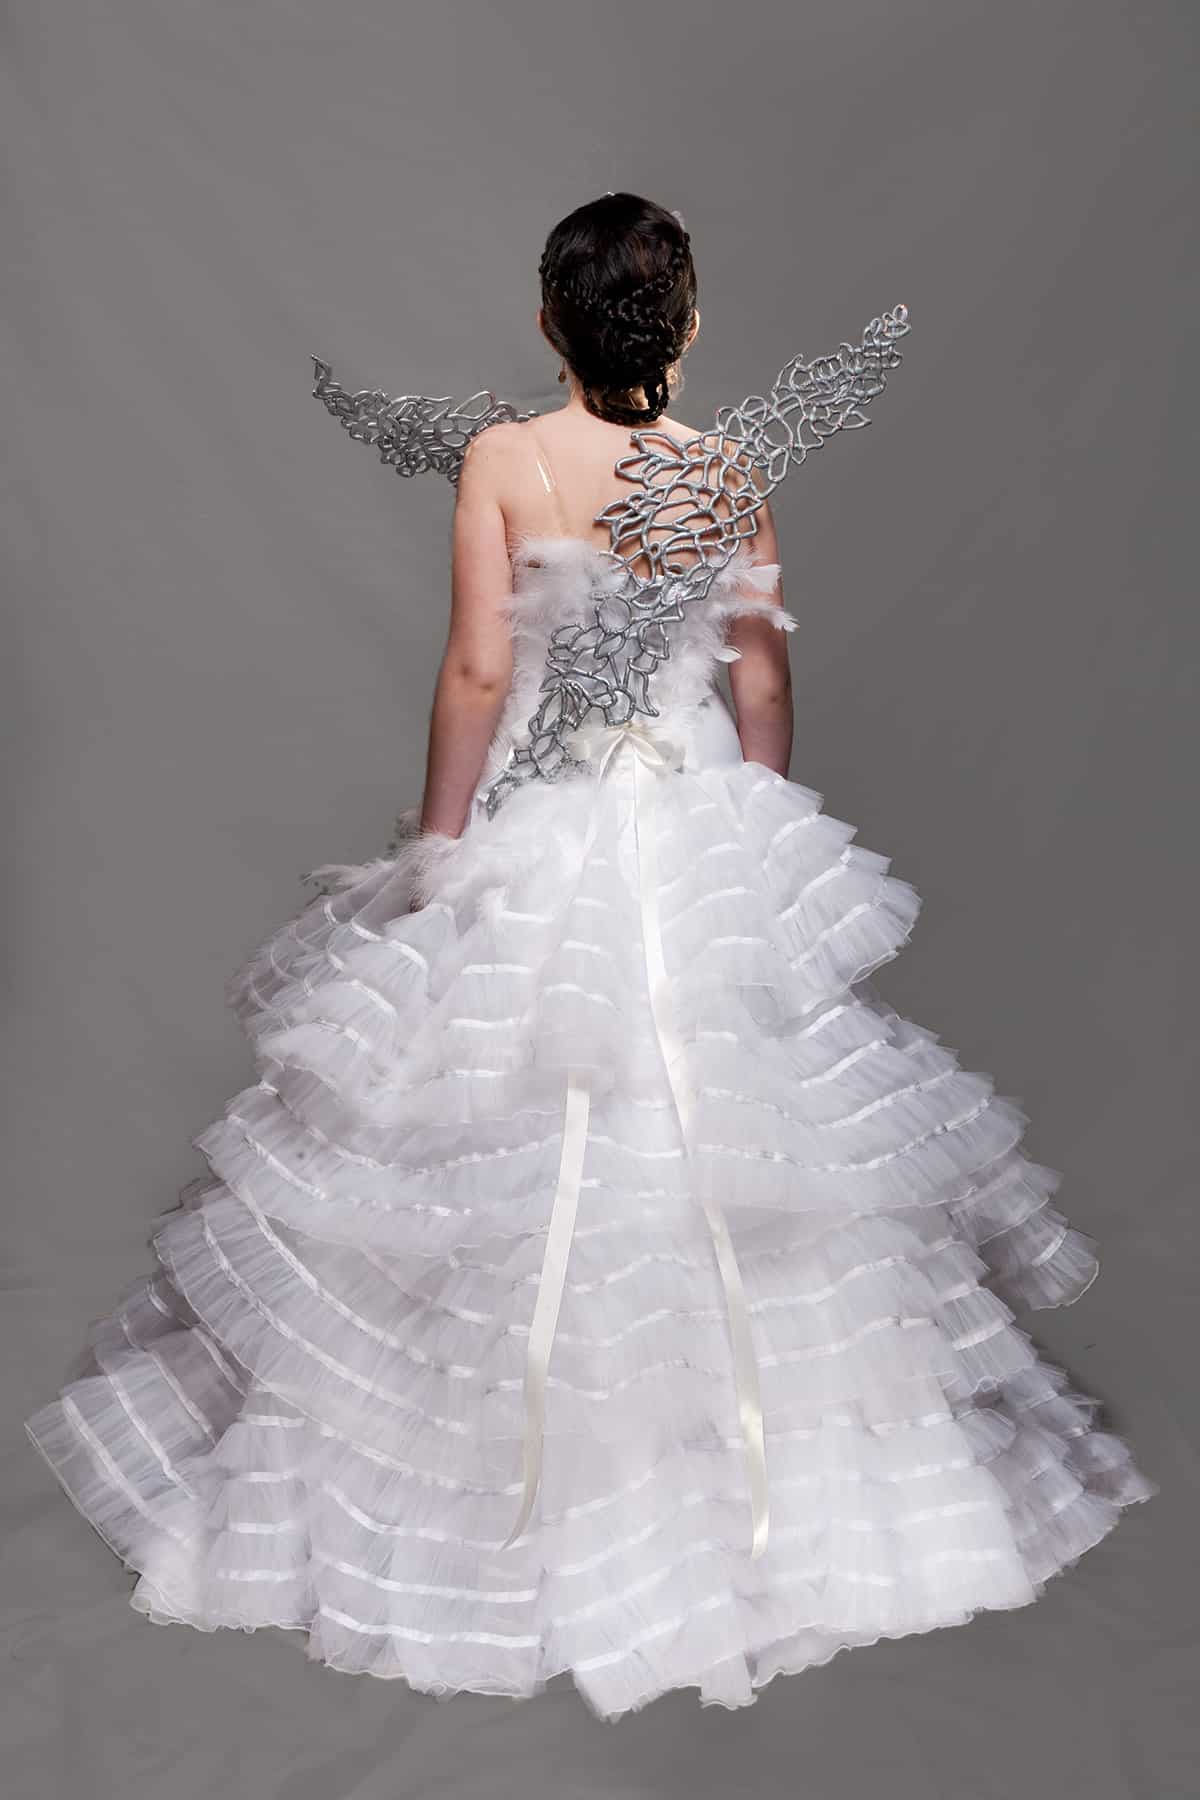
Wearing The Katniss Wedding Gown
To wear it, she put the gown on.
A wing was positioned where it was to go, and the ends of one ribbon were pulled through to the front of the wing, one end on each side of a line of wing.
A bow was tied over that dividing line of wing, and the loops and ends were carefully pulled back through to be hidden and secured behind the wing. It was a beautiful thing!
The finished product:

More Cosplay Posts
Looking for more Cosplay tutorials and posts? Here are a few for you:
Cosplay Photography Tips
How I Made the Maleficent Costume
How I Made the MCU Hela Costume
How to Add a Sole to Boot Covers
How to Make Basic Spandex Gloves
How to Make Fancy Spandex Gloves
How to Make Maleficent's Headpiece
How to Make Spandex Boot Covers
Maleficent Staff Tutorial
Poured Latex Smaug Top
Thranduil Crown Tutorial
Triceracop Costume
Weeping Angel Costume Tutorial
Share the Love!
Be sure to take some pics of your handiwork! If you post it to Bluesky, be sure to tag us - @SpandexSimplified.
Also, be sure to follow me on Pinterest, and subscribe to my Youtube Channel, so you never miss out on any of my nonsense.
Well, the published nonsense, anyway!


Just read through this and the crown tutorial. My experience with "Friendly Plastic" wasn't nearly as good as yours... But mine had sat in a closet for a few years, and that might have had something to do with it. The final product ended up much appreciated, but it wasn't what I was aiming for at all.
I had thought to use my heat gun, but didn't... I'm now thinking it would have helped a lot. My biggest pain points were keeping the water heated enough and melting the beads after my first failed experiment... I left them in too big of a stick, apparently. I think I might buy a cheap pot that I can heat things in without fretting about my good cookware, too. If/when I have another chance to use this stuff.
How much Instamorph did you use?
Hrm, Not a ton. It was definitely less than a lb. How much you end up needing will vary wildly based on how thin you make your ropes, and how big the overall wings will be.
did you make that dress yourself?
Yes
What pattern did you use for the dress? It is beautiful!!!!
Thank you!
I actually draft my patterns from scratch. It's a lot easier than trying to find something close and altering it!