

Custom skate covers are a lot of fun to make AND to wear. This tutorial will show you how to pattern and make them - and how to customize!
This tutorial is excerpted from “Spandex Simplified: Sewing for Skaters”, "Sewing for Skaters and Gymnasts and Dancers... Oh My" by Marie Porter. All photos, & accompanying tutorial are copyright @ 2012 Marie Porter, all rights reserved.

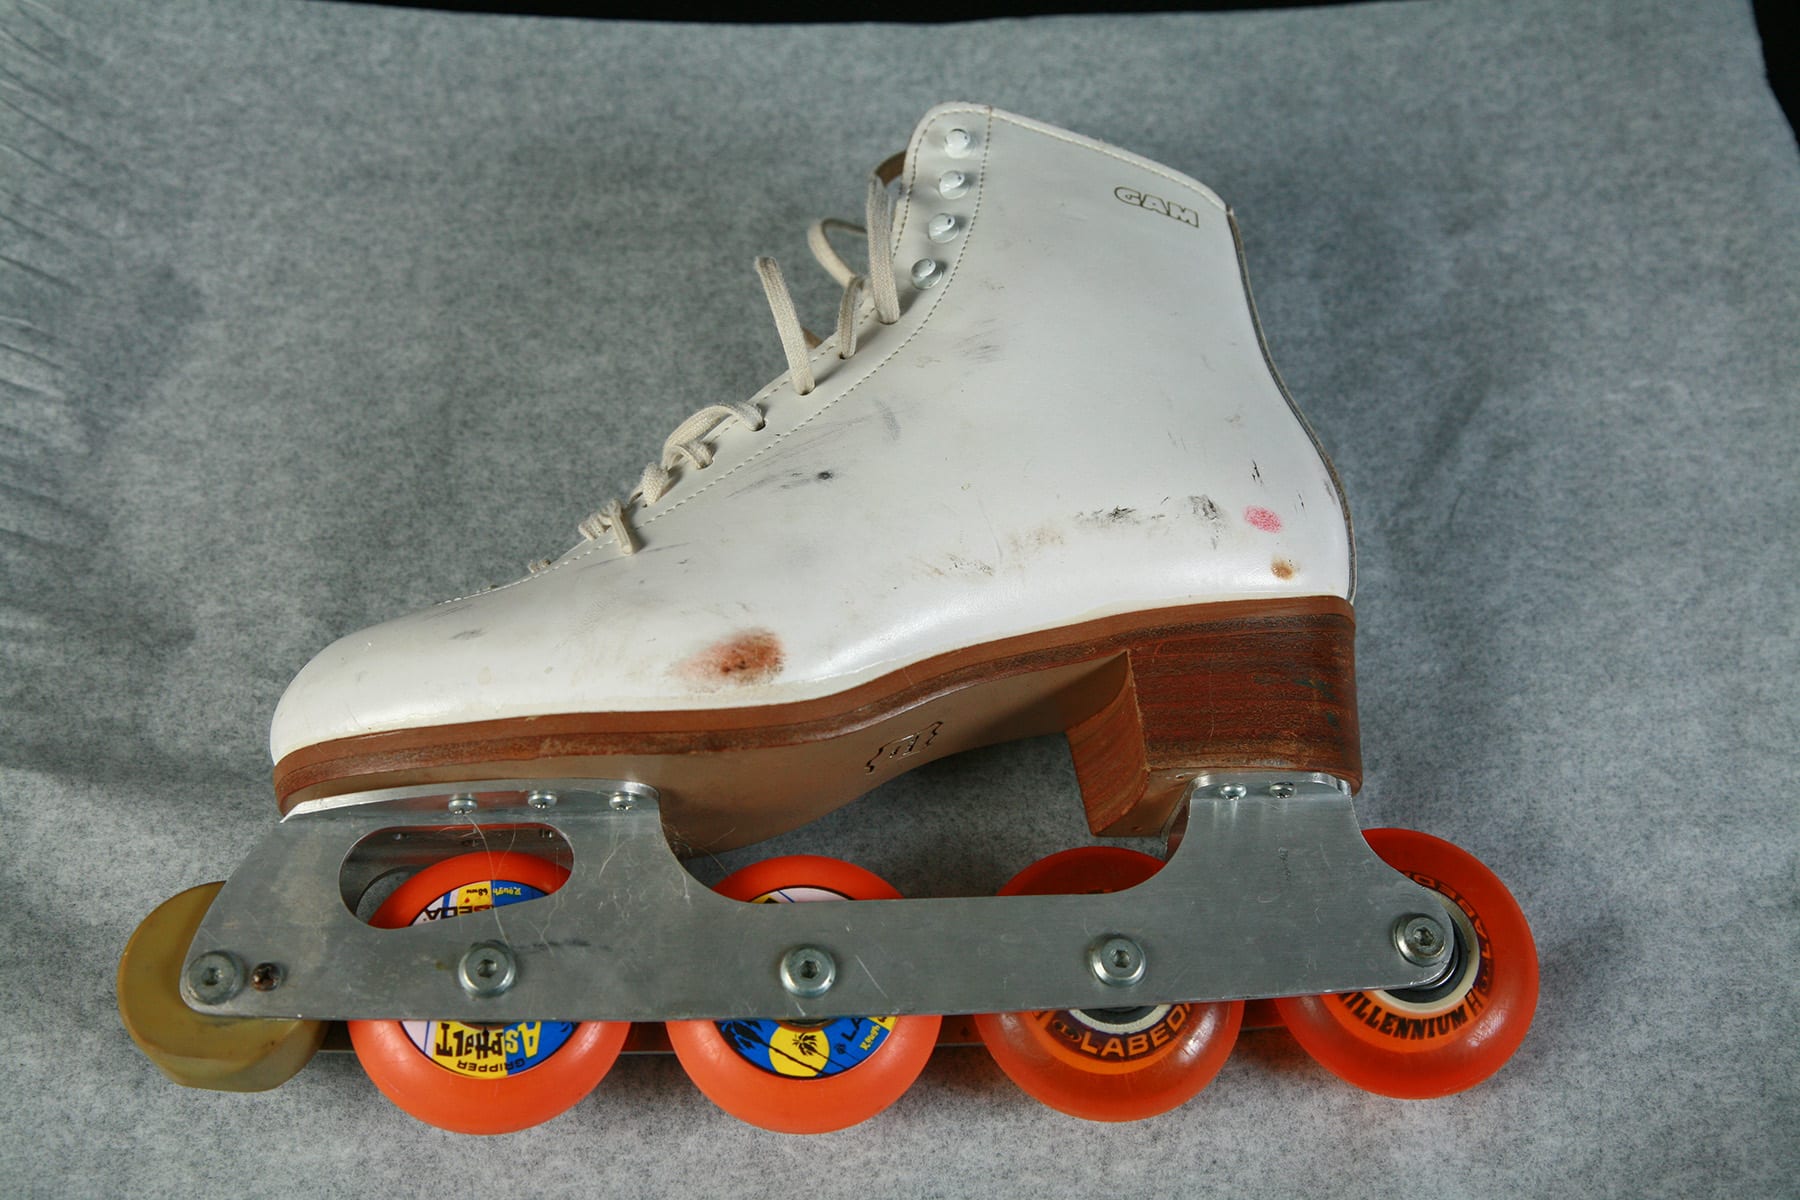
Skate covers are something that seem go in and out of style, but they’re actually really handy - they keep your skates looking decent.
Wearing skate covers is a lot easier / less of a pain than trying to cover up scuff marks on the boots!
How to Make Basic Skate Covers
If you don’t have a pattern for boot covers, I recommend either tracing a store bought pair (turned inside out), or tracing your boot.
Making A Skate Cover Pattern
Lay your boot on a piece of paper.
Use a pen to and trace around the outside of the boot, from just under the sole at the toe, to just under the sole of the heel.
Be sure to keep your pen straight up and down, the whole way around.

Use a ruler to draw a line between the start and end points.
Draw another line about ½" away from the first one, to serve as a bit of a seam allowance.
This will be a good starting point for a pattern, but you’ll want to make a trial pair, then any adjustments necessary.
Usually, skate covers are a one size fits all pattern, but if the skater’s feet are exceptionally large or small, you may need to add or subtract some size to it. Play with it.
Cut Out Your Skate Covers
Cut two sets of skate cover pieces.
I’ll usually fold the fabric in half, place the pattern down, and cut through two layers at once. This will be enough for one cover - repeat to make the second.

As a note on positioning the pattern:
Make sure you know where the greatest degree of stretch is, in your fabric. Generally speaking, one direction will stretch more / more easily - up and down, or side to side.
Whichever way has this greater degree of stretch, position your pattern so that the greatest stretch goes between the toe and the heel, NOT up and down.
Sew Your Seams
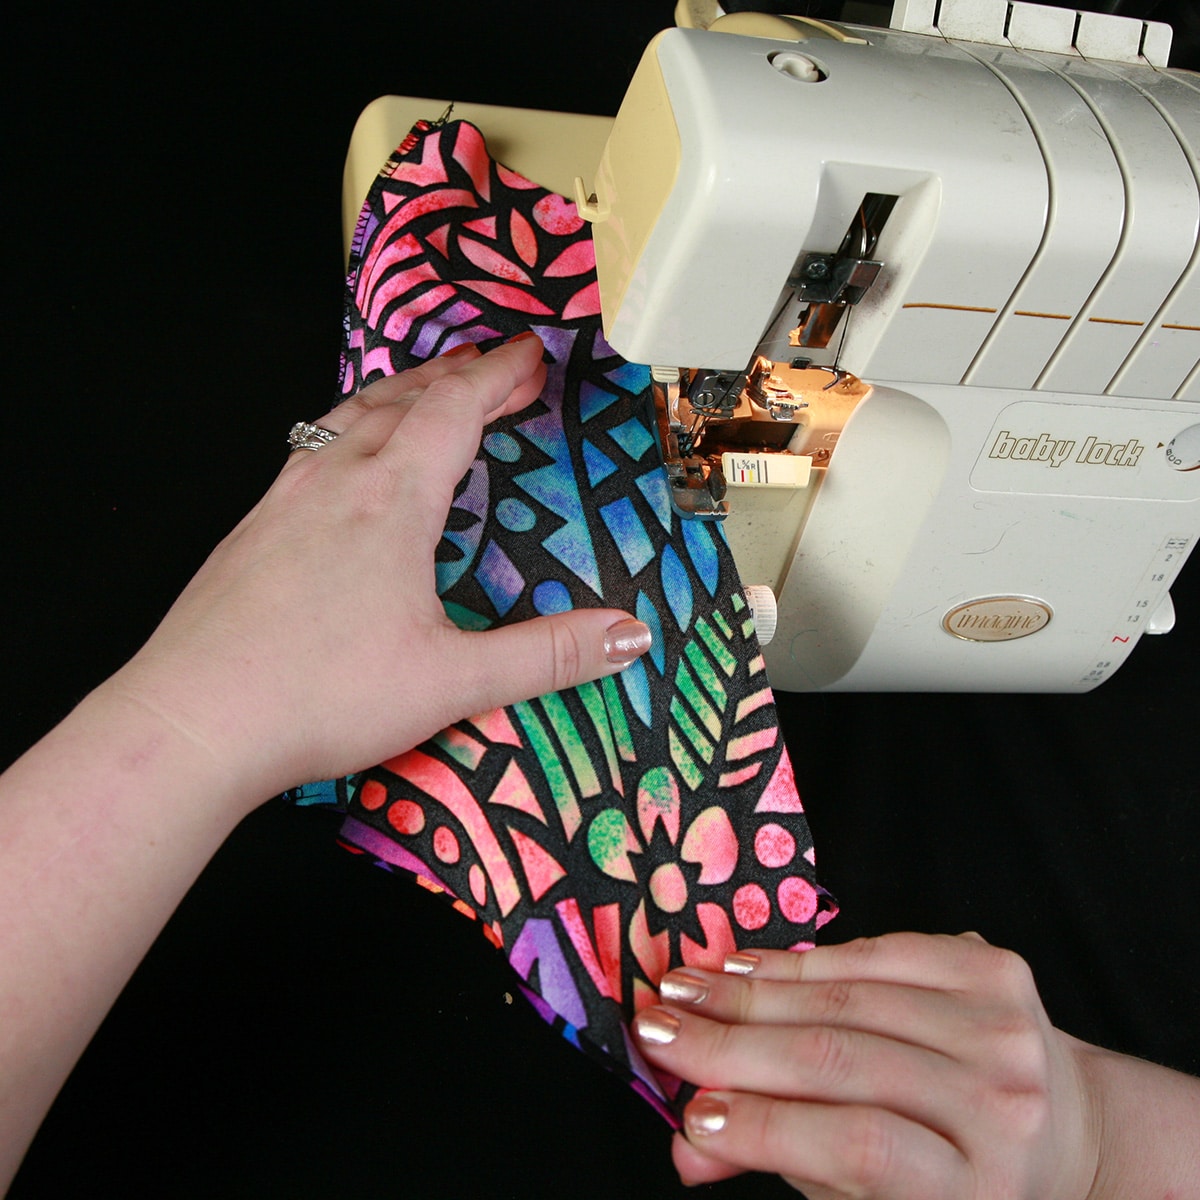
Sew straight seams up the back and front of one of the skate covers, with or without a serger.
Keep the good sides facing together and stretch HARD as you sew.
Finish these two edges with a zig zag or serger edge. (See my post on How to Sew Spandex to learn how to sew stretchy, durable seams on spandex... with or without a serger!)
Apply Your Elastic
Apply elastic to the top (optional) and bottom (necessary!) openings of the skate cover, stretching the elastic and the fabric as you sew. (See the video below to learn how!)

You’ll want the upper edge elastic to be about the same size as the opening (if you use elastic at all - feel free to just hem it!).
For the lower edge, you want the elastic to be tight enough to hold the skate cover in place.

Generally speaking, I don’t flip over the bottom edge, as I find that the raw elastic allows for a better grip on the boot.
Video Tutorial on Making Skate Covers
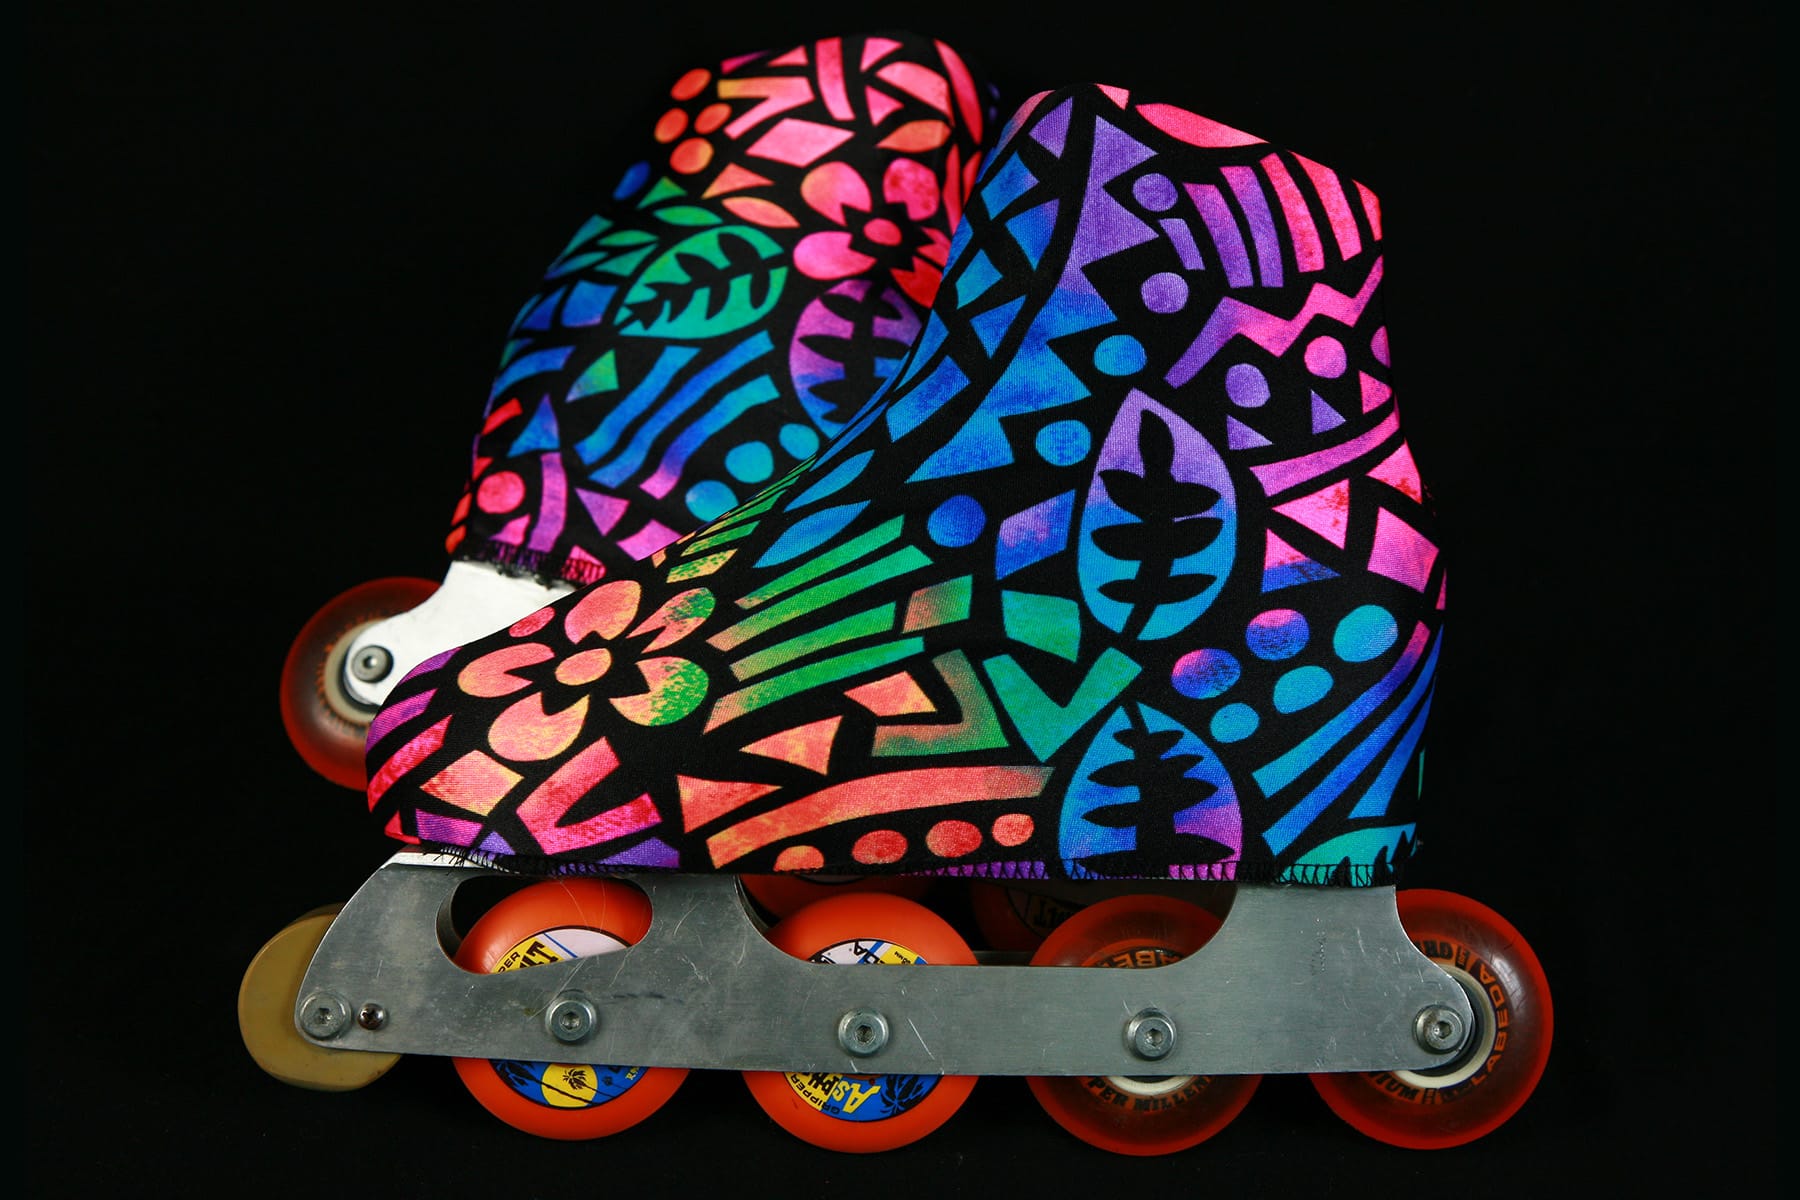
Making Custom Designed Boot Covers

Sometimes, you'll want boot covers that involve more customized design than you can get from a pre-printed spandex.
... and that's where spandex applique comes in!
Spandex applique is a technique where you cut out designs from pieces of spandex, arrange them on another piece of spandex, and stitch it all together.
You can use this to create all kinds of stunning effects on any kind of spandex costuming, but it's a particularly fun way to show some personality through your boot covers!
First, be sure to read my post on How to do Spandex Applique. It's a lot of information, but REALLY easy to do once you've read it!
Next, decide on your order of operations. In general, it'll look like this:
1. Make your base pattern
2. Draw your designs on your base pattern..
3. Decide how much of your applique work you can do to each piece. The more of the work you can do before sewing them together, the better!
4. Follow the directions on the Spandex Applique post linked above, to cut and apply your appliques to your boot cover pieces
5. If you have any eyelets or anything else that should be applied before assembly, do that now.
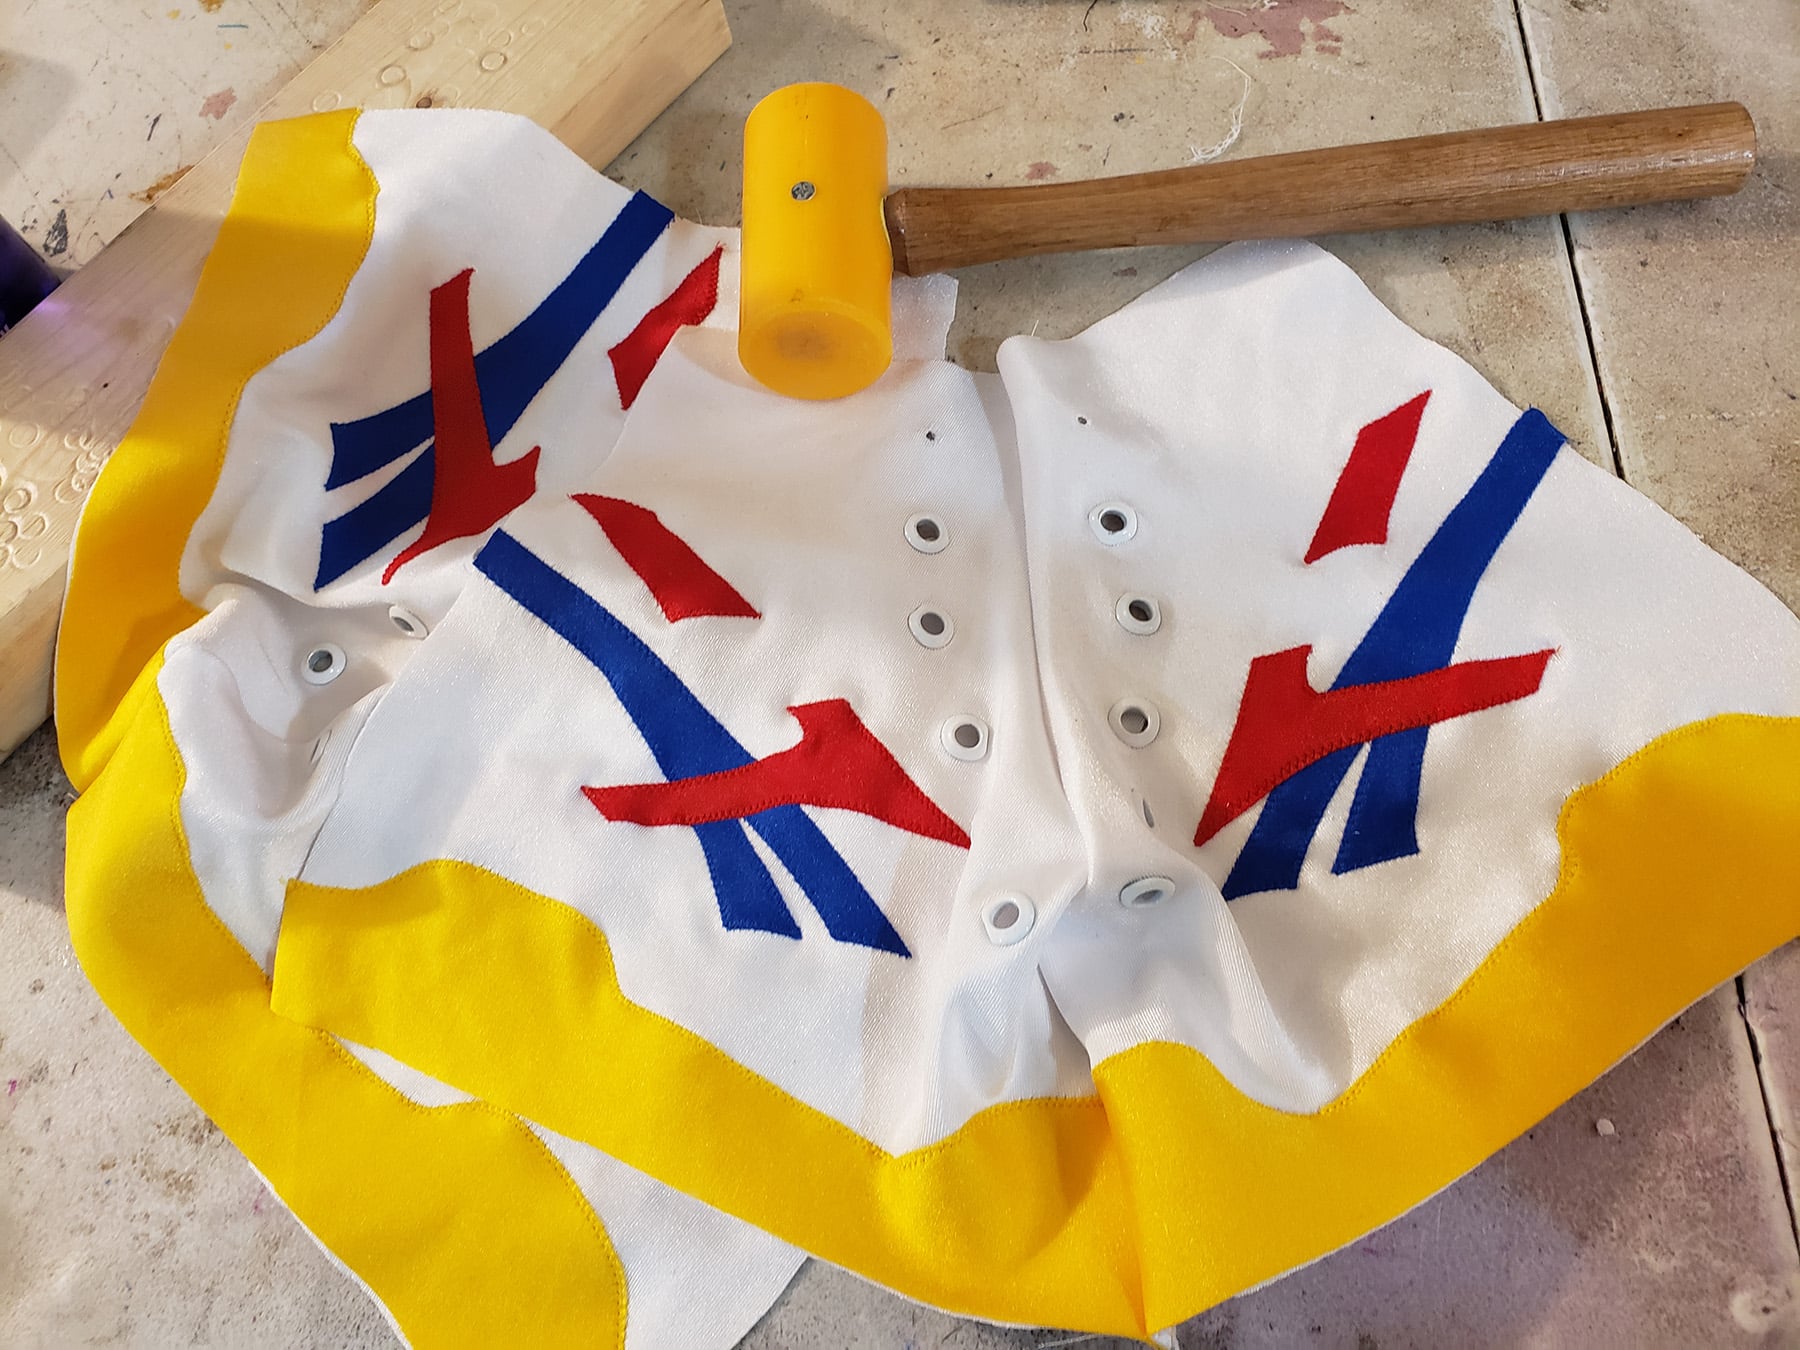
6. If you have an applique that has to go across a seam, sew that seam, and then do that applique.
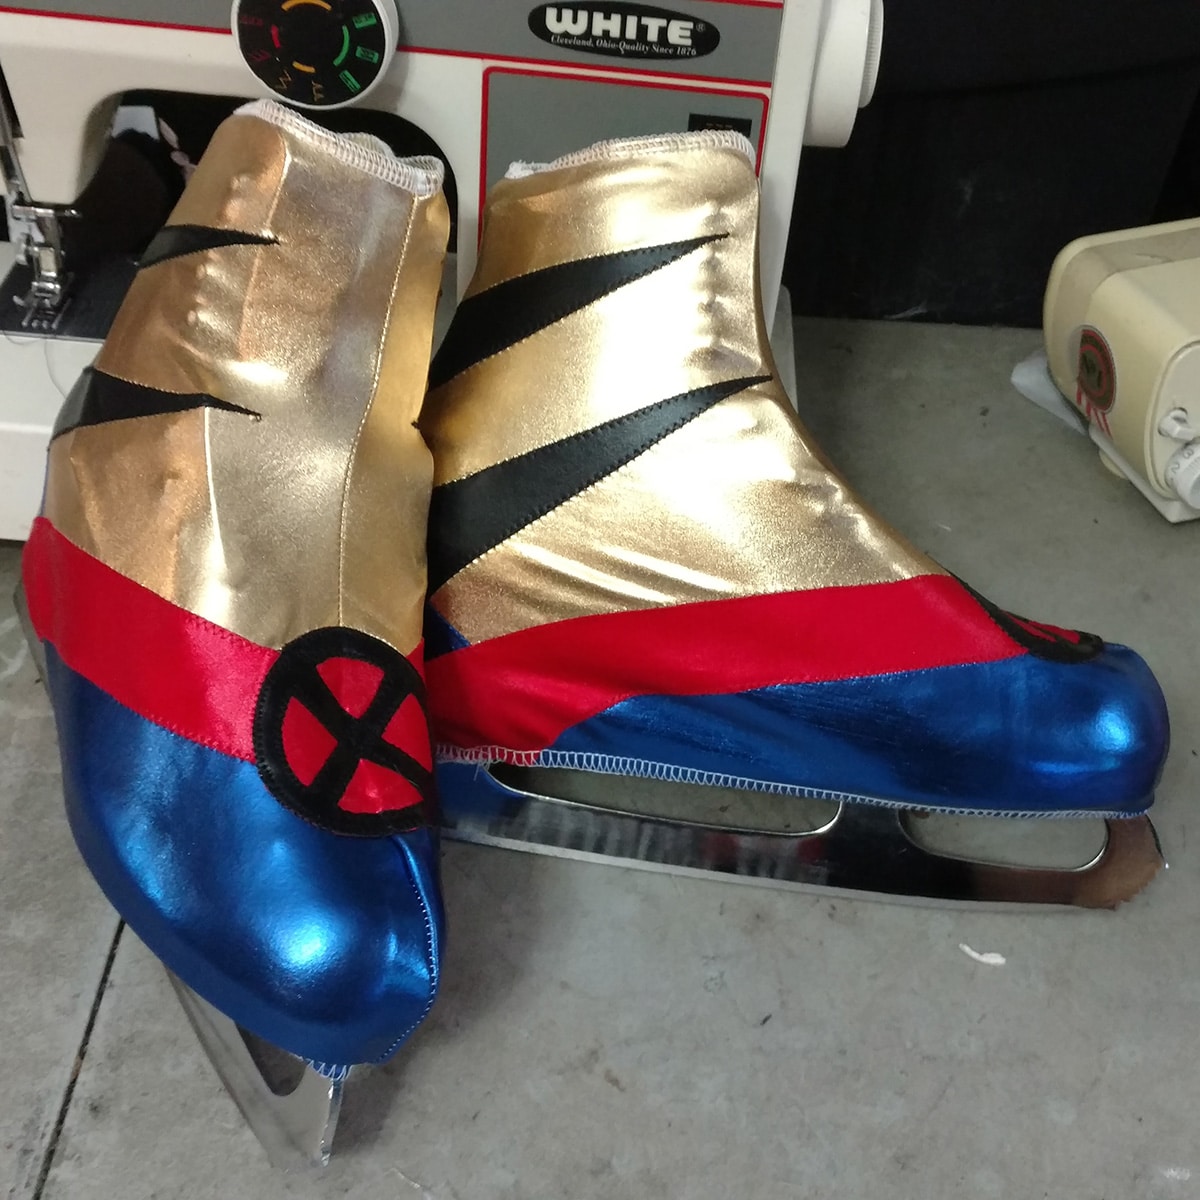
As an example, the Wolverine themed boot covers seen here have the X-Men logo sewn across a seam. Everything else was appliqued before sewing that front seam.
7. Sew the other seam, apply your elastic.
8. If you're embellishing it at all - paint, crystals, etc - do that once the boot covers are done.
Ideally, stretch them out before doing so. Wrapping your boot in plastic wrap and putting the boot cover on is a quick, easy, and safe form to work with!
Enjoy!

Consider Soakers!
Now that you've got your custom boot covers, consider making a pair of soakers to go with them! Check out my tutorial on How to Make Soakers.
More Figure Skating Sewing Tutorials
Want some more skating related sewing content? Try these on for size:
How to Hem Spandex
Bodyshirts for Male Figure Skaters
Pull-on Figure Skating Skirts
How to Draft Skating Skirt Patterns
How I Made That: 80's Figure Skating Dress
How I Made That: Flames Skating Dress
How I Made That: The Pink & Black Skating Dress
How to Make Scrunchies
How to Pattern and Make Waterfall Skirts
How to Make Soakers
Make a Basic Ice Skating Dress
Proper Care of Figure Skating Dresses
How I Made That: Art Deco Skating Dress
How I Made That: The Ursula Dress
Share the Love!
Be sure to take some pics of your handiwork! If you post it to Bluesky, be sure to tag us - @SpandexSimplified.
Also, be sure to follow me on Pinterest, and subscribe to my Youtube Channel, so you never miss out on any of my nonsense.
Well, the published nonsense, anyway!

How to Make Skate Covers
Equipment
- Sewing Machine
- Serger (Optional)
- Stretch Sewing Needles
Materials
- Spandex
- Thread to match
- ¼" - ⅜" elastic
Instructions
Making A Skate Cover Pattern
- Lay your boot on a piece of paper.
- Use a pen to and trace around the outside of the boot, from just under the sole at the toe, to just under the sole of the heel.
- Be sure to keep your pen straight up and down, the whole way around.
- Use a ruler to draw a line between the start and end points.
- Draw another line about ½" away from the first one, to serve as a bit of a seam allowance.
Cut Out Your Skate Covers
- Cut two sets of skate cover pieces. I’ll usually fold the fabric in half, place the pattern down, and cut through two layers at once. This will be enough for one cover - repeat to make the second.
- As a note on positioning the pattern: Make sure you know where the greatest degree of stretch is, in your fabric. Generally speaking, one direction will stretch more / more easily - up and down, or side to side. Whichever way has this greater degree of stretch, position your pattern so that the greatest stretch goes between the toe and the heel, NOT up and down.
Sew Your Seams
- Sew straight seams up the back and front of one of the skate covers.
- Keep the good sides facing together and stretch HARD as you sew.
- Finish these two edges with a zig zag or serger edge. Repeat on second boot cover.
Apply Your Elastic
- Apply elastic to the top and bottom openings of the skate cover, stretching the elastic and the fabric as you sew.
- You’ll want the upper edge elastic to be about the same size as the opening (if you use elastic at all - feel free to just hem it!).
- For the lower edge, you want the elastic to be tight enough to hold the skate cover in place.
- Generally speaking, I don’t flip over the bottom edge, as I find that the raw elastic allows for a better grip on the boot.


Leave a Reply