

How to Make Synchro Headpieces & Bun Covers
This tutorial is excerpted from “Spandex Simplified: Synchro Swimwear” by Marie Porter. All photos, & accompanying tutorial are copyright @ 2012 Marie Porter, all rights reserved.

Here's an easy to follow tutorial on how to make synchro headpieces, and how to make synchro bun covers. Loads of photos to help you along!
How to Make Synchro Bun Covers
Bun covers are incredibly easy to make, taking only minutes to turn each one out!
Here is how you do it:
Have A Plan in Place
Before you start sewing your bun covers, have a plan of what the final bun cover will involve, as that will affect your order of operations.
As a guideline:
- If you want to applique a design onto your bun cover (See my post on How to do Spandex Applique!), do the applique before doing any of the sewing.... just be sure to keep in mind that you won't see the outer ½" or so!
- If you're going to do any embellishing - sequins, rhinestones, etc - do it AFTER all of the sewing is done, but before you put the elastic in.

Your Fabric Choices
A few quick notes on fabric:
- Your base spandex should have a good amount of stretch both ways: side to side and up and down.
- You can use spandex with less stretch as an applique accent, but keep in mind that it will affect the overall stretch of the bun cover.
- The less stretch that an applique has, the smaller / more narrow it should be.
- When using a spandex with less stretch as an applique, position your pattern on the fabric such that the longest direction of the applique will end up with the most amount of stretch.
- If you’re using a large section that will not stretch - such as a sequined applique - you might want to increase the size of the base circle, to compensate for it.
- While you’ll tuck the elastic end in when wearing, know that black elastic will hide against slicked hair better than white elastic will.
Know Your Sizing
How much hair you’re looking to cover will determine how big of a circle you’ll want to start with:
Small Bun Covers
For very young children, I’ll make small bun covers with
Medium Bun Covers
For most swimmers, start with a circle of spandex that is 6.5" in diameter.
This is the default sizing I use, when large or small isn’t requested by the coach or parent.
Large Bun Covers
For girls with a lot of very thick and/or long hair, you’ll want to start with a circle of spandex that is 7.5" in diameter.
How to Sew Bun Covers
1. Serge or zigzag around the edge of the fabric, trim threads.
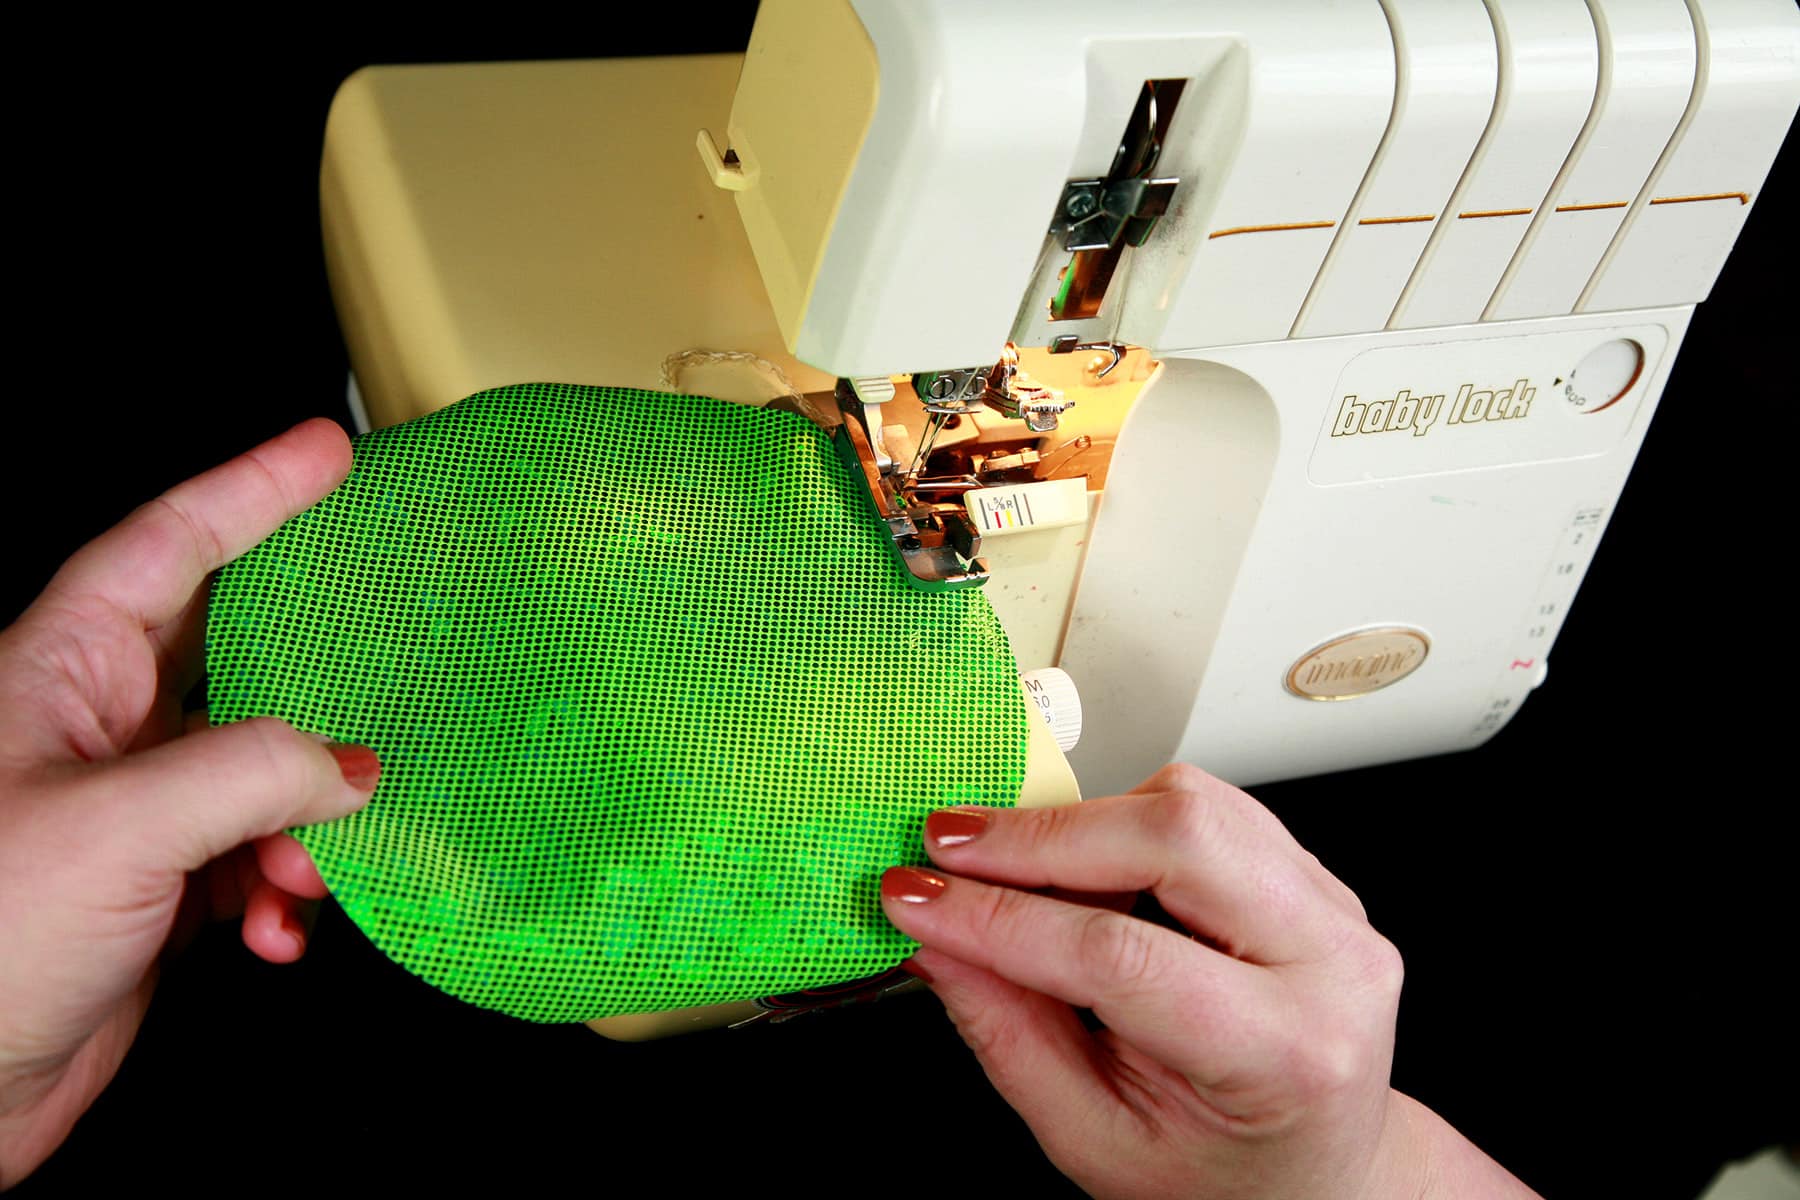
2. Fold about ½" of the fabric over - wrong side to wrong side - and stitch the very edge of it down.

3. Continue this the whole way around, stretching and easing excess fabric inward. You'll be forming a channel for the elastic.
4. When you come around to the starting point, leave a little bit of an opening, and finish the seam off with a stay stitch.

5. If you’re embellishing the bun covers, now is the best time to do so.
For crystalling or painting, I like to pin the bun covers flat to a surface, such as a sheet of styrofoam or corrugated cardboard.
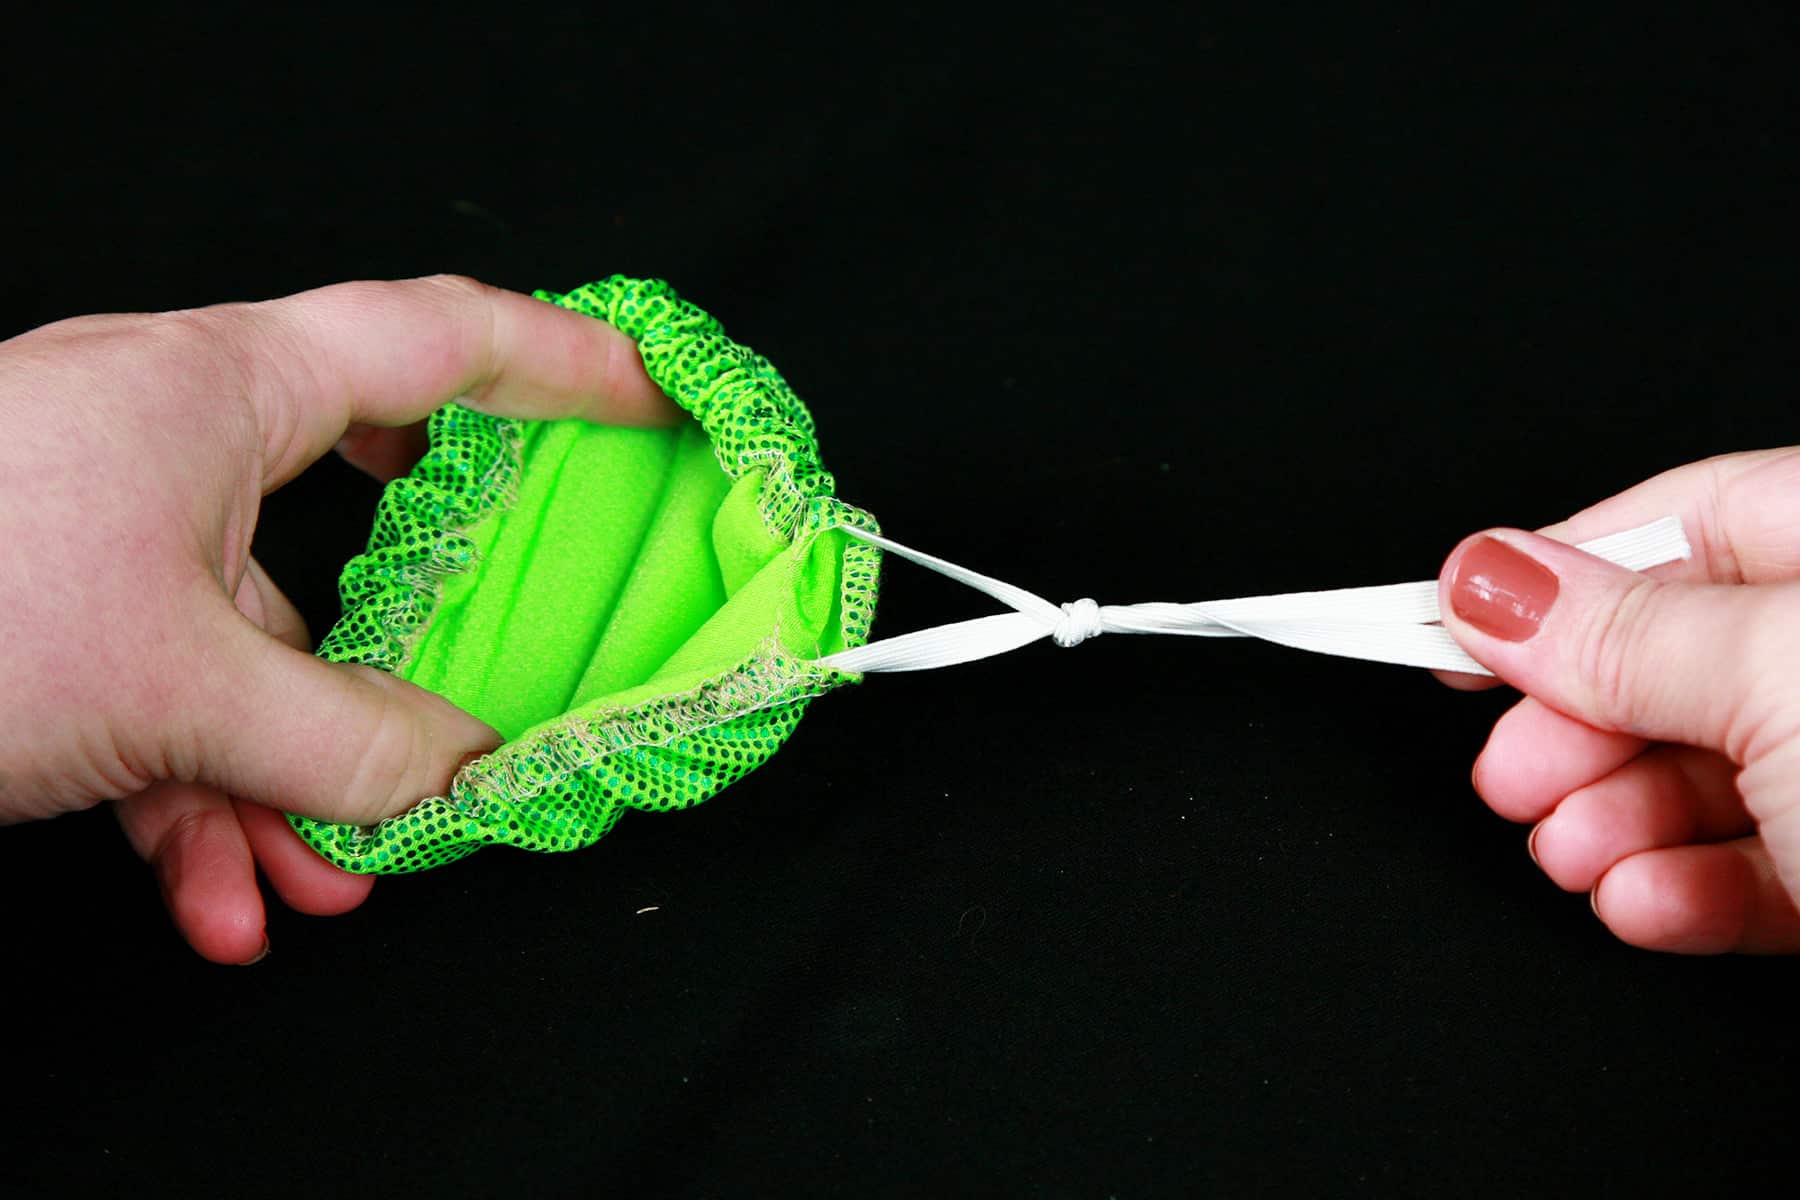
6. Run a length of elastic - I like ¼" for this - through the channel, bunching the fabric as you go.
You can use a drawstring threader (a long, blunt plastic needle, available at most sewing supply or craft stores), or even just a safety pin attached to the leading edge of the elastic, to thread it through.

Make sure that the trailing end of elastic stays out of the bun cover, as you’re working it through.
7. Once you have the elastic pulled all of the way through the channel, tie the two ends of elastic together a couple times so that it forms a loop of the desired length - usually about 4-5".
How to Make Synchro Headpieces
As headpieces are definitely one of those “your only real limitation is your own imagination” things, this is more of an overview of how I make them, than anything.
Use these techniques to come up with any shape, style, and design you can think of!
Designing & Patterning Your Headpiece
To start, draw your design out on a piece of exam table or tracing paper.
If you’re using multiple shapes / fabrics - as I am here - be sure to allow for some overlapping. (Alternatively, you can make separate pieces to be used on different areas of the head!).

When you’re designing your headpiece, think about how and where you plan to have it sit on the head.
Will it wrap around a bun? Swirl to the front?
Keep these sorts of thoughts in mind as you draw it. Draw your design “right side up”, and mark where the colours will go.
Making Your Headpiece
1. Once you have your master design drawn, use another piece of exam table paper to trace the separate parts.
Be sure to cut a bit of overage on the piece that will be going under the other, if applicable. (See dotted line on the photo below.)
2. Cut pieces out of plastic canvas, hold against head of swimmer to ensure the size/shape works for you.

3. Cut a piece of fabric, slightly bigger than the piece of plastic canvas that it will be covering.
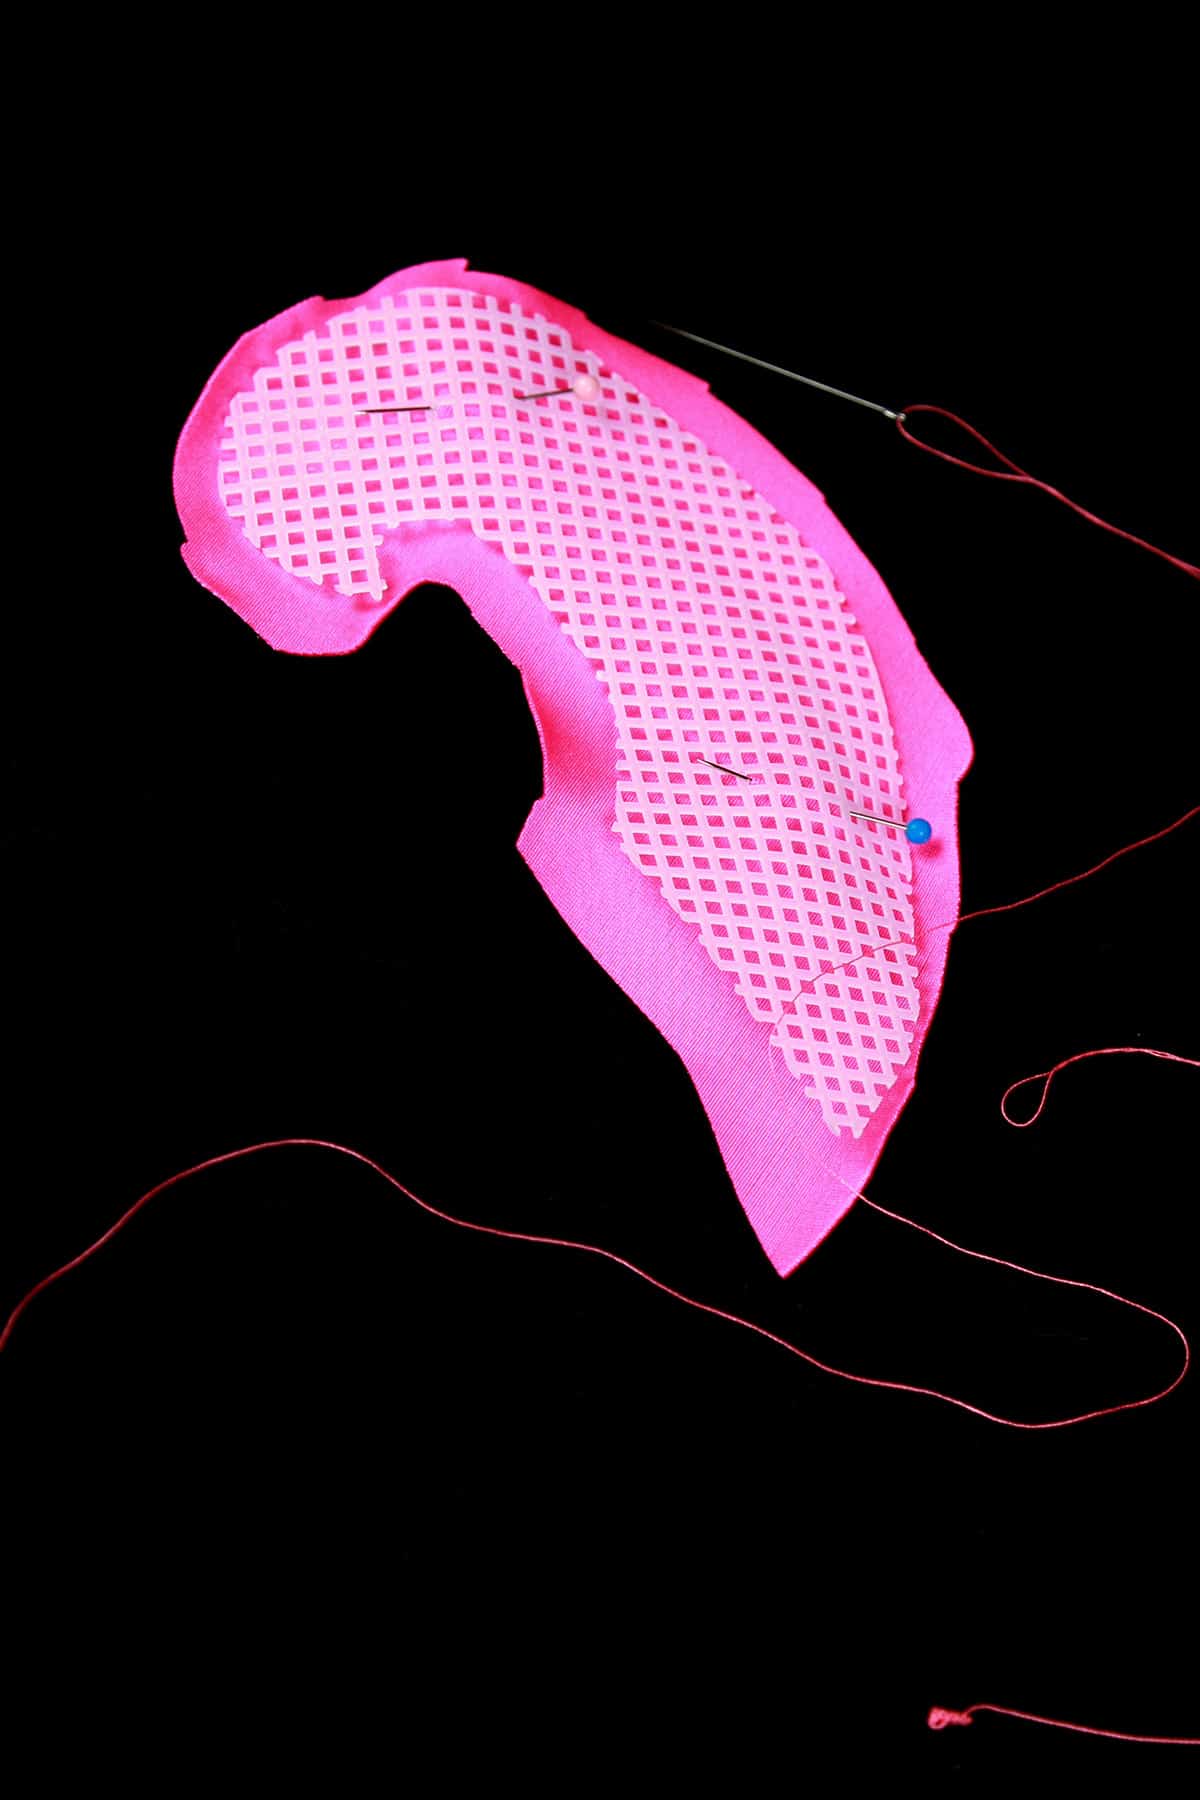
4. Pin the fabric into place if you need to, stretch the edge around the plastic canvas, and sew it down along the edge, using matching thread.
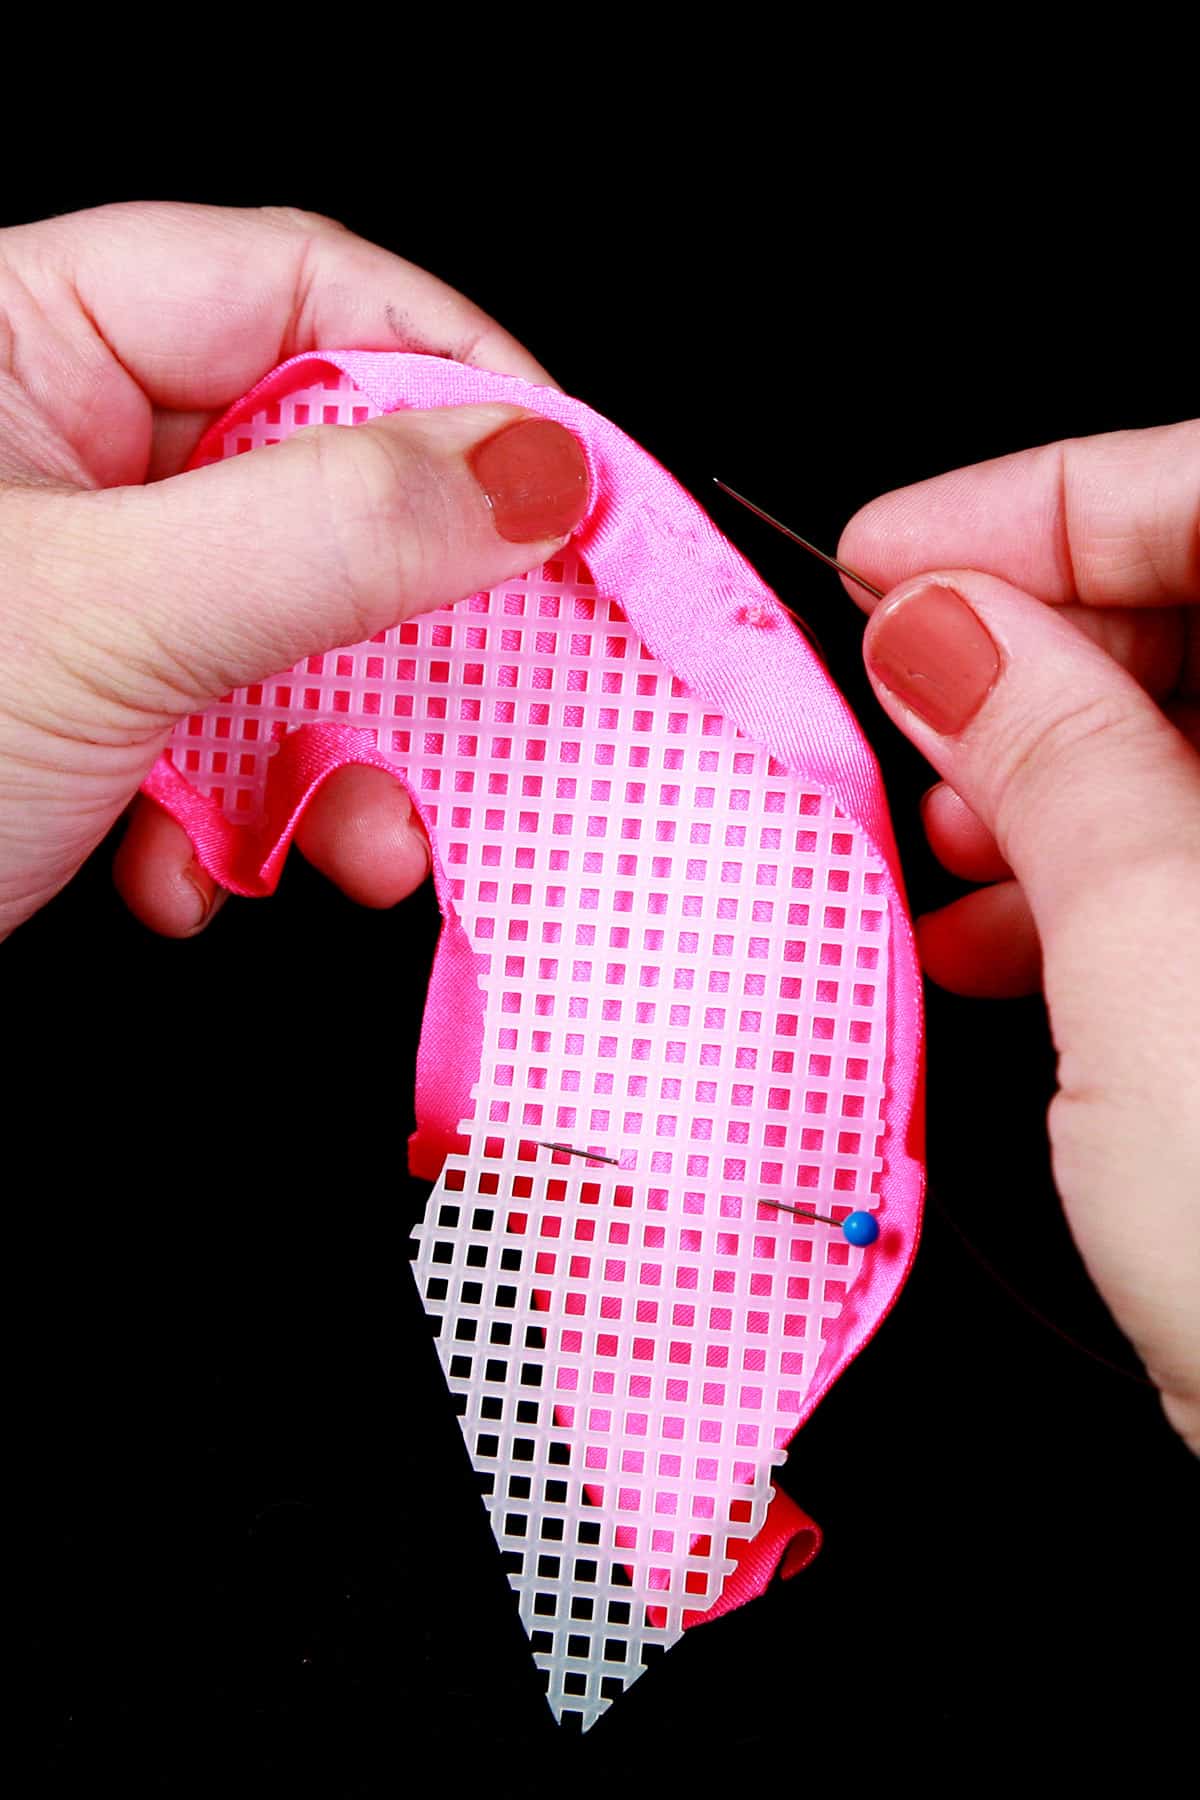
5. If you have other pieces, repeat the process with them, until all of your pieces are covered with their respective colours of spandex.
6. Use your master pattern as a guide to positioning / overlapping multiple pieces.

7. Hold your pieces together in place as you sew one to the other, using thread to match the colour on top.

8. Using 20 gauge copper wire - available at craft stores - straighten out a length.
9. Every 2" or so, wrap a single loop tightly around a pen or pencil, twisting twice. This will be what your swimmer uses to pin the headpiece on.

Personally, I like to do my wire twisting in smallish stretches, so I have some flexibility as to where the loops go.
Generally speaking, you’ll want one at each point/peak, the outsides of curves - in addition to along the rest of the edges.
Intentionally positioning loops at peaks and curves prevents the headpiece from flapping around, and getting ripped off as a result.
10. Curl the very end of your wire around needle nose pliers, or otherwise bend to form a tight loop. This will prevent the wire from stabbing your swimmer in the head!
11. Use a regular needle and matching thread to stitch the wire down to the underside of your headpiece, lining up the loops to start right at the edge.

12. Continue around the entire outer edge of the headpiece, twisting and placing the wire as you go. When you meet up with your starting point, knot your thread well and finish off your seam.

13. Embellish your headpiece as desired, with crystals, sequins, fabric paint, and/or glitter.

So, that’s a basic headpiece... you can use as many pieces as you want, different fabrics, embellishments, etc to create whatever you can imagine.
Here’s an example of a headpiece that used several different pieces to really compliment the style of the suit it was made for:

You can even applique your headpiece.
To do so, draw your design onto your main pattern, including the applique.
Applique your design onto a piece of fabric slightly bigger than your plastic canvas will be, and THEN sew it onto the plastic canvas.
Here’s an example of an appliqued headpiece, and the suit it was made for:

Share the Love!
Be sure to take some pics of your handiwork! If you post it to Bluesky, be sure to tag us - @SpandexSimplified.
Also, be sure to follow me on Pinterest, and subscribe to my Youtube Channel, so you never miss out on any of my nonsense.
Well, the published nonsense, anyway!

How to Make a Synchro Headpiece
Equipment
- Tracing or Medical Paper
- Scissors
- Sewing Needle
Materials
- Scrap spandex
- Thread
- Embellishments, optiona, Crystals, paint, glitter, etc
Instructions
Designing & Patterning Your Headpiece
- To start, draw your design out on a piece of exam table or tracing paper.
- If you’re using multiple shapes / fabrics - as I am here - be sure to allow for some overlapping. (Alternatively, you can make separate pieces to be used on different areas of the head!).
- When you’re designing your headpiece, think about how and where you plan to have it sit on the head.Will it wrap around a bun? Swirl to the front?Keep these sorts of thoughts in mind as you draw it. Draw your design “right side up”, and mark where the colours will go.
Making Your Headpiece
- Once you have your master design drawn, use another piece of exam table paper to trace the separate parts.
- Be sure to cut a bit of overage on the piece that will be going under the other, if applicable. (See dotted line on the photo below.)
- Cut pieces out of plastic canvas, hold against head of swimmer to ensure the size/shape works for you.
- Cut a piece of fabric, slightly bigger than the piece of plastic canvas that it will be covering.
- Pin the fabric into place if you need to, stretch the edge around the plastic canvas, and sew it down along the edge, using matching thread.
- If you have other pieces, repeat the process with them, until all of your pieces are covered with their respective colours of spandex.
- Use your master pattern as a guide to positioning / overlapping multiple pieces.
- Hold your pieces together in place as you sew one to the other, using thread to match the colour on top.
- Using 20 gauge copper wire - available at craft stores - straighten out a length.
- Every 2" or so, wrap a single loop tightly around a pen or pencil, twisting twice. This will be what your swimmer uses to pin the headpiece on.Personally, I like to do my wire twisting in smallish stretches, so I have some flexibility as to where the loops go.Generally speaking, you’ll want one at each point/peak, the outsides of curves - in addition to along the rest of the edges.Intentionally positioning loops at peaks and curves prevents the headpiece from flapping around, and getting ripped off as a result.
- Curl the very end of your wire around needle nose pliers, or otherwise bend to form a tight loop. This will prevent the wire from stabbing your swimmer in the head!
- Use a regular needle and matching thread to stitch the wire down to the underside of your headpiece, lining up the loops to start right at the edge.
- Continue around the entire outer edge of the headpiece, twisting and placing the wire as you go. When you meet up with your starting point, knot your thread well and finish off your seam.
- Embellish your headpiece as desired, with crystals, sequins, fabric paint, and/or glitter.


Leave a Reply