

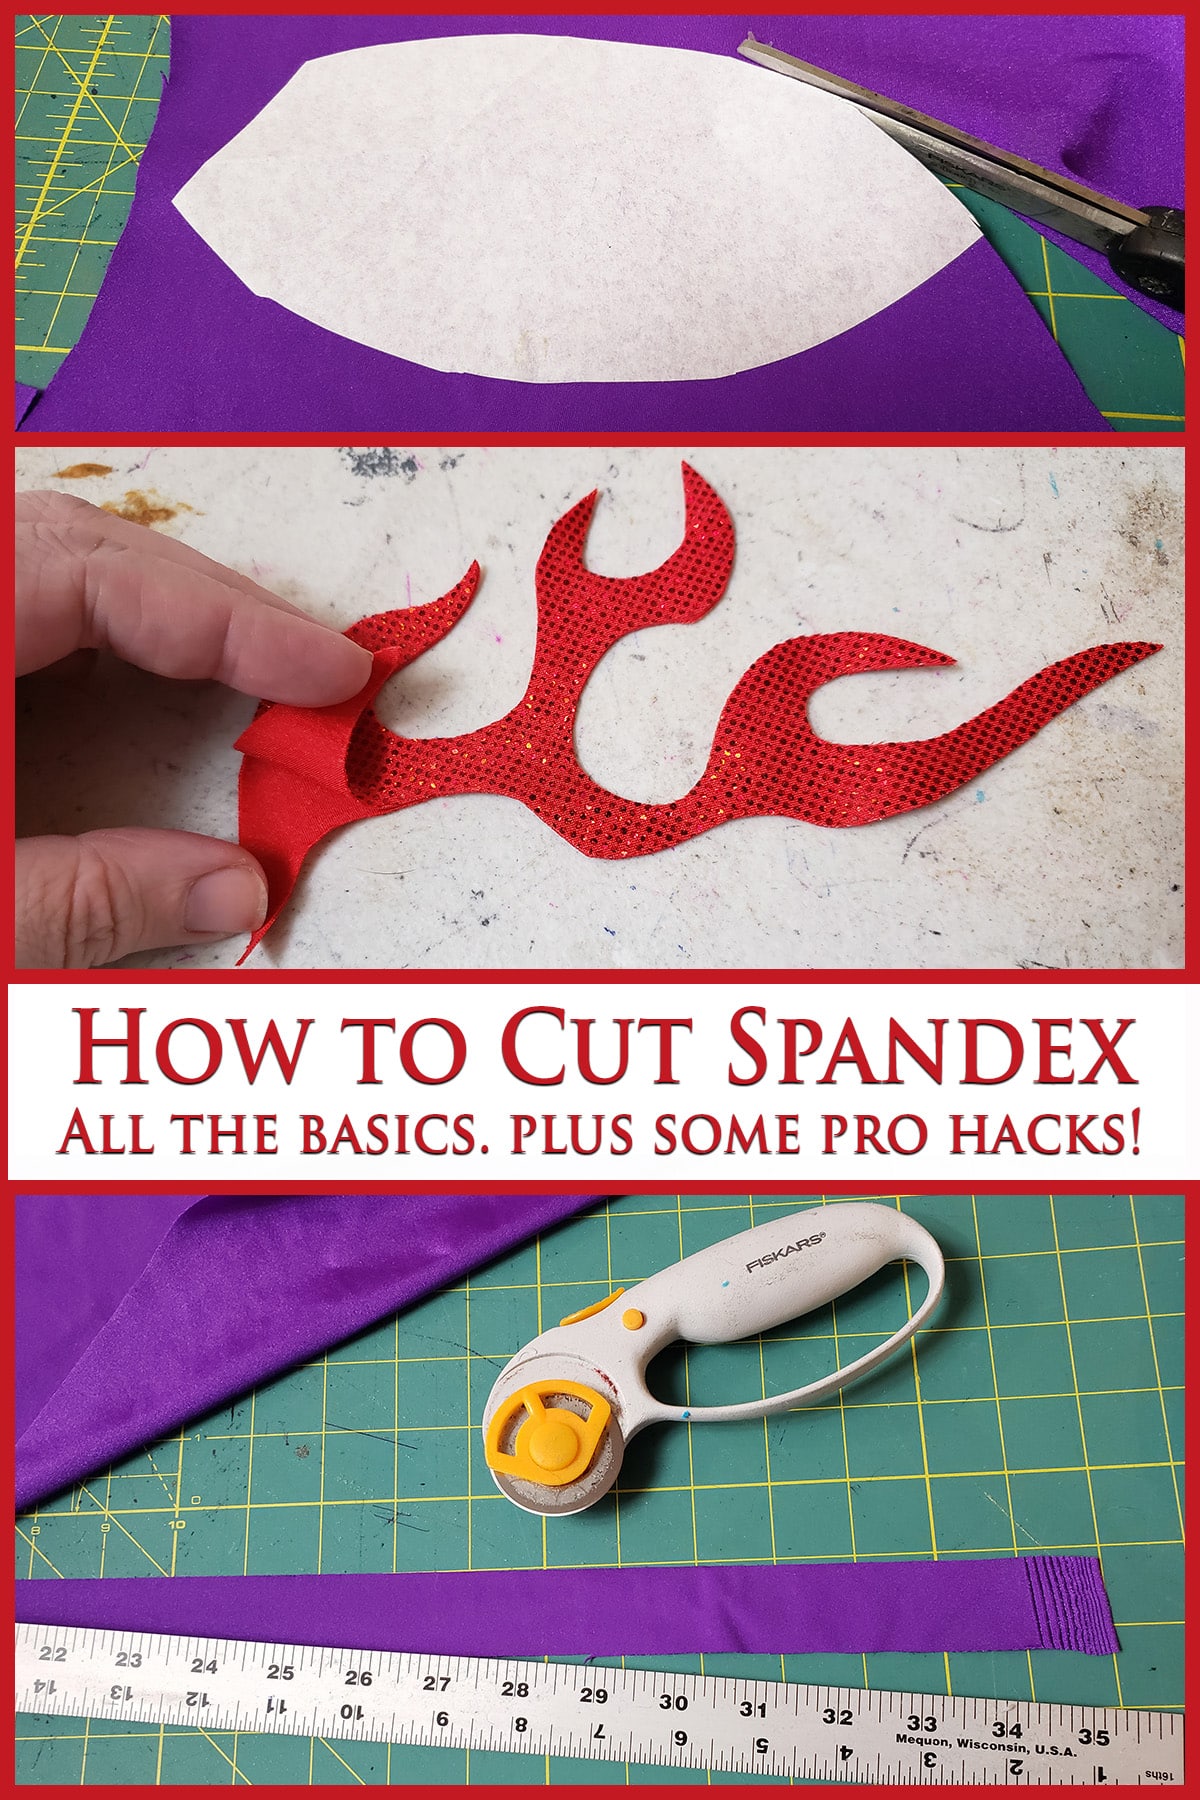
Wondering how to cut spandex? This tutorial goes over all of the basics of placing and cutting, as well as some pro tips to make life easier!
This tutorial is partially excerpted from the "Spandex Simplified" line of books by Marie Porter. All photos, & accompanying tutorial are copyright @ 2012- Marie Porter, all rights reserved.
I’d never given a ton of thought to actually cutting spandex.
When starting this blog up, though, a LOT of people requested a post addressing it. So, here we are!
Start with the Proper Equipment
Having a good pair of sharp scissors is one of the most important things you can have in place, when starting spandex costuming... but there are other items that will help you out, also.
Scissors
TD;DR: Use really sharp scissors. Dull scissors are a real headache to use.
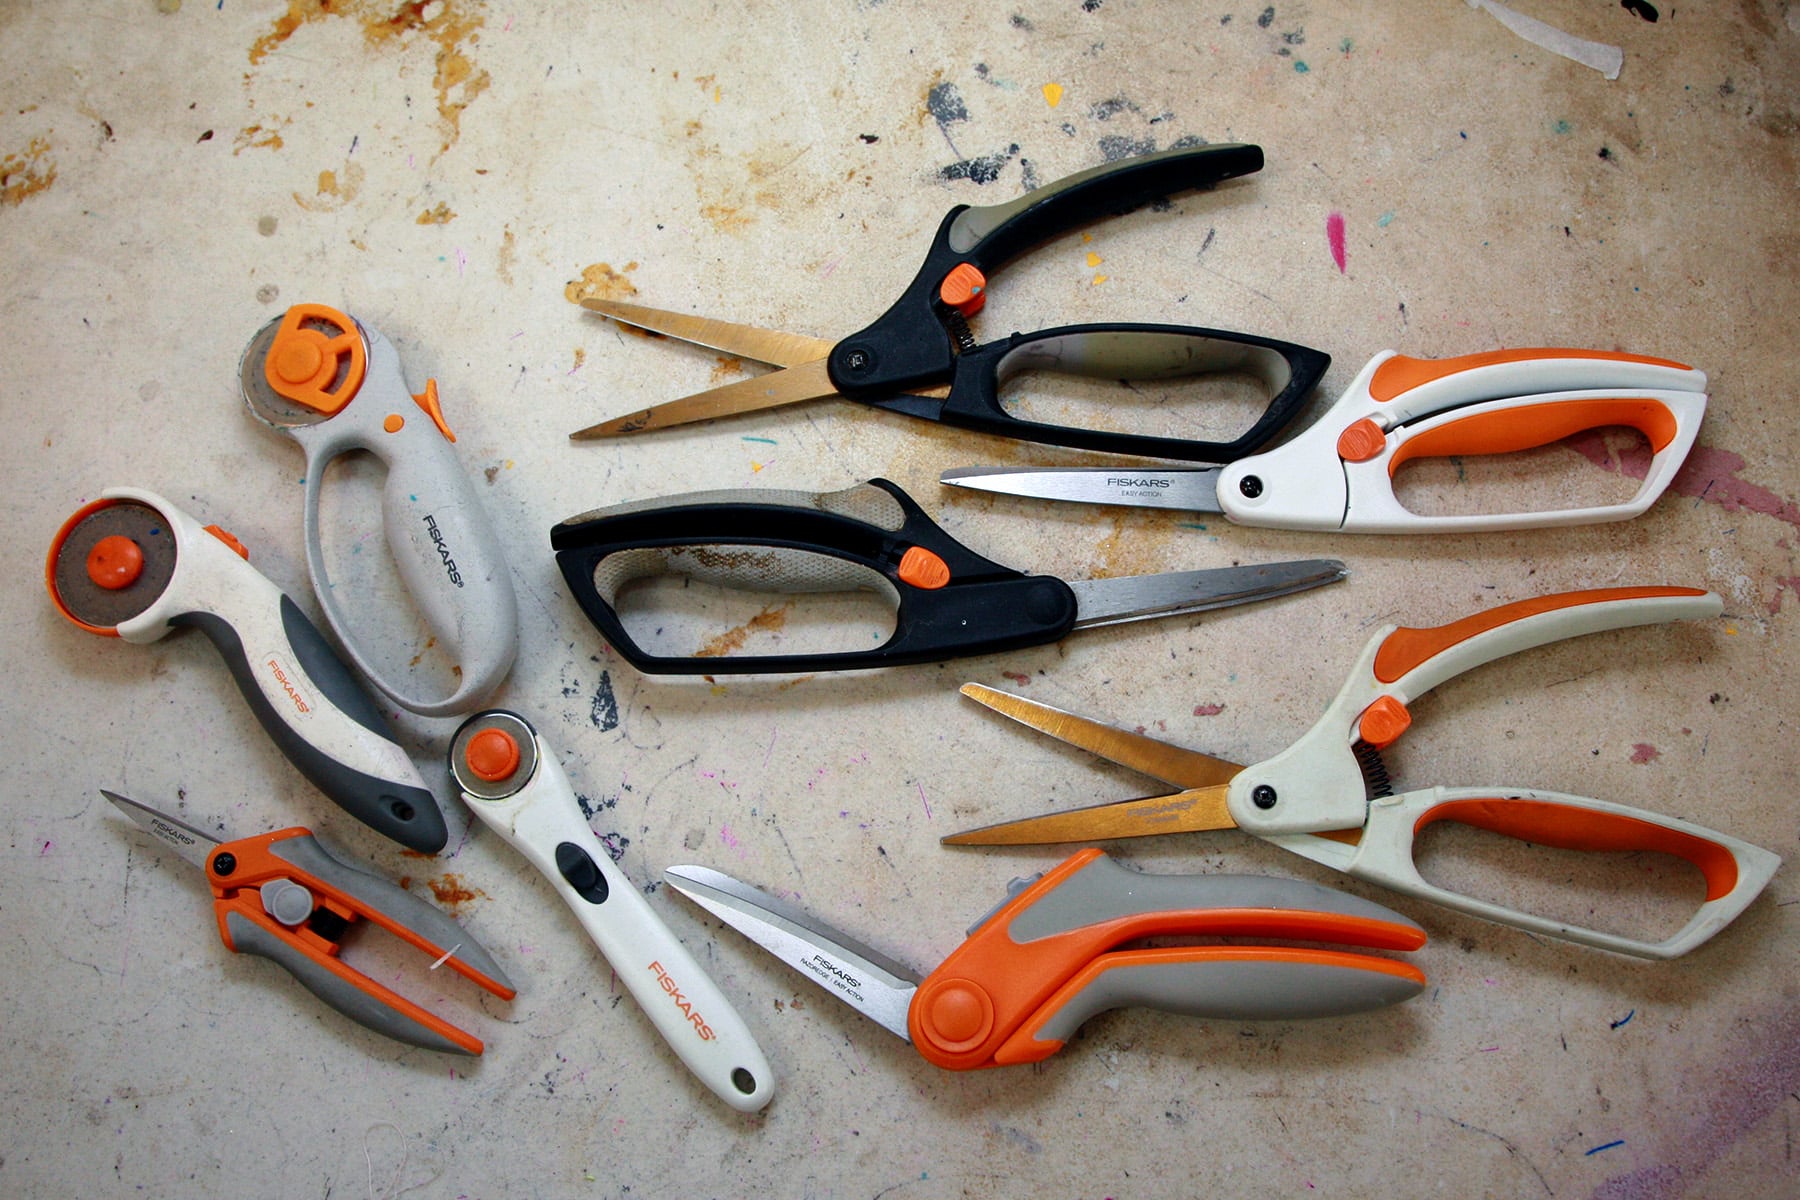
Personally, I love Fiskar scissors - the spring loaded "Easy Action" scissors, especially.
Long hours of cutting fabric can be hard on the hands, the spring really takes a lot of stress off the hand!
I also like to keep a couple pairs of the 5" little spring loaded snips on hand, with one near each machine for trimming threads.
Make sure that the scissors you use are sharp, and kept sharp.
Dull scissors may pull your pieces out of shape as you are cutting, causing a distorted shape.
Rotary Cutters

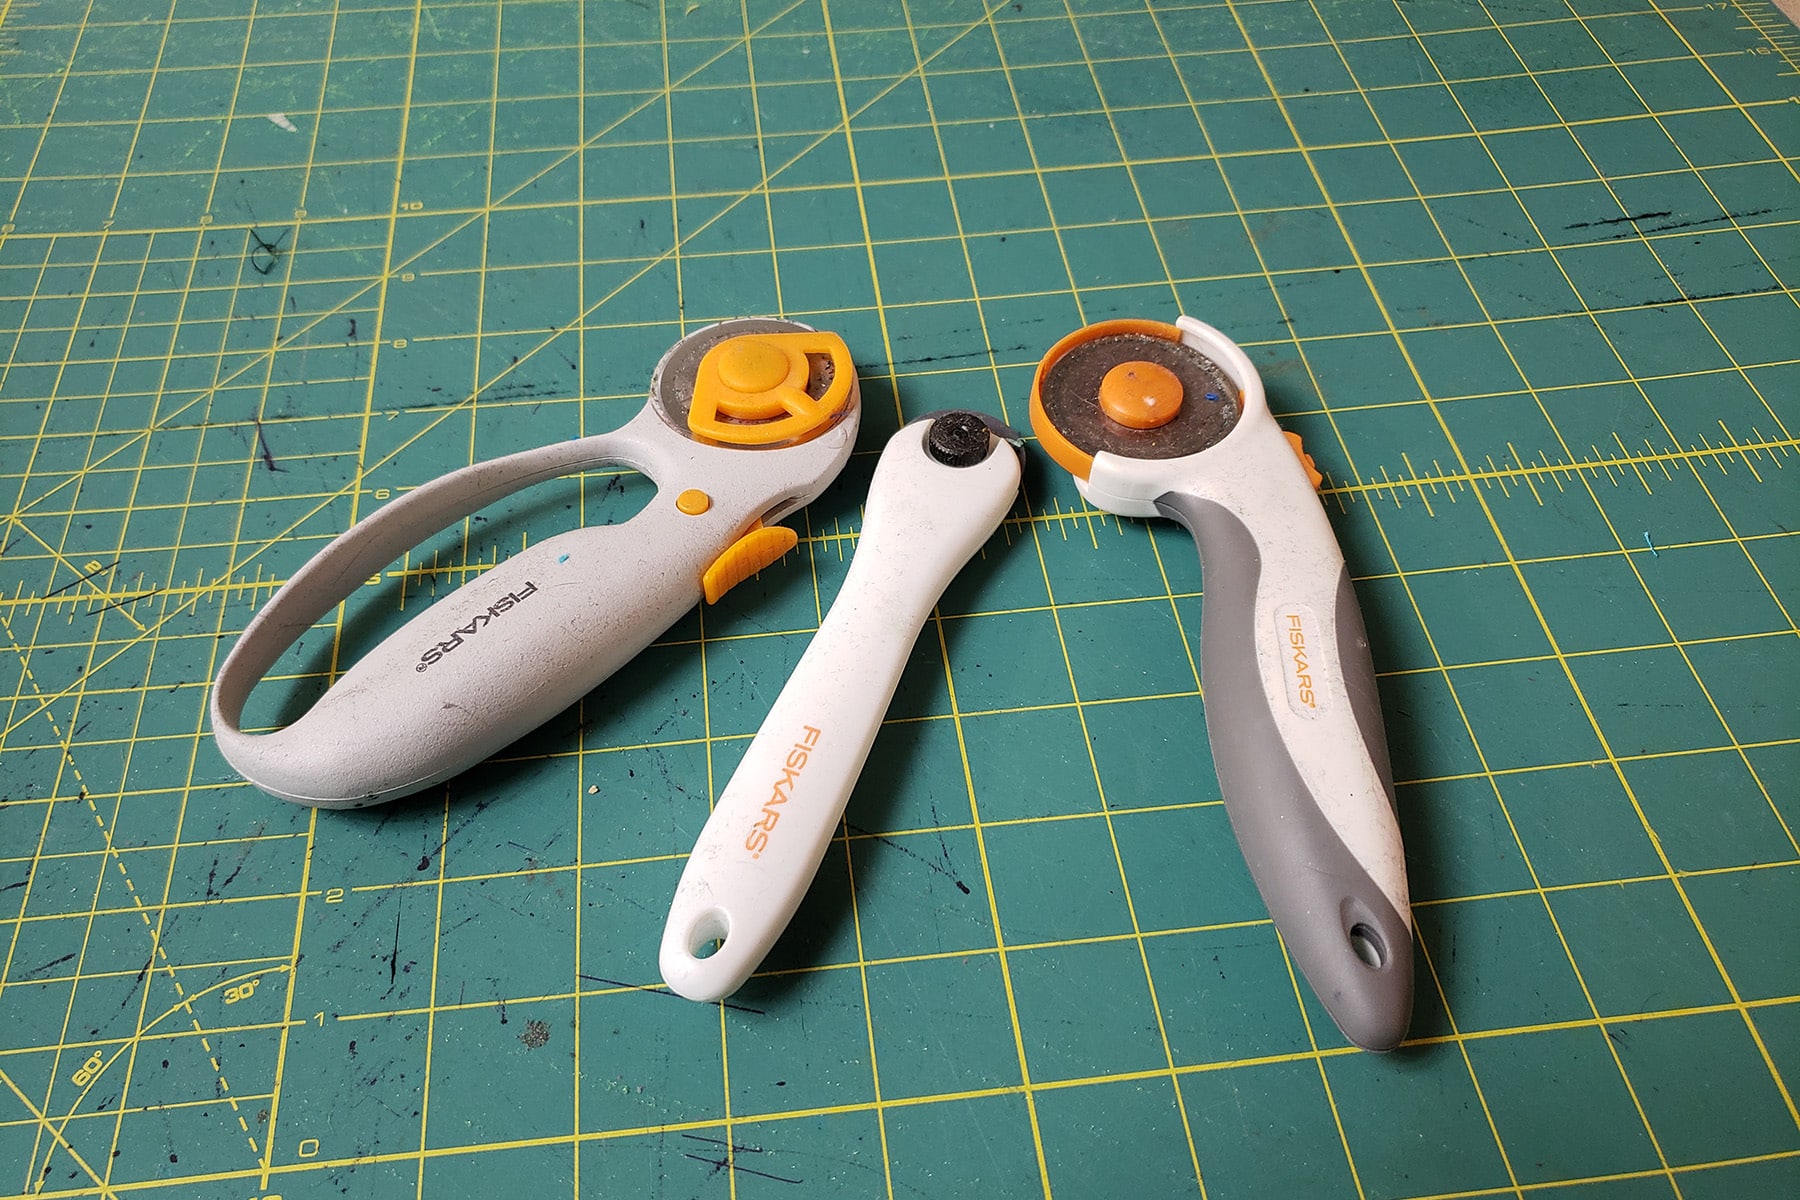
Rotary cutters are definitely optional, but are nice to have on hand - depending on what you’re cutting.
I keep a few of the Fiskars rotary cutters on hand.
I don't use them as often as the scissors, but they definitely come in hand for things like cutting strips (for Bikini Strings, Scrunchies, etc!) and freehanding applique.
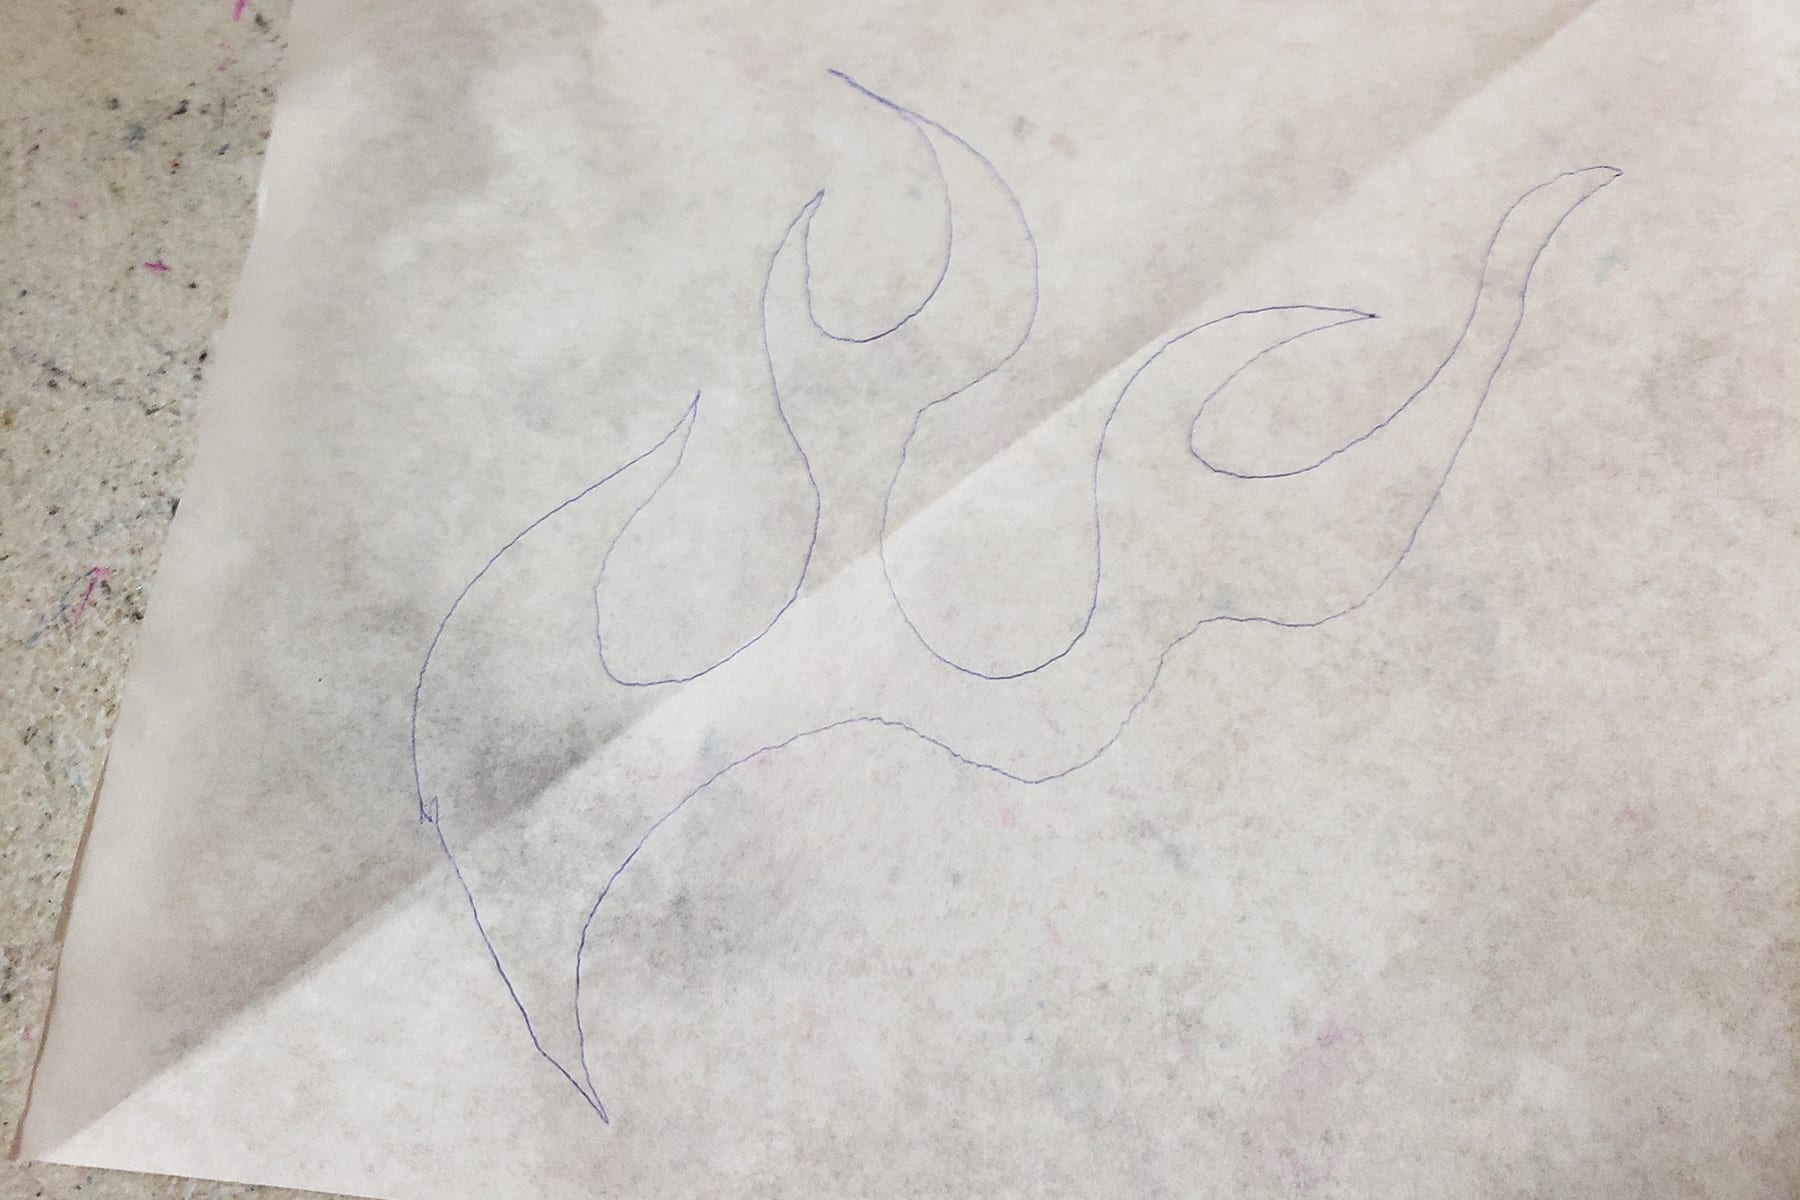
The cutter with the smaller diameter is great for freestyling hotrod flames, the larger wheel is great for cutting strips, as an example.
Cutting Mat
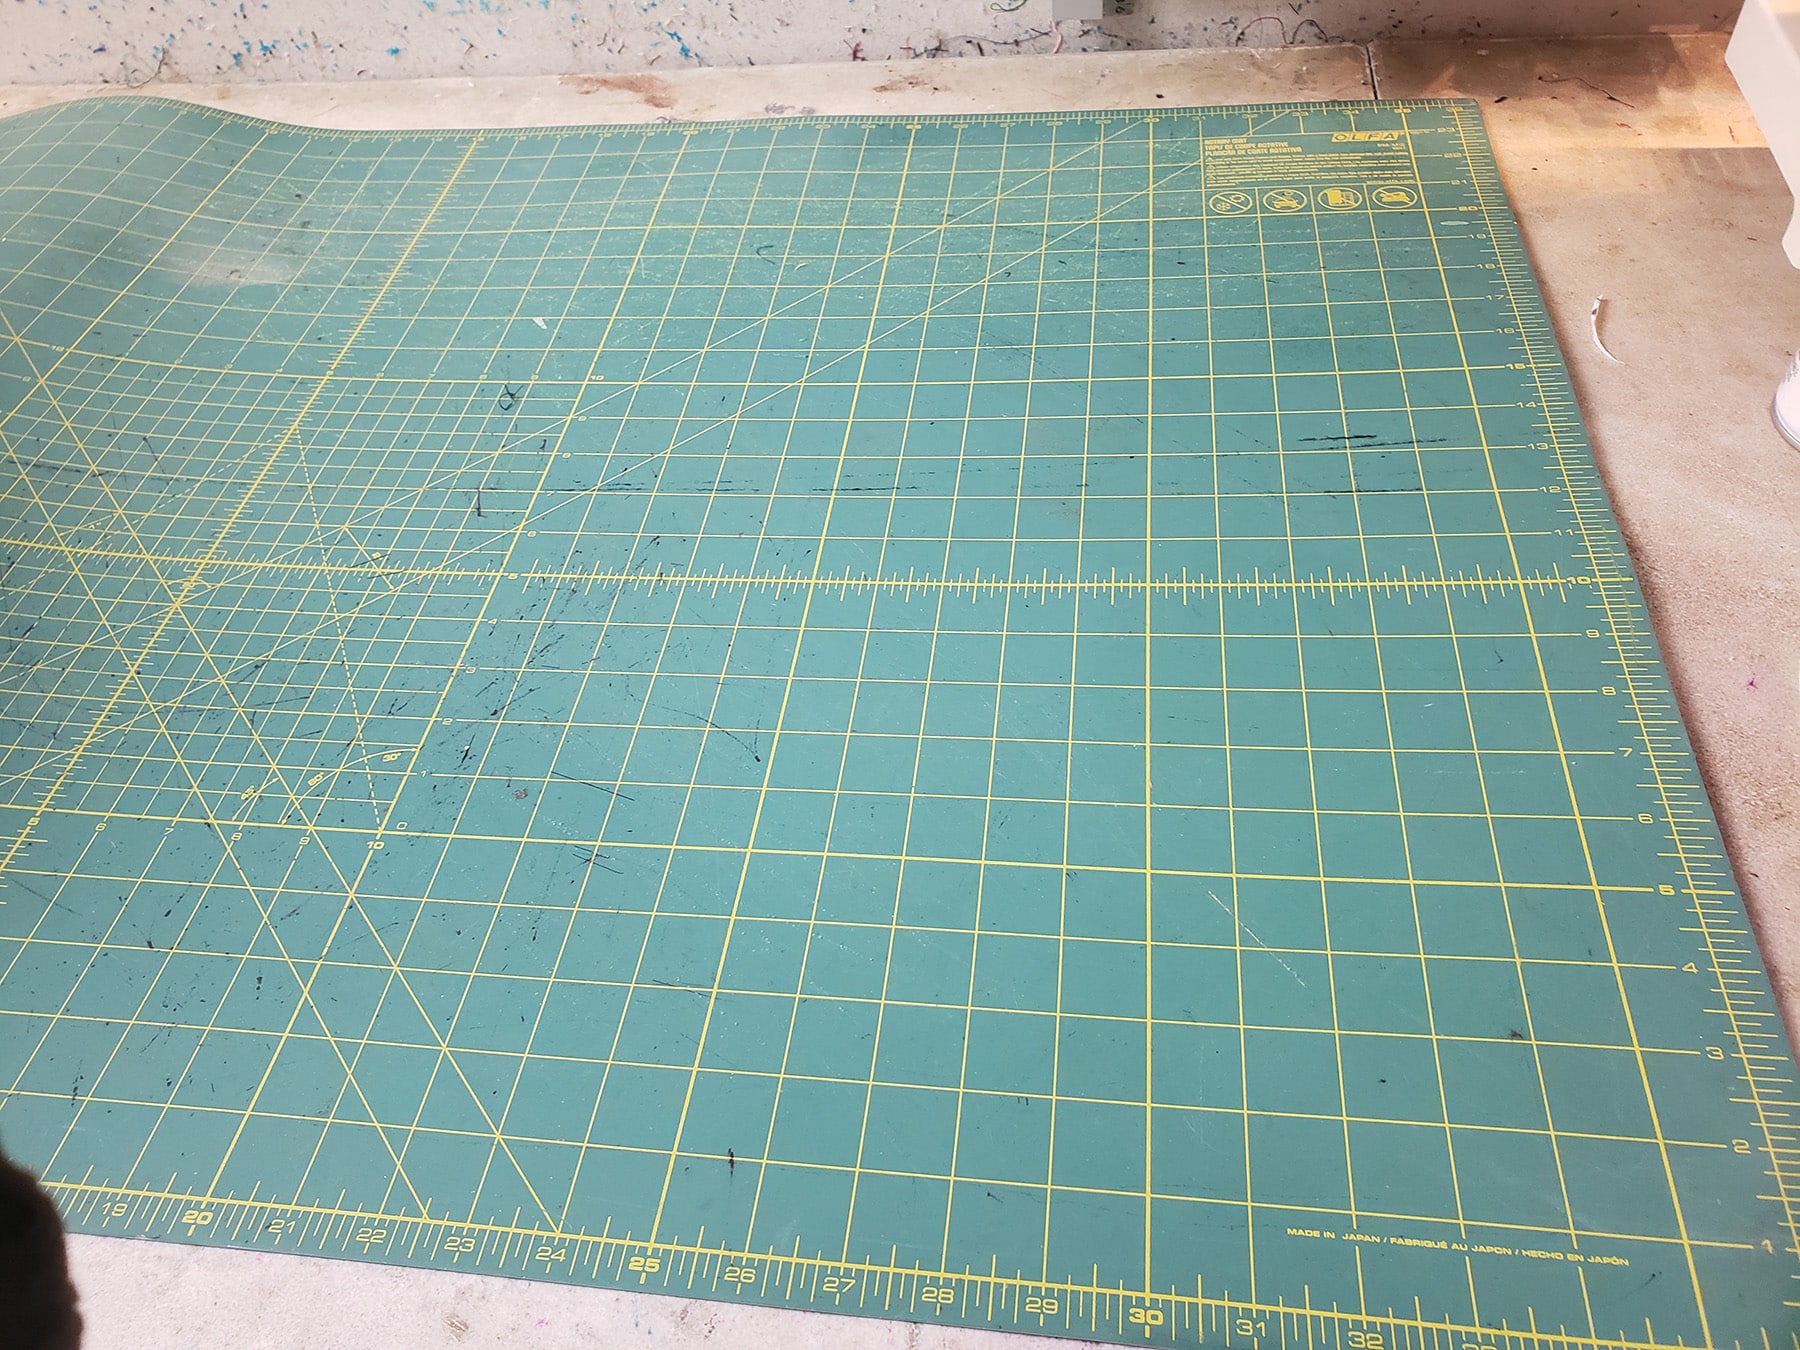
Yes, my mat is .. uh, well loved. Don't judge!
If you’re going to use rotary cutters, you’ll want a self-healing cutting mat.
Not only does this protect your work surface from being cut up, it preserves the life of the blade - as much as possible, anyway!
My cutting mat is a large OLFA Self Healing Mat, which has served me well though years of use (and abuse... the waving is from me using it when doing heat gun work!)
Spray Adhesive
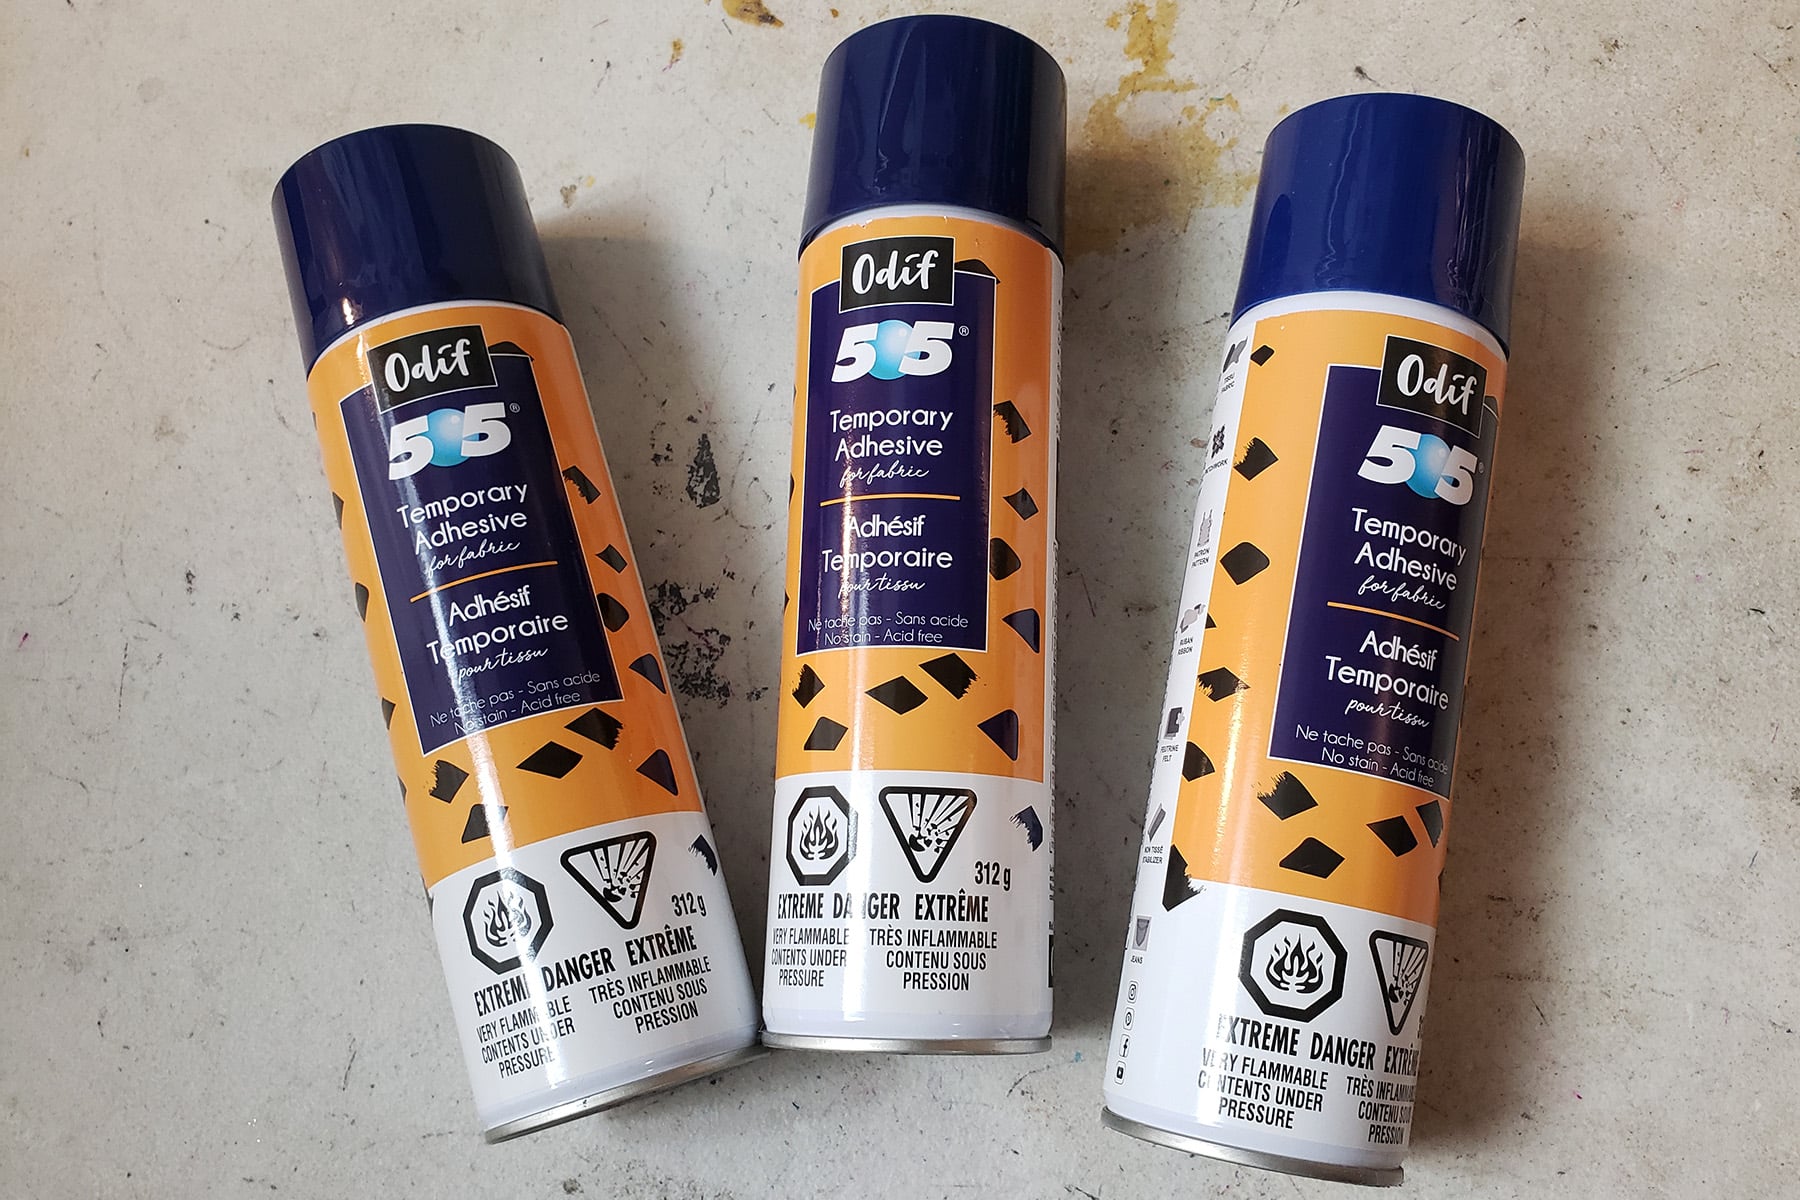
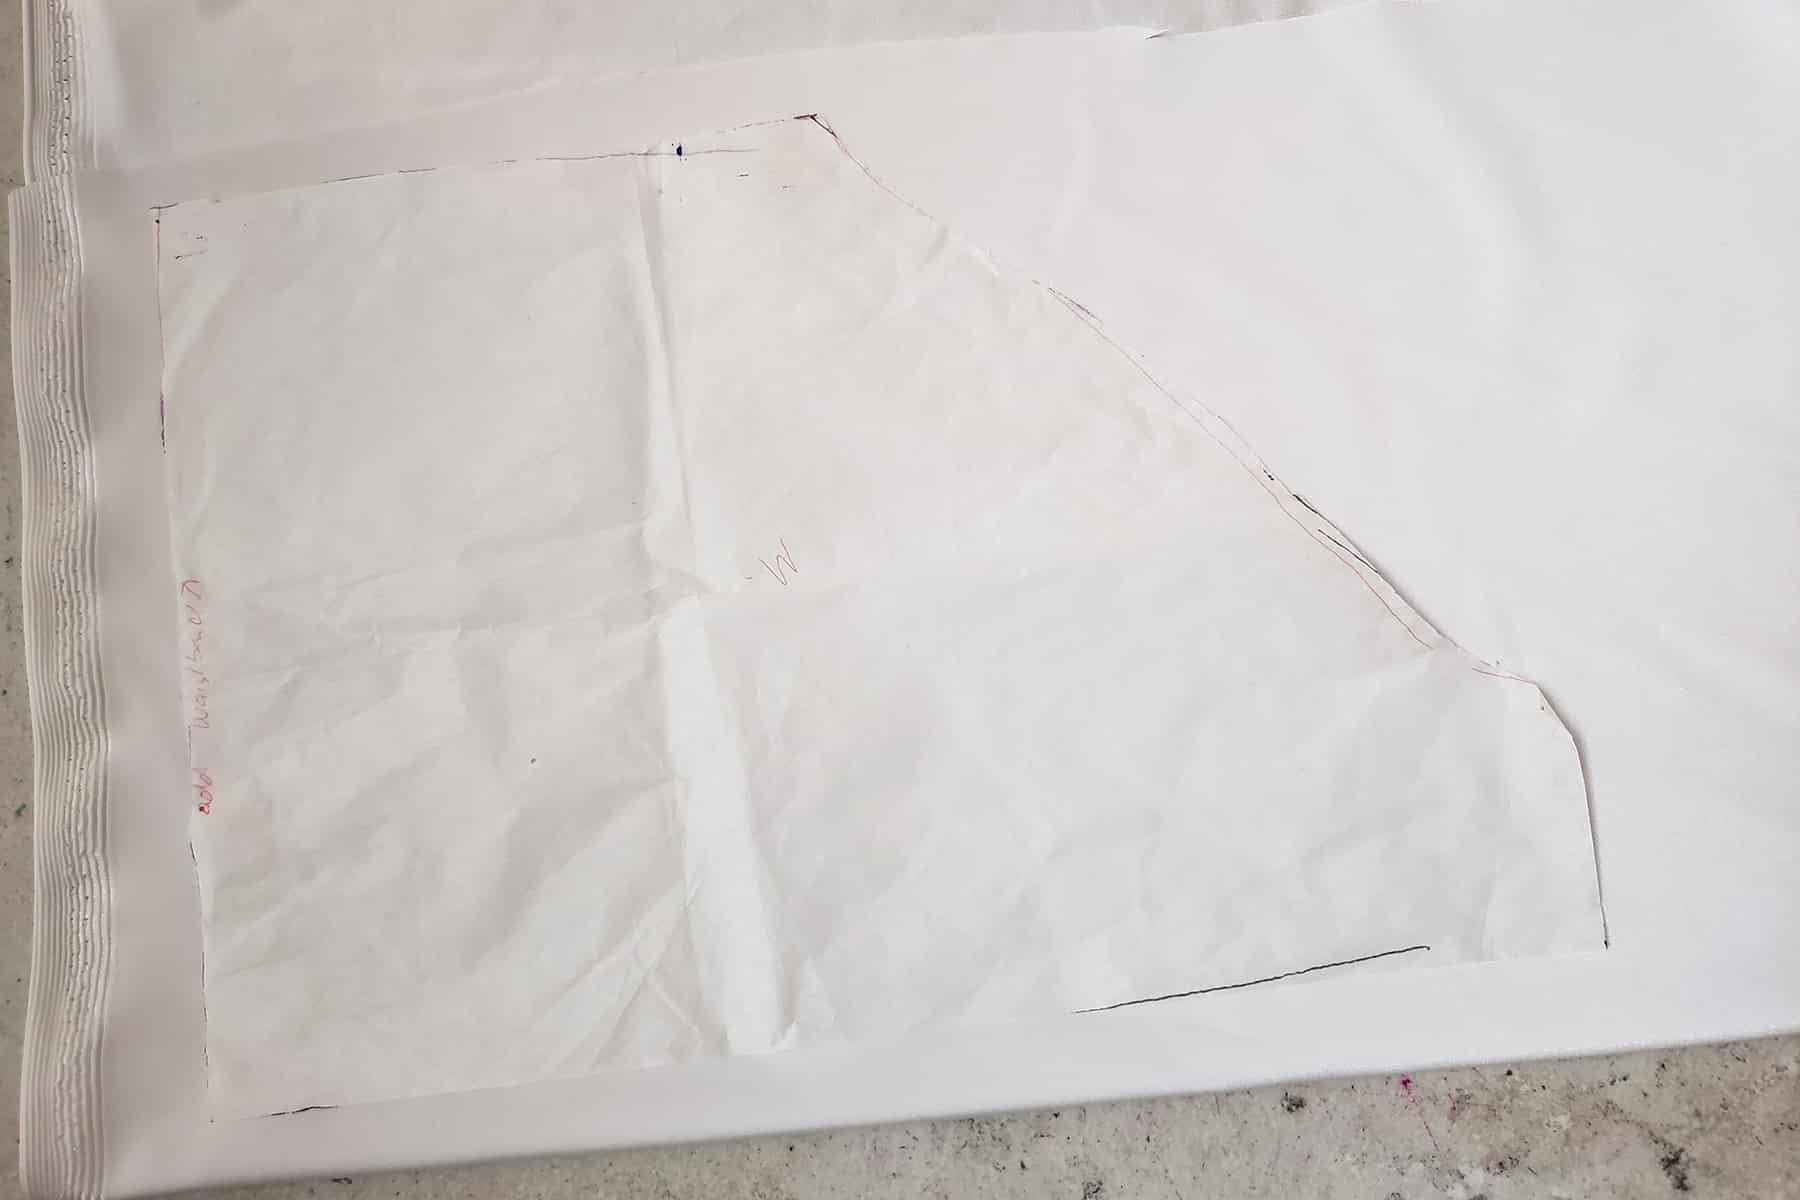
Maybe it’s some degree of cheating / laziness, but using a repositionable spray adhesive to turn your pattern into - basically - a large post it note is a great time saver, and helps with accuracy!
My spray adhesive of choice is Odif's 505 Temporary Fabric Adhesive .
More on this in a bit, but ALSO... be sure to see my "How to Sew Spandex Applique" post for more details on using spray adhesive in general!
Interested in the other tools and supplies I make use of? Check out my post on Tools and Supplies for Spandex Costuming!
Planning your Cuts
Greatest Degree of Stretch
The “Greatest Degree of Stretch” refers to which direction of fabric has - wait for it - the greatest degree of stretch.
Some spandex is “2 way stretch”, which actually means it only stretches in one direction - either across, or up and down.
(I generally avoid 2 way stretch spandex).
Good spandex is generally 4 way stretch, meaning that it’ll have a good amount of stretch going up and down, as well as across,
However, the amount of stretch in either direction can vary wildly.
In some spandex, you’ll find that one direction of stretch is great, and the other is so-so.
In others, it can be hard to figure out which is actually the greatest degree of stretch, as they both stretch fairly similarly.
Before placing your pattern pieces to cut, you’ll want to figure out which direction of fabric stretches the most.
Make note of this - you’ll need to position all of your pattern pieces so that the greatest degree of stretch goes *across* / around the body - not up and down!

As you can see, the greatest degree of stretch in this fabric - a good 4 way stretch spandex - is off by 1", on a ~5" piece!
Pattern Directionality and Nap
Greatest Degree of Stretch isn’t the only thing you’ll need to keep in mind when placing your pattern pieces to cut: There’s also the matters of pattern directionality and nap.
Pattern Directionality
Some patterns of fabrics will have a definite one-way design.
Make sure that you lay out all of your pieces facing the same way (have all of the upper portions (the shoulders) facing, for example, to the left.)
If you don’t do this, you will have part of the design going up, and part going down.
As an example, say you have lengthwise arrows, and you don’t take care to make the whole garment face the same way. You may end up with arrows pointing up in the front, and down in the back, as an example.
When selecting a print check the design, keeping in mind that the direction of greatest stretch has to go around the body.
If there's a definite direction to the design, (for example, stripes) check to see which way it will lie on your body before you buy it.
Do NOT try to swap the cutting directions, or the garment will not fit.
(Ie. Don’t try to cut a garment with the greatest degree of stretch going up and down, just because the pattern won’t look as good going across.)
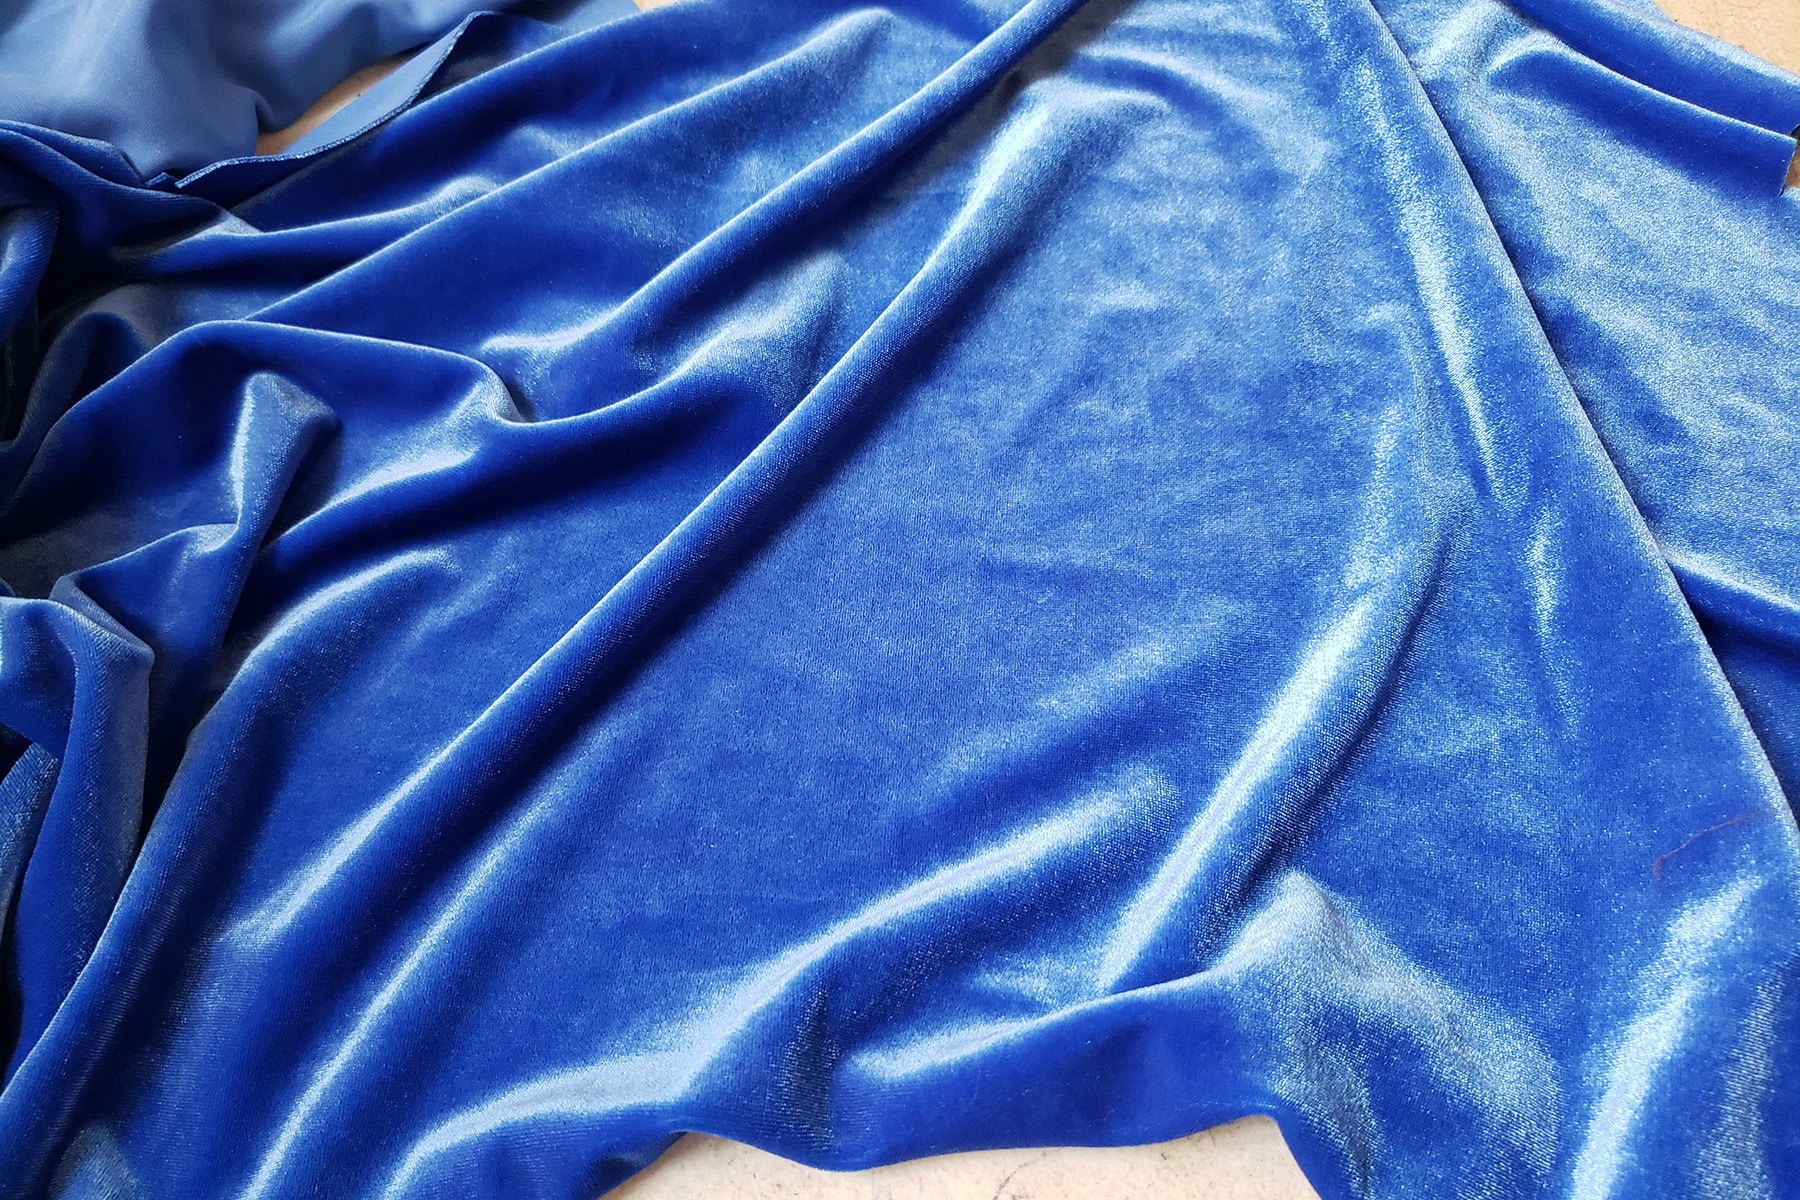
Velvet is gorgeous, but requires a bit of focus when cutting!
Nap
“Nap” refers to the directionality of the pile of a fabric - which way the fibres lay.
It’s important to lay your pattern pieces all facing the same way, as nap effects the way a fabric looks, when worn.
When light hits the fibres, the fabric can look wildly different, if the fibres are pointing in different directions.
When it comes to spandex costuming, you’ll generally run into nap as an issue with velvets.
I’ve seen velvets that look like completely different colours, depending on which direction the nap is facing.
That is to say, if you cut out a bodice where the nap faces one way on the front, and the other way on the back, they will likely end up looking like 2 different fabrics.
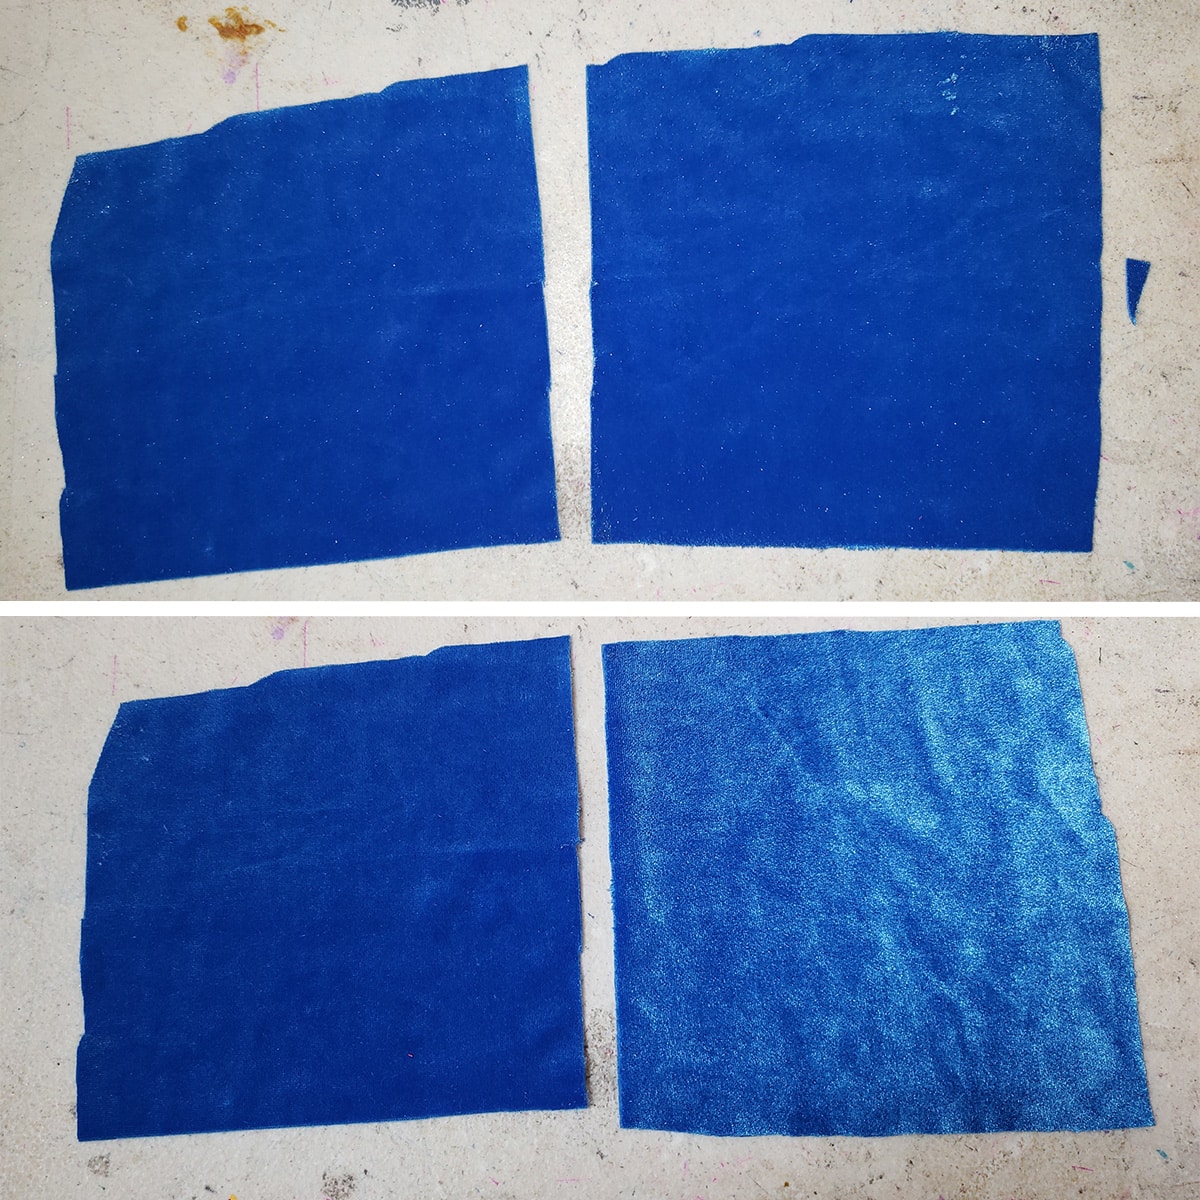
The top two pieces are facing the same direction. In the bottom two, one has been rotated.
Note: It can be hard to see the difference when up close, but don’t let that fool you into making a mistake. The difference can be STRIKING when the garment is actually worn!
To prevent this, just ensure that the “up” side of all your pieces (ie: shoulders of bodice/sleeve pieces, the waist of a panty piece or tights - all face the same direction when you’re laying it out.
As a note: When it comes to velvets, I tend to prefer to cut them so that the nap smooths *downward* on the body, for a sleeker look.
If you’re looking for more visual texture, you can do the opposite.
How to Cut Spandex
A Note On Pins

I tend to avoid using pins for cutting spandex, but feel free to use them if you’d like.
The way I’ve always cut pieces out is by holding the fabric and pattern down with one hand, cutting with the other.
If you do this, be very careful that you do not allow any of the fabric or pattern to move while you are cutting, or you will end up with a distorted piece of the garment.
A good way to get around using pins is to have a bunch of soup cans on hand, and lie them out on top of your pattern (after positioning it on the fabric). Move them around as you cut if they get in your way.
Grain
One thing to note about cutting spandex is that - while spandex doesn’t have the same structure as a woven - there’s still a “grain” to pay attention to.
Imagine a straight line running parallel to the factory edge of the fabric, and another running perpendicular to that line. Those are your grain lines.
Patterns will generally tell you where the grain line should be, on the pattern pieces.
Be sure to line up your pieces with these grain lines - again, making sure to position your pattern so that the greatest degree of stretch (one of the imaginary lines I just described!) goes across the body.
Cutting a piece “off grain” can work for some things, but can also cause twisting in the final product - this is especially true of tights.
Basically, you can get away with more when it comes to appliques, and less when it comes to structural pieces.
Right Side vs Wrong Side
Also, once you’ve taken grain and stretch into account: If you’re cutting a single piece out (without a fold) that is asymmetrical... be sure your “right side” of the pattern is facing the same was as the fabric
That is to say, if you’re cutting with the right side of the fabric facing up, be sure the right side of your pattern is also facing up, when you lay it out to cut.
Pin or hold the fabric in place, and carefully cut your pattern out. Just take care to not move or stretch the fabric as you cut!
Cuts on a Fold
If your pattern requires you to cut on a fold, simply fold the fabric where you need it - making sure you’re paying attention to grain and greatest degree of stretch!
Things like a one piece front suit piece that is made of symmetrical halves, should be lined up with the centre edge along the fold of the fabric.
Cutting a pattern piece on a fold
Conversely, if it’s two mirror image parts - say, the back of a suit, with a curved seam up the middle back - fold the fabric in half and cut both layers at once - just not on the fold itself.
Using a folded piece of fabric to cut two mirror image pieces... without being attached by a fold.
Cutting Strips
I like to use a long straight edge ruler and a rotary cutter when cutting long strips out of spandex.
This works best done as a single layer of spandex, NOT folded or multiple layers.
There’s just too much opportunity for movement with multiple layers, and movement = uneven strips.
That said, it can be done - I cut strips on a fold all the time - but you’ll want to be practiced at it!
Anyway, to cut strips, spread your fabric out on a cutting mat. FIRMLY hold your ruler in place (again, keeping track of grain and stretch!), and use your rotary cutter to cut along the edge of the ruler.
Do NOT let the ruler move while you’re cutting!

Cutting strips with a rotary cutter.
Gluing a Pattern
Remember on my Basic Pattern Alterations https://spandexsimplified.com/basic-pattern-alterations/ post, where I talked about NOT cutting out your master pattern?
About how using exam table paper to make a copy of a pattern is the way to go?
This hack is one of the reasons for that!
I like to turn my pattern pieces into - basically - Post-it notes, and go from there. This serves a few purposes:
For one, it prevents the fabric from shifting as you cut it.
Along that line, it gives you more flexibility for cutting the fabric. Rather than holding it down and ensuring it DOES NOT MOVE, you can pick up your piece and cut it out as you like.
Finally, it stabilizes the fabric for cutting. It makes it more like cutting a shape out of paper, than out of a slinky fabric. This is great in general, but is especially important when cutting intricate applique pieces. It just makes it so much easier to get clean cut lines.
How to Use a Glued Pattern for Cutting Spandex
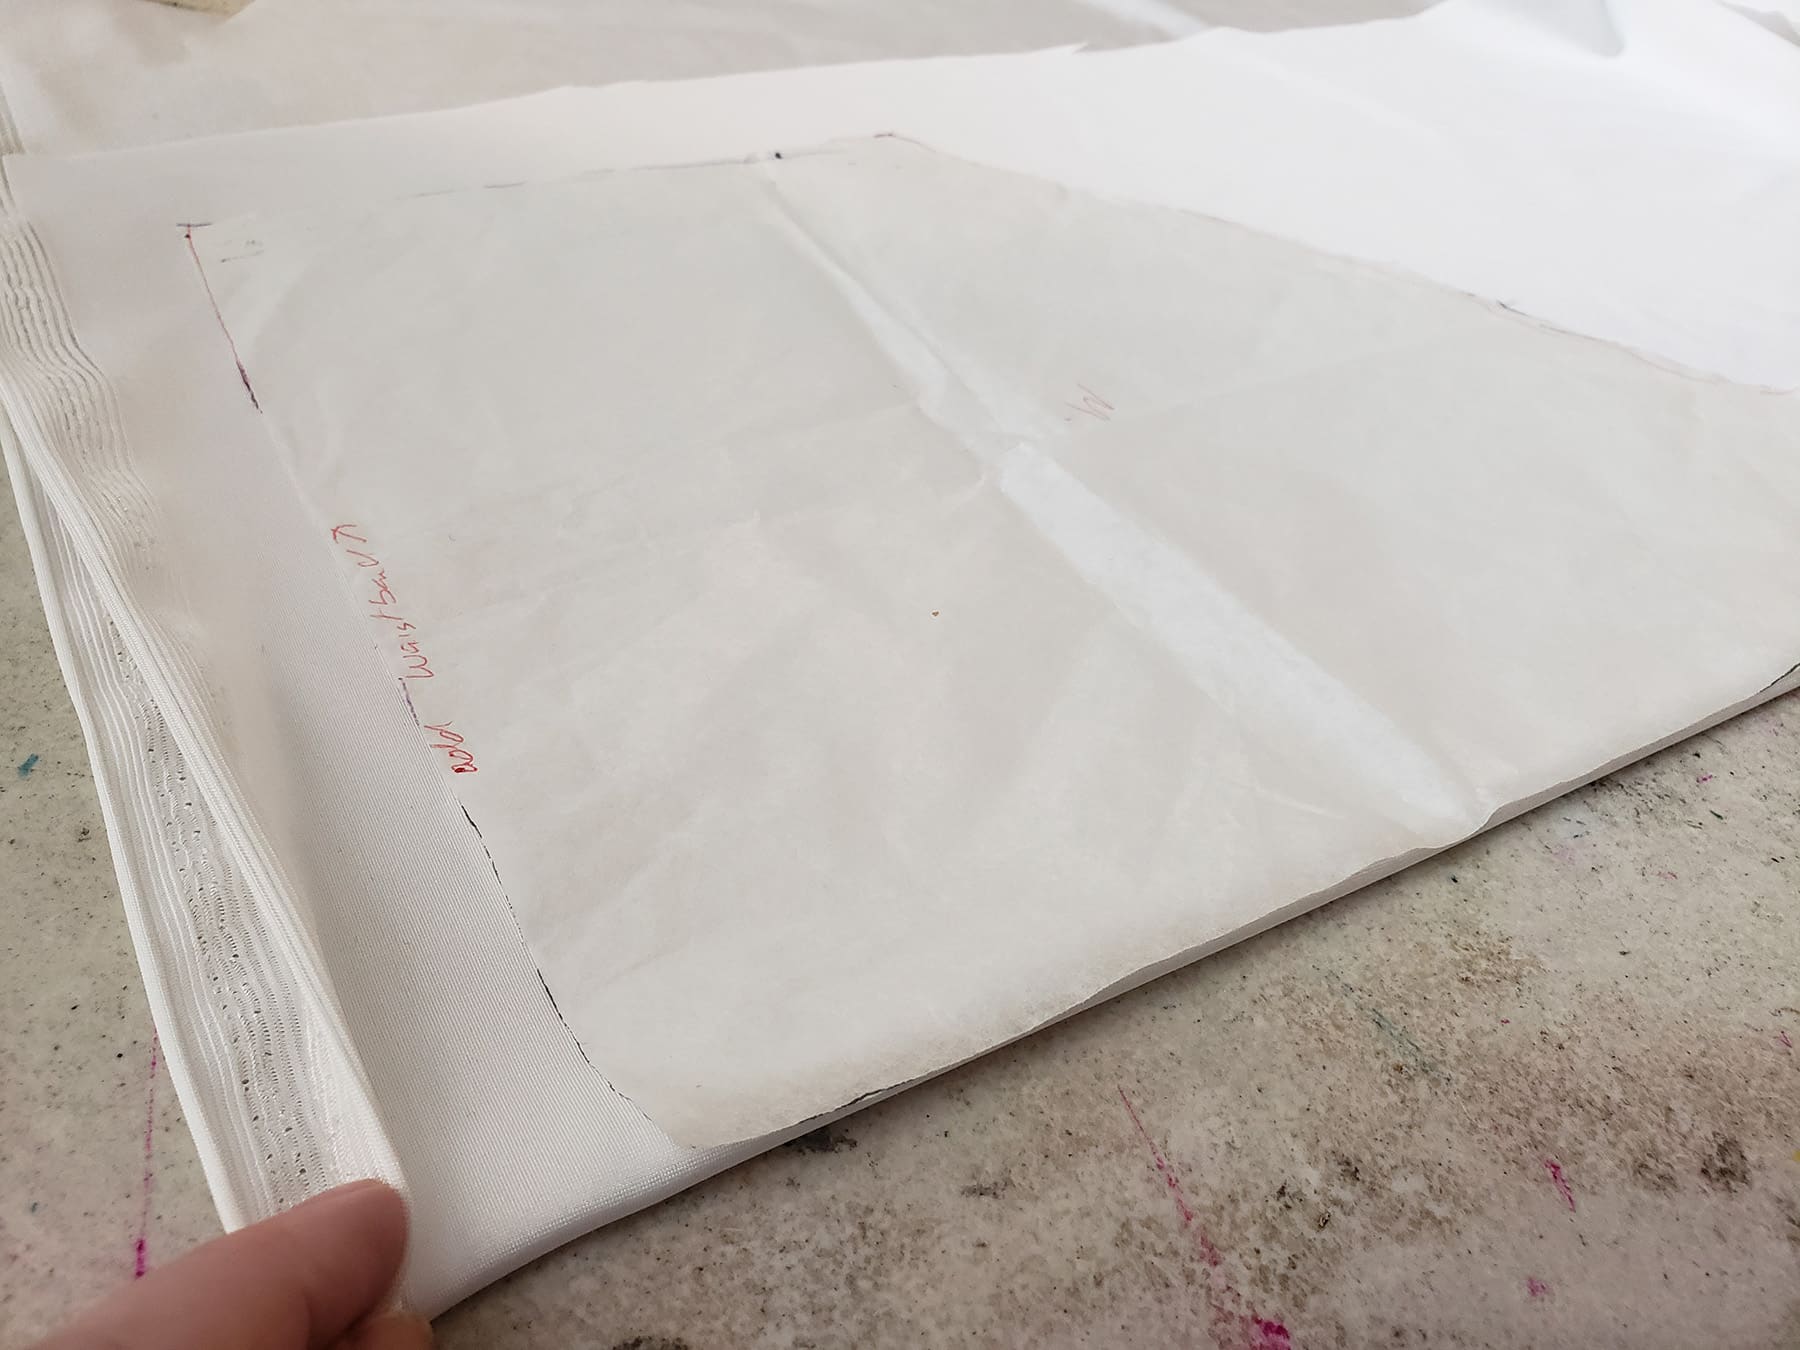
Once your pattern piece is cut out, lightly spray the RIGHT side of the pattern with spray adhesive.
Let the adhesive sit for a minute, then place your pattern piece (again, keeping track of stretch, directionality, and grain, if necessary! - glue side down on the WRONG side of your fabric.

Smooth the pattern out, making sure not to stretch the fabric it’s adhering to.
Use scissors or a rotary cutter to cut your pattern piece out.

Carefully peel the pattern from your cut pieces, being sure not to stretch out or warp any really narrow / intricate pieces.
Cutting Mirror Image Applique
Using spray glue also comes in handy when cutting out a mirror image applique.
In this case, it’s used on both the fabric and the pattern, though in slightly different ways.
First, draw your applique pattern out on exam table paper.
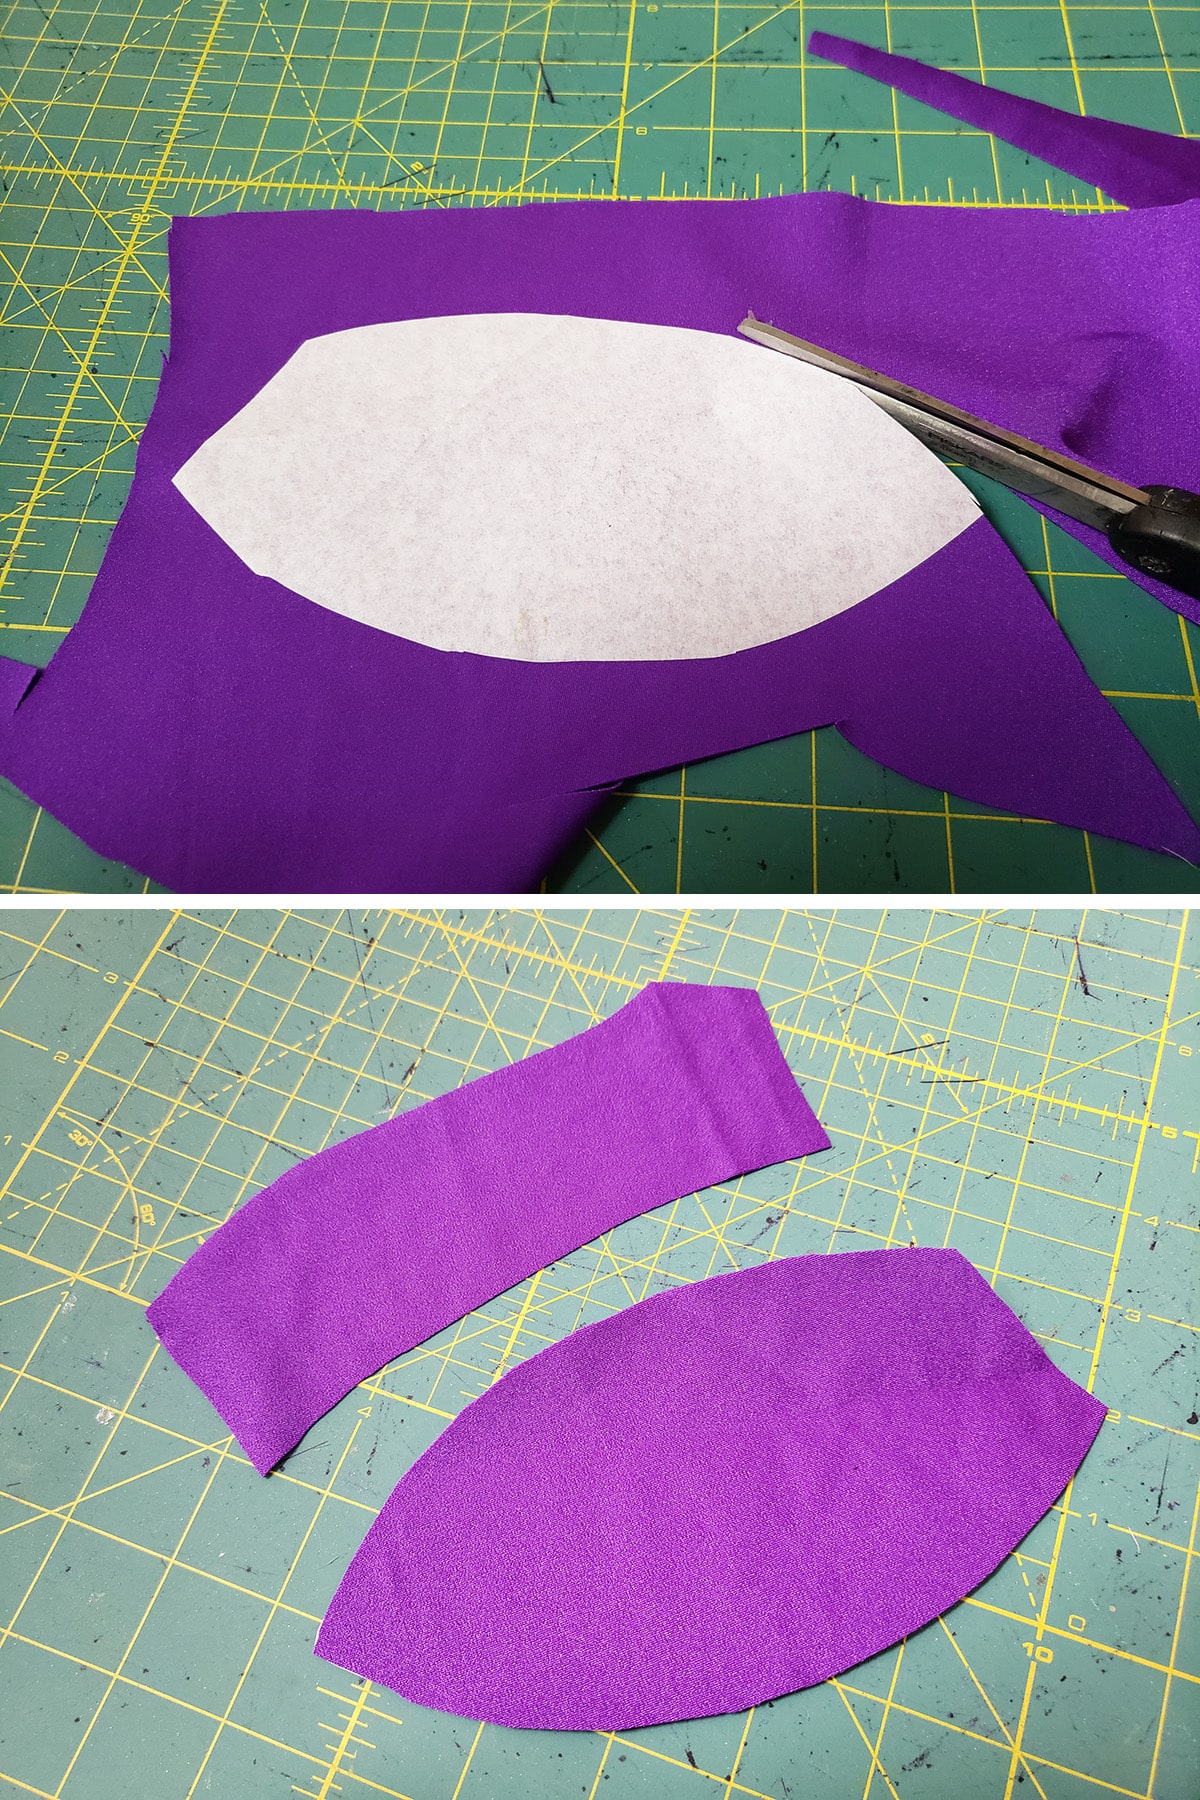
Cut a piece of fabric that is a bit more than twice the size of your applique.
On a shielded surface (I use brown craft/kraft paper or Rosin Paper as a backdrop for gluing or painting!), spray the wrong side of both your fabric, and your paper applique pattern.
Carefully fold your spandex in half - glue sides in - taking care to smooth out any wrinkles or air bubbles. You want this to be flat and even, not stretched in any way.

After spraying the wrong side of both the pattern and the fabric, fold the fabric in half, glue sides together.
Wait a few minutes, then check to see how sticky the pattern pieces is. You want it sticky enough to hold - lightly - but not goopy. You don’t want glue transfer on your fabric.
I’ll usually dab it with paper towel, or place it face down on my work surface, to haze the glue a little.
Once you’re happy with the glue situation, place the pattern sticky side down on your piece of fabric, and smooth it out.
I like to trim excess fabric and pattern paper away from the applique design, to make cutting easier.

Then, just use a sharp pair of scissors to cut out your applique pair.
Once it's cut out, carefully peel the pattern from the fabric. You'll want to do this as soon as possible after positioning it - even temporary glues can become a bit more permanent, with time. No sense risking it!

Carefully separate your applique pieces from each other. Be gentle, especially when dealing with really narrow pieces - you don't want to stretch them out!
Behold, your perfectly mirror-image applique pieces!

(And be sure to check out my post on How to Applique Spandex to learn how to sew that applique!)
Whew! That ended up being a lot more involved than I would have figured a post on cutting spandex would end up!
Hopefully it answered any questions you may have. If not, be sure to comment with any questions, and I'll do my best to answer them!
More Spandex Sewing Technique Tutorials
Interested in learning the basics of sewing with spandex? Here are a few more posts
Sew Spandex with or without a Serger
Hemming Spandex Skirts
How to Apply Elastic
Appliquing Spandex
How to Install Snaps in Spandex Garments
Padded Applique
How to Make Covered Elastic Straps
How to Make Bikini String
... and always, be sure to check out our Table of Contents for a full, categorized listing of all of our posts and tutorials!
Share the Love!
Be sure to take some pics of your handiwork! If you post it to Bluesky, be sure to tag us - @SpandexSimplified.
Also, be sure to follow me on Pinterest, and subscribe to my Youtube Channel, so you never miss out on any of my nonsense. Well, the published nonsense, anyway!
Finally: If you loved this tutorial - or have any questions about it - please leave a comment below! I'll do my best to answer any questions you may have!


Hola soy Cecilia de Chile,cuando mi hija empezó con sus clases de patinaje me imaginé yo haciéndole sus trajes ,busque tutoriales,pero siempre me faltaba más ,hasta que llegue a tu blog y he quedado maravillada con cada artículo que leo, le ido anotando lo que necesito y lo primero que hice fue un cubre patín en telas licra y quedaron hermoso y así también he ido vendiendo para comprar las herramientas que me faltan ,también le hice una faldita , hoy me siento un poco preparada para hacer un traje y sacar el mode para transformarlo, gracias mil gracias soy un fan de tu blog, mil bendiciones
Aw, thank you so much!! Best wishes in sewing for your daughter!