

Sometimes you want to add a snap closure to a bodysuit. Here's how to convert any swimsuit, brief, or bodysuit pattern to accommodate snaps.

In this case, I’ll be showing you how to adapt a regular bodysuit pattern to convert it to a snap closure.
It’s a nice little technique to know.
A lot of the time, it’ll be easy to find a great bodysuit pattern *without* a snap crotch opening. In fact, now that I think about it... I’m not sure I’ve even seen a pattern with a snap bottom.
I’m sure they exist, but they’re definitely not as common as basic bodysuits.
Anyway, with this technique, you can change the bottom of ANY bodysuit pattern to accommodate a snap closure.
Let’s get to it!
Recommended Reading
Before getting started, here are a few posts with information that will come in handy for this project:
How to Measure for Spandex Costuming
Spandex Costuming Tools & Supplies
Basic Pattern Alterations
How to Cut Spandex
How to Sew Spandex With or Without a Serger
How to Apply Elastic
How to Install Snaps
In some cases, I’ll be glossing over a technique in THIS post, as it is fully covered in another post.
Equipment and Supplies
This pattern alteration doesn’t really require anything specialized in terms of equipment or supplies.
You’ll need:
Basic Bodysuit Pattern
You can use any bodysuit pattern you like for this, you’ll just want to make sure you’ve got any fitting and style adjustments done ahead of time.
I used a variation on a Kwik-Sew bodysuit - it happened to have a center back seam.
You can do this with or without a center back seam - the snaps will be slightly easier to apply if there’s no center back seam, but you’ll usually get a better fit WITH a center back seam.
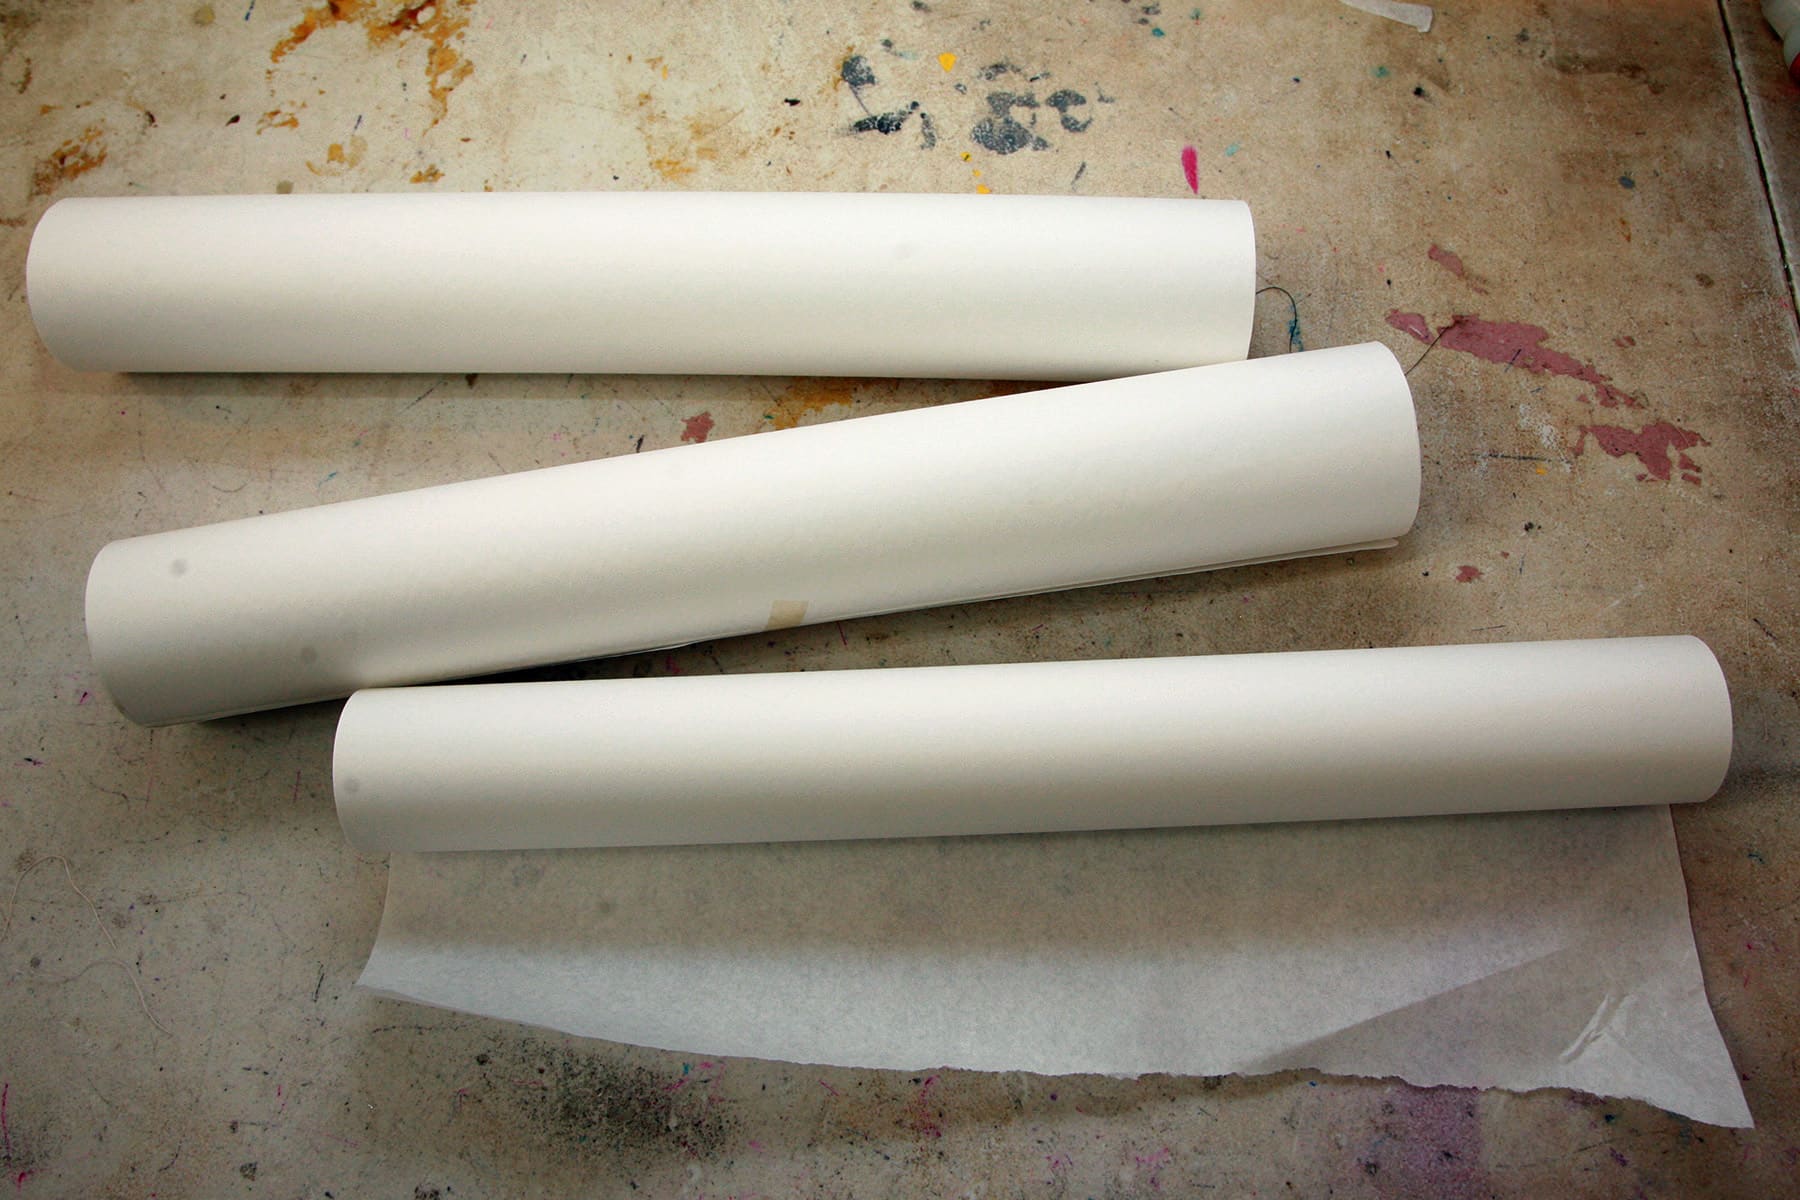
Pattern Paper
You’ll want some kind of patterning paper.
As always, I swear by exam table paper - you can buy rolls of it on Amazon and at medical supply stores, for between $2-5 per roll.
It’s super cheap - which is good, because you’ll go through it quickly if you do a lot of costuming!
As I noted in my Spandex Costuming Tools & Supplies post, you can sometimes be given a choice of 2 papers.
One is cheaper and uncoated, and the other is slightly more expensive, and is coated.
Go for the cheaper roll, as wide as you can. 21" is great, 18" will usually do. If you do this as a business, you’d be best off to buy it by the case - usually 12 or 24 rolls.
Tape
Masking tape is optional, but nice to have. I would have used it in this tutorial, had mine not gone missing AGAIN.
The husband claims to not know anything about that.
K.
Anyway, if you’re not into holding pattern pieces in place and tracing, you can use the tape to secure the cut piece of front pattern to back piece, as you trace it for the final pattern.
Marker or Pen
Finally, you’ll want some kind of writing implement, to trace your pattern with, draw the new seam allowance on, etc.
I’ll generally just use whatever’s in arm reach, TBH.
Snaps
While they’re not part of this tutorial specifically - it’s just the pattern alteration - you’ll eventually need some snaps, if you’re making a snap bottom bodysuit.
Check out my post on How to Install Snaps, for all the info you need on selecting the snaps for your project.
Share the Love!Be sure to take some pics of your handiwork! If you post it to Bluesky, be sure to tag us - @SpandexSimplified. Also, be sure to follow me on Pinterest, and subscribe to my free newsletter and Youtube Channel, so you never miss out on any of my nonsense. (Well, the published nonsense, anyway!) |
How to Convert a Pattern for Snap Closure
Need a video tutorial? There’s one embedded near the end of this post!
First off, have a well-fitting bodysuit pattern.
Before getting started with converting the bottom, you want to be sure that any alterations for fit, style, and leg opening are done.
For the purposes of diagraming, I’m assuming you have a pattern that is already known to fit.
The idea is to elongate the back of the crotch, to make it easier to snap - so it can pull under / forward and be snapped towards the front of the body.
Determine Placement
1. Lay your pattern pieces out as shown, to keep track of what is going where.

I find it easiest to just bend the bottom of the pattern up and fold it back on itself - lining up the center front edge - and finger pressing the fold where I want the line.
Ideally, you want this to start around the point the leg hole starts to curve out to the side seam, but really... do what makes sense for your pattern, and your needs.
The further from the bottom (crotch seam) you place this line, the easier the snaps will be to do up.
However, easier to do up also means potential to be visible, either when worn alone, or through thin pants.
Something to keep in mind, when determining placement!

Transfer Length
3. Cut along the line you just drew.

4. Move the cut piece - the bottom section of the front bodysuit - over to the bottom of the back bodysuit pattern.

5. Lining the center fold edge/line up, tape this little section onto the back piece. The former-bottom edge of the front should be taped right to the bottom edge of the back piece.
Alternatively, you can lay the pattern pieces out on a fresh piece of paper (I like to use exam table paper for patterning.
Front:

Definitely draw your line straighter, LOL. I was in a hurry to get this photo set done!
This will be the allowance for the flap.
Back:

Again, I was far messier with this than I should really be holding up for example. Mea culpa!
See my post on How to Make a Bodysuit with a Snap Crotch for details on how to actually put your bodysuit together.

Getting Started with Spandex Costuming
Looking for more posts on the basics of spandex costuming?
Basic Pattern Alterations
Colour Theory for Spandex Costuming
How to Measure for Spandex Costuming
Spandex Costuming Tools & Supplies
Spandex Costuming Design Principles
Types of Stretch Fabric for Spandex Costuming
How to Cut Spandex
How to Sew Spandex With or Without a Serger
... and be sure to check out our Table of Contents for an organized listing of all of our posts.
Thanks for Reading!If you loved this tutorial - or have any questions about it - please leave a comment below! I'll do my best to answer any questions you may have. |


Leave a Reply