Padded applique is a fun little technique you can use in circumstances when you need a part of your design to be slightly elevated, or for the fabric of the spandex applique to be physically separated from the texture of the fabric it's being sewn onto.

In this post, I’m going to show you how to do padded applique - it’s a fun trick to know, and it can really come in handy for certain spandex costuming situations.
Before getting started, I recommend being familiar with my techniques for :
- Sewing Spandex with or without a Serger
As they’ll all come into play for this technique.
If you’ve been following my costuming, you may have seen photos of some costumes that utilize this technique. It can be pretty subtle, so unless you were really thinking about how something was put together, you may have missed it.
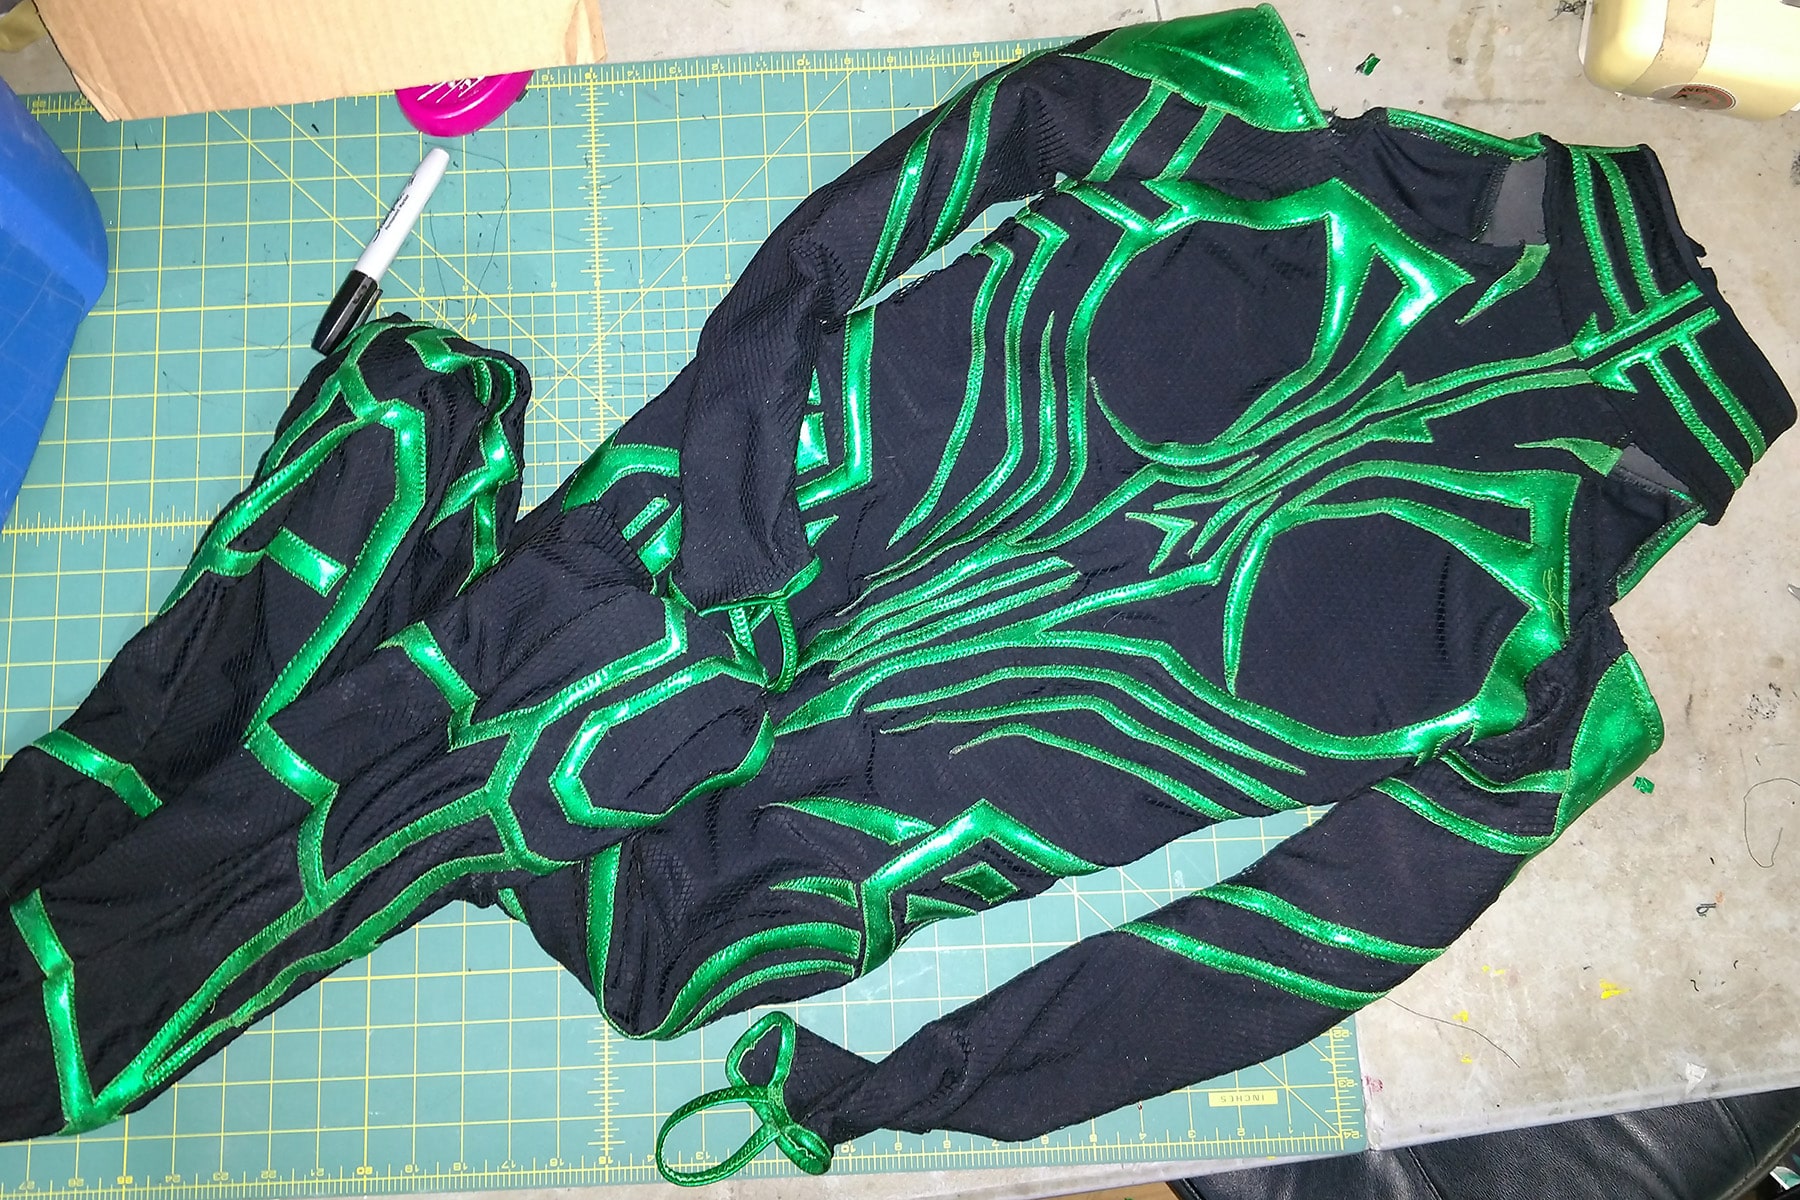
In addition to the stylized custom Captain Marvel costume and the Ursula skating dresses featured in this post, it was a technique that factored prominently in my MCU Hela Costume that I posted about a while back.
... well, the basic concept was used for the Hela costume, the execution was a bit different than what I’m showing here.

I used padded applique on the star, both to give a 3D / quilted effect, AND to separate it from the lines of sewing underneath it.
When to use Padded Applique
There are two different - but related - circumstances where you’d want to use this technique, and those circumstances can definitely overlap:
To Give a 3D Effect
Sometimes you’ll find yourself doing an applique that would just work really well if slightly raised up from the background, as a bit of a 3D effect.
As an example, think of a Star Trek costume, the Communicator badge.
In some cases, you would applique that, as you wouldn’t want the weight / risk of an actual, metal badge pinned on to the garment.
At the same time, it IS supposed to be something pinned on to the garment, not something flat against it.
This is a great example of when padded applique makes a difference. By padding up that comm badge applique, you give it a bit more dimension, and make it more realistic.
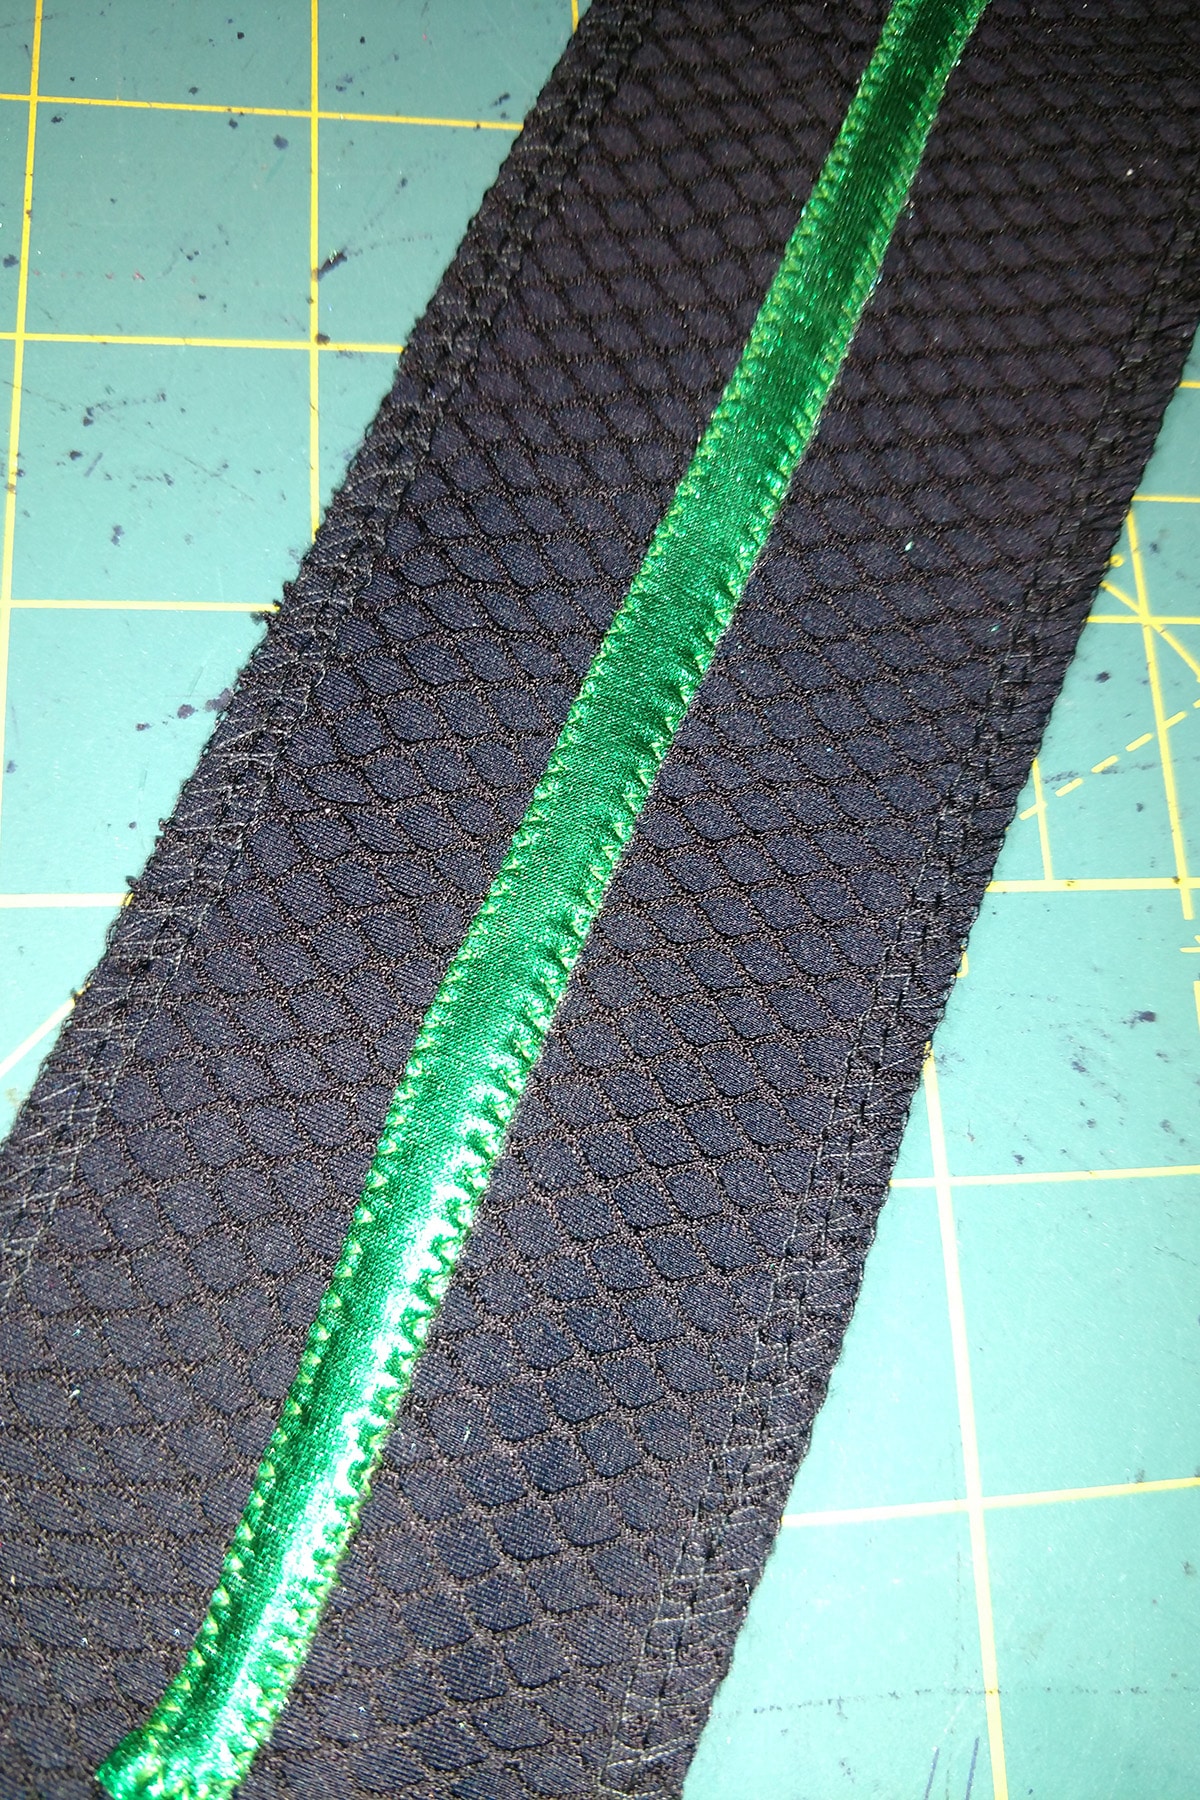
This was a test section for the Hela costume, to see how the (very thinly) padded applique worked over a layer of fishnet over the spandex and lining layers.[/
To Physically Separate the Applique Fabric from the Garment
This was the case with the Hela costume. The lines didn’t HAVE to be 3D, but the fact that it was being appliqued down onto a textured surface (fishnet over spandex) made it a good idea.
If you applique a non-textured spandex onto a textured surface, there’s a good chance that the texture is going to show through on the applique.
In some cases, you may be ok with this... but when you’re appliquing a sleek metallic accent onto something, it can be really distracting.
(Non-holo metallic spandex is the *worst* when it comes to showing every little bump underneath it!)
Using padded applique puts a smooth, physical barrier between your smooth applique, and whatever you’re appliqueing it to.

Before sewing the applique to the base, I had all of the colour blocking and applique done to the base front bodice piece.
Materials Needed
The Base Fabric or Garment
As with most (all?) applique, it’s best to apply your padded applique to the garment before it’s all sewn together. If it’s going across a seam, it’s usually best to sew that particular seam before applying the applique.
You’ll want to have anything that’s going to be done to the base of the garment pieces done before doing the padded applique. Any layers of applique or other stitches, any painting, dyeing, etc, that is NOT going to be done to the padded section.
As always, I recommend a good quality, 4 way stretch Lycra for pretty much any kind of spandex costuming.
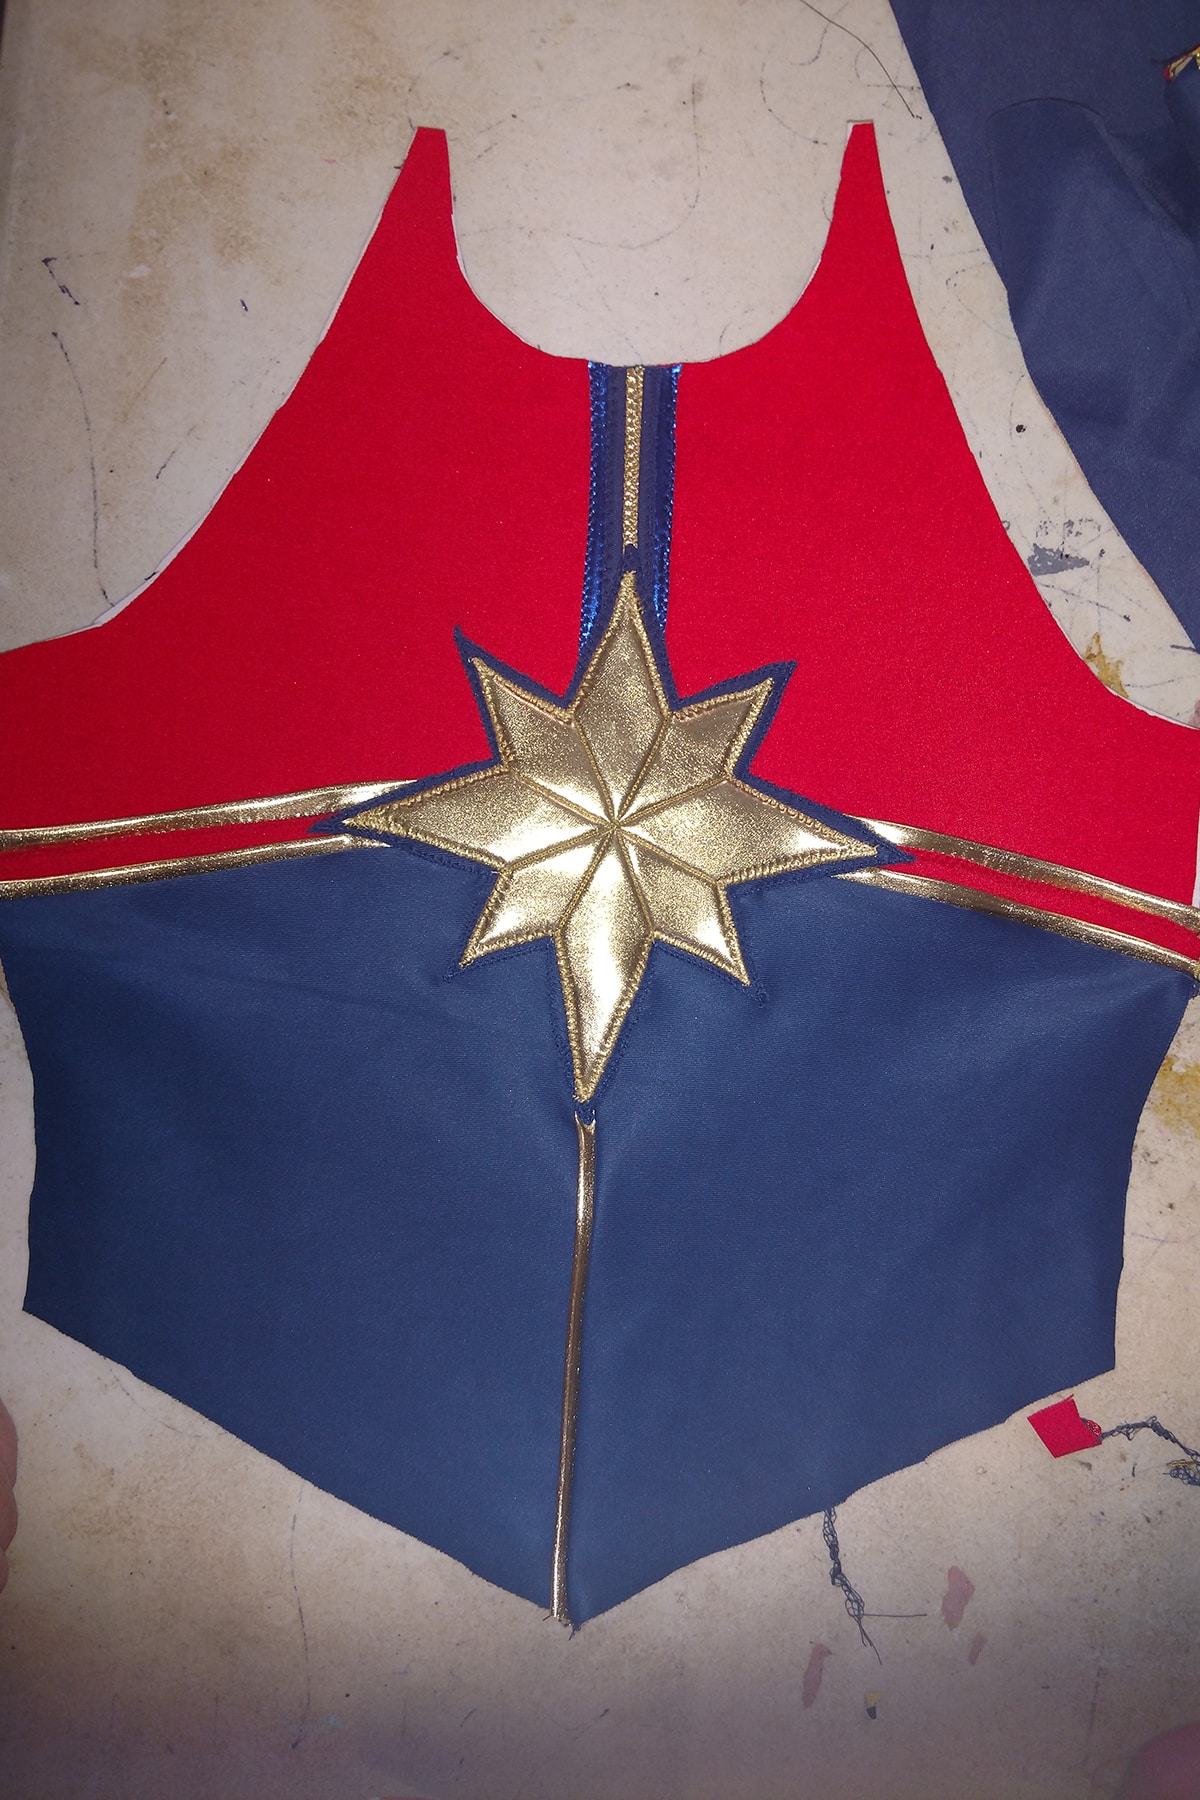
After the padded applique has been stitched down.
The Applique Fabric
This is the fabric - or fabrics - that you’ll be designing into the padded applique, to be sewn down to the base fabric / garment.
It can be pretty much anything you want, but if it’s being sewn down to a fully stretch garment - bodysuit, figure skating dress, swimsuit, etc - you’ll want it to have as much stretch as possible.
You’ll need enough to cut your design, plus a little extra to allow for a border.

For the applique demonstration in this post, I used a gold Mystique spandex.
Padding
There are at least a couple of different fabrics you can use for this, and they can be sold under different names, and in different sections of the fabric store / for different uses.
Basically, you’re looking for a relatively thin foam product that has stretch in - usually - one direction. (That is, 2 way stretch). I usually see this sold as bra padding, or neoprene.
Bra padding foam can be stretch or non stretch, the stretch is the better option.
When it comes to neoprene, it usually comes in a few different thicknesses, so you can choose based on what your design is - how 3D you want it - and what your sewing machine is equipped to handle. You're looking for "neoprene fabric", and make sure that it says it has stretch.
Personally, I use a relatively thin stretch neoprene for this, ⅛" thick for most uses. It usually comes with a thin, stretchy fabric bonded to both sides - one side is usually black or white, and the other can be either of those, or a brighter colour.
The colour you use really doesn’t matter for the most part. If you’re appliquing a light colour onto a light colour garment, though, you’ll want a foam / neoprene that has at least one side white.
If you get really wild with super thick neoprene, you may need an industrial machine. Also? Thick neoprene gets *way* more expensive.
Also, know that you’ll want a foam product that was meant for either garment or outdoor use. After doing the work, you don’t want sweat or washing it to disintegrate it.
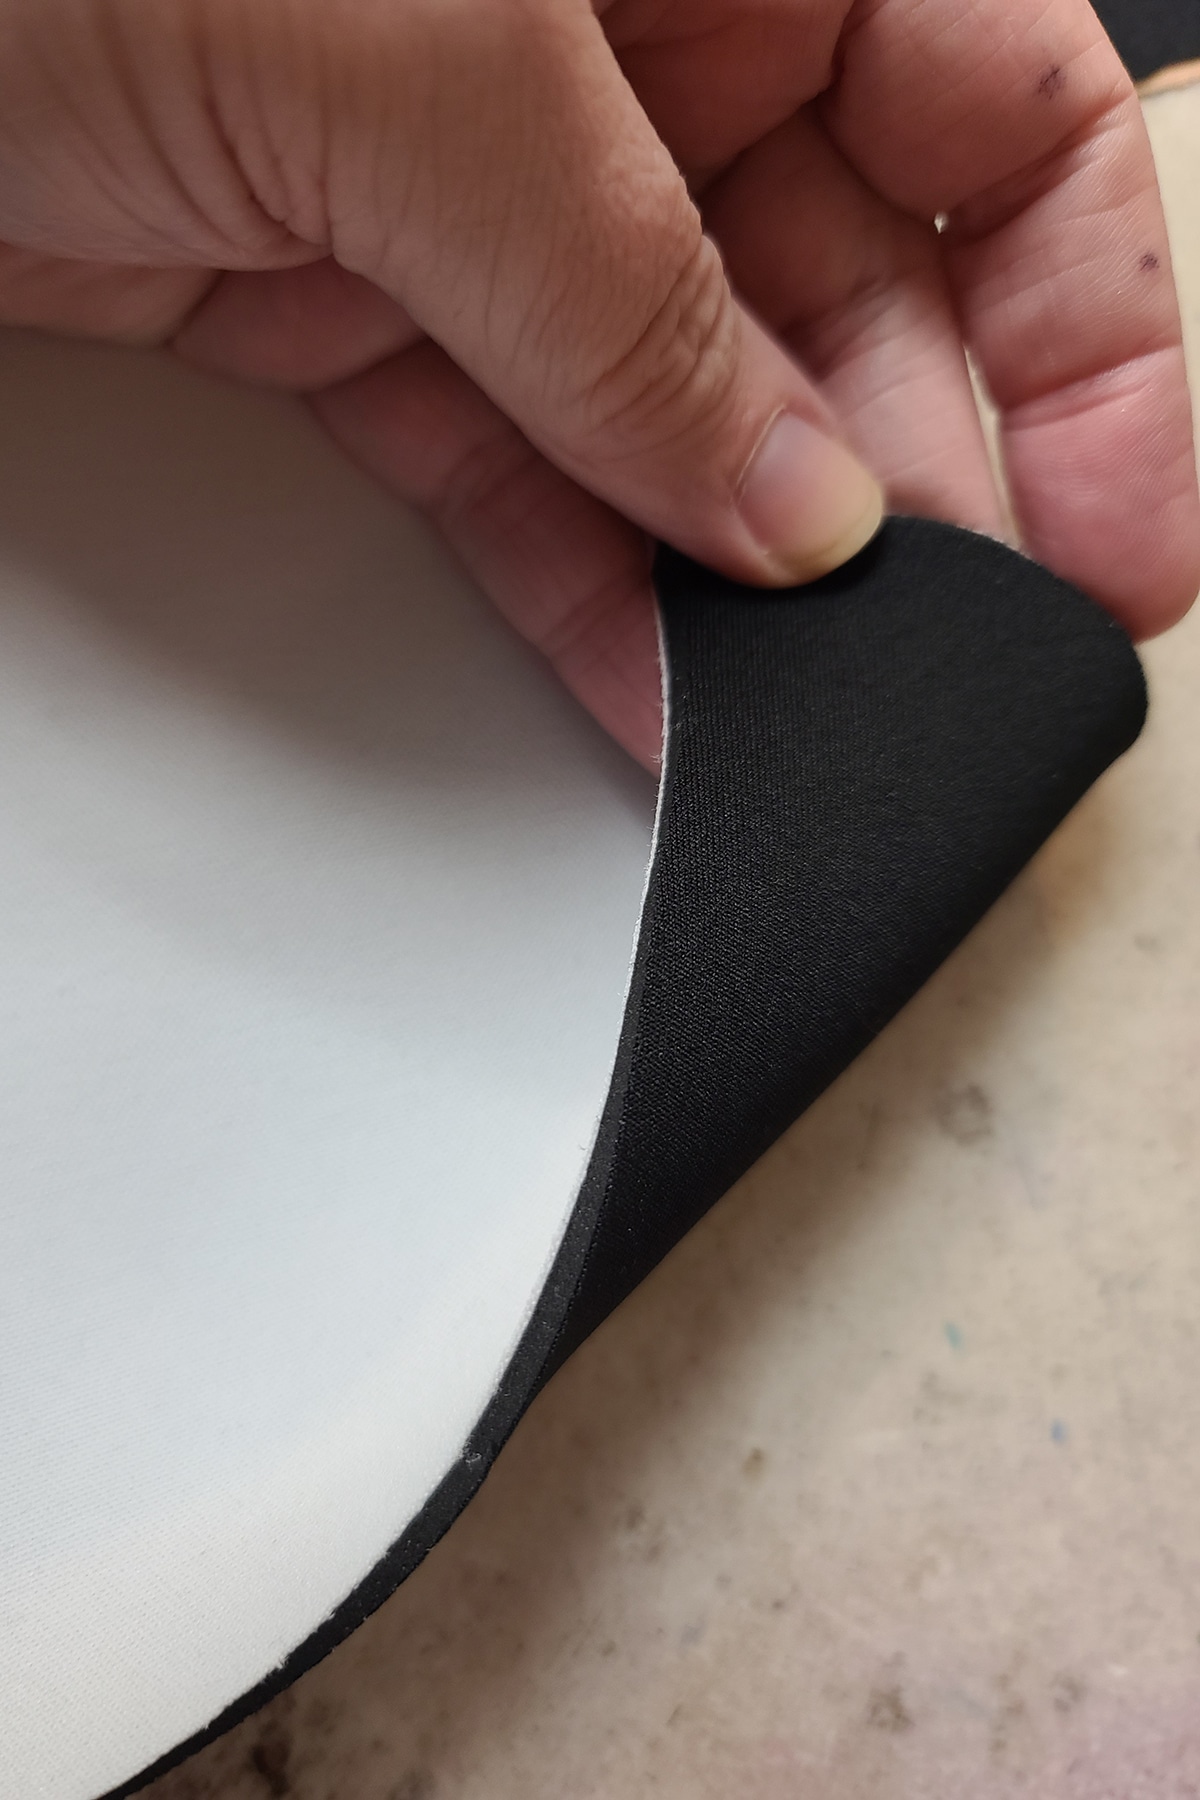
The kind of thin foam I usually use for this technique
A Note on Applique Stretch
Be mindful of stretch at all times - when you’re designing the garment and applique, when you’re buying the fabric and padding, and when you’re cutting it.
Generally speaking, you’ll want the greatest degree of stretch to go as a horizontal line across the body, but there are exceptions to that rule.
If your applique is long and very narrow, it may not need the crosswise stretch. In this case, you’d want to have the greatest stretch going along the length of the appplique.
Consider the Hela costume - the majority of the appliques were long and skinny, and running more or less up and down the body. Any bit of stretch it would gain crosswise wouldn’t really matter, as the bulk of the costume - the areas not covered in applique - provide adequate stretch around the body.
So I cut it such that it would stretch more up and down. This allowed for much better overall stretch and comfort to the wearer.
Whichever way you are aiming the greatest degree of stretch, be sure that the greatest degree of stretch of the applique fabric is the same orientation as the greatest degree of stretch in the padding.
If you don’t line them up, they can basically cancel each other out, and become a non-stretch applique.
Even worse, if the padding stretches more than the fabric, it can make the whole thing wear funny.
Another rule of thumb: The bigger the applique, the more stretch it needs. The smaller the applique, the less stretch it needs.
That Star Trek Comm Badge example? It’s small enough that you can get away with a low-stretch or even no-stretch padding/applique fabric, if needed.
Spray Adhesive
For this to work, you’ll want to use a spray adhesive. You want to basically bond the applique spandex to the padding, and work with the two together as one item.
This gets even more important when you start looking at doing layers of padding within a single applique design.
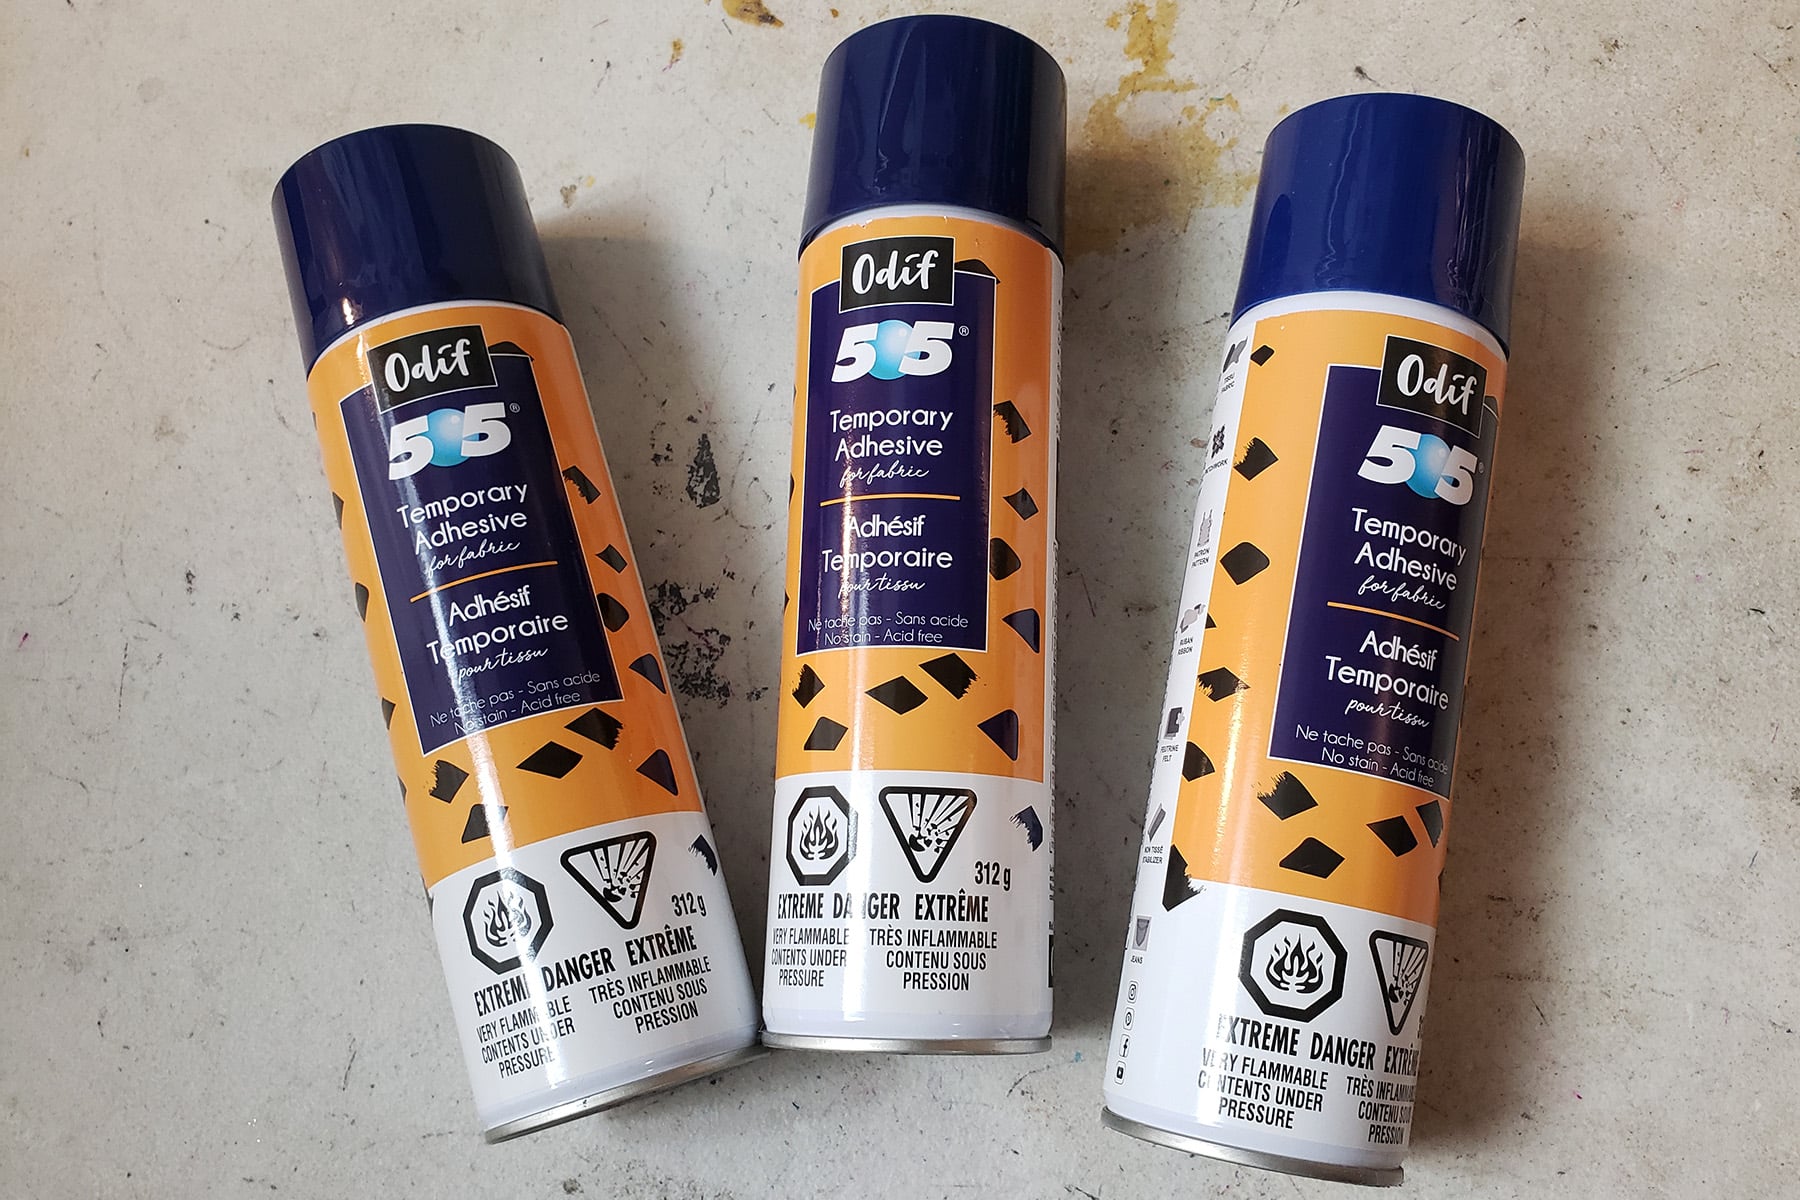
Personally, I recommend Odif's 505 Temporary Fabric Adhesive. If you do a lot of applique, you’ll want to buy it by the case!
Basically, this spray will turn your applique - or pattern - into a post it note. (See my "How to Sew Spandex Applique" post for more details!) One important quality it has is that it does NOT soak though.
There are other repositionable spray adhesives on the market, but this has been the best - and most accessible - for a long time.
Exam Table Paper
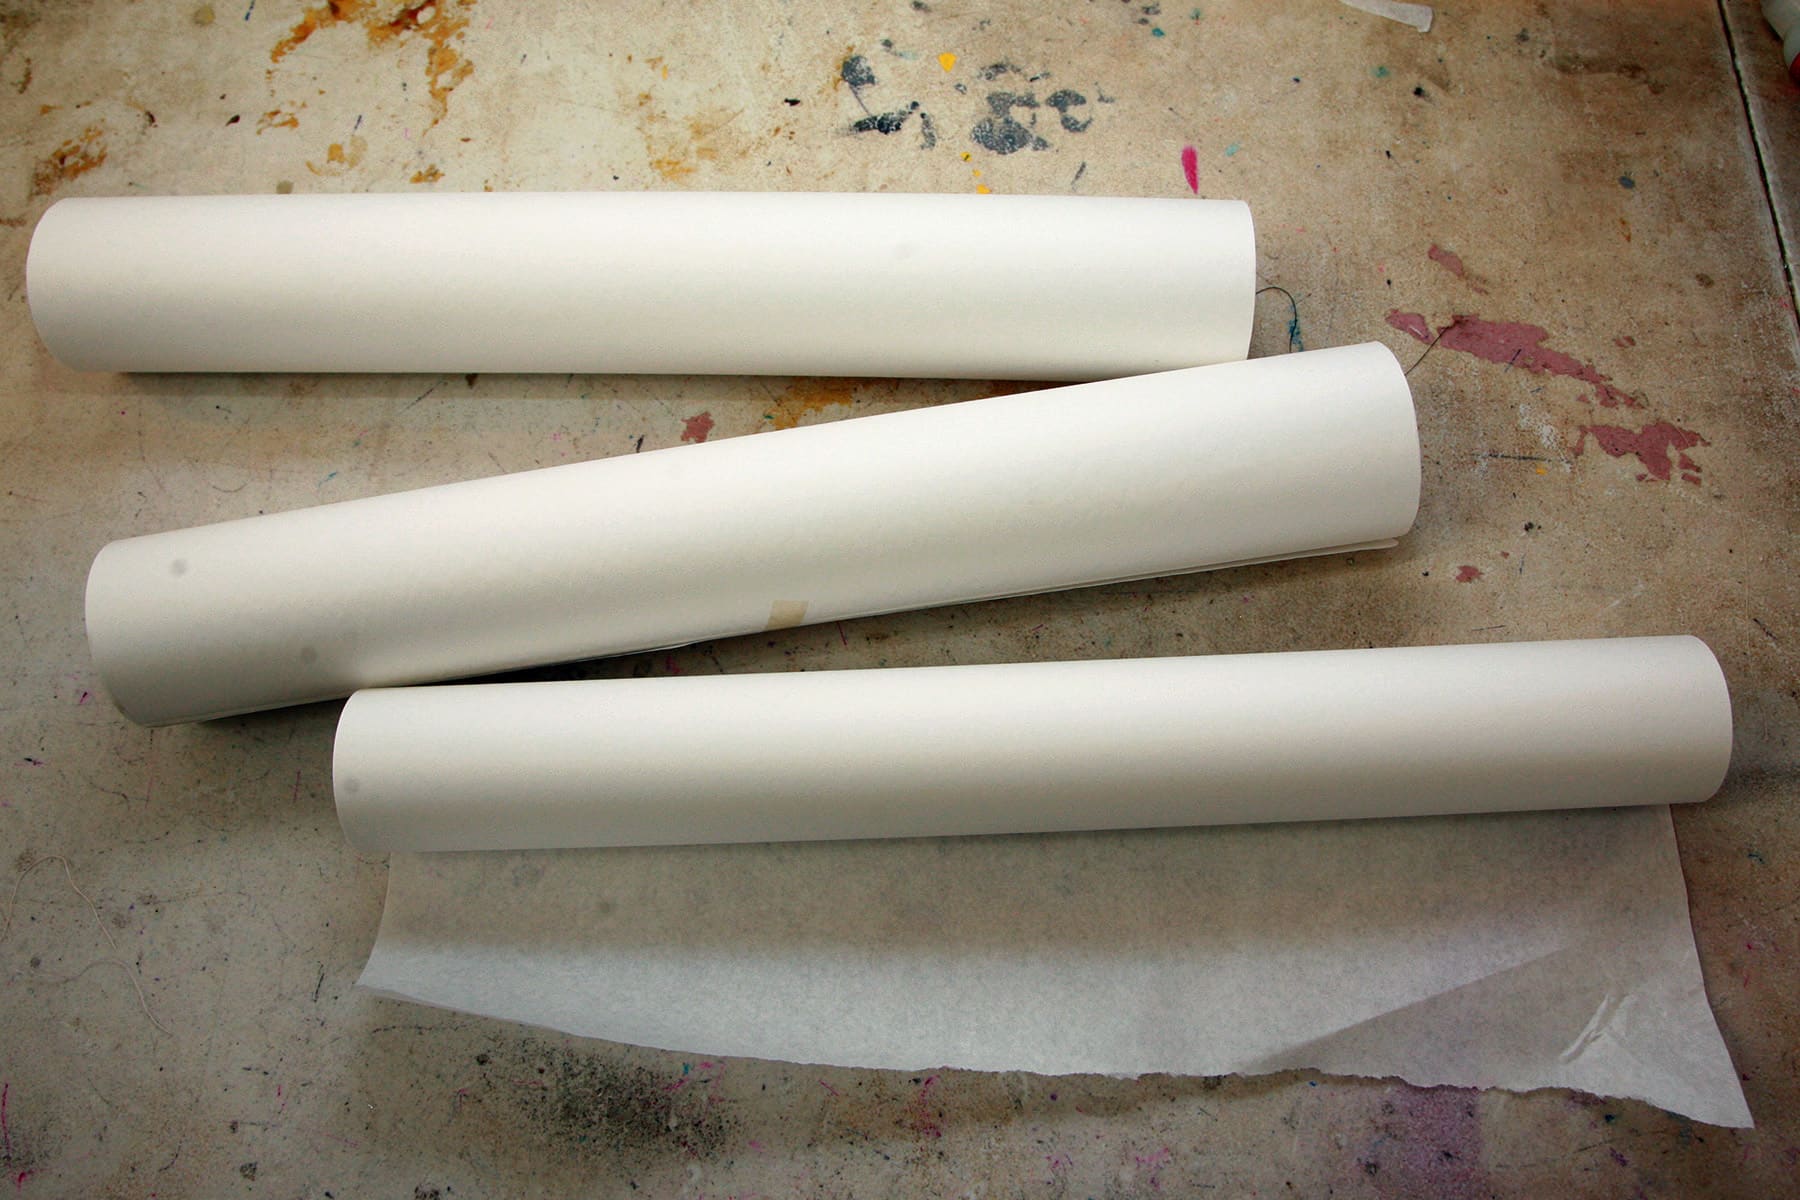
For this technique, I use rolls of exam table paper for a few reasons.
I do all of my patterning on this paper. For this applique technique specifically, it’s handy that it’s relatively translucent, as you’ll want to trace.
It’s also cheap and plentiful - at least in my studio! - so I also use it as a small backdrop for spraying my appliques.
If you give the paper a light spray and let it dry, it’ll also hold your applique in place - right side down - so that it doesn’t move or flap up at all when you’re spraying the wrong side of it.
You can buy it on Amazon and at medical supply stores, for between $2-5 per roll. Super cheap - which is good, because you’ll go through it like mad once you get going!
Sometimes, you’ll be given a choice of 2 papers. One is cheaper and uncoated, and the other is slightly more expensive, and is coated. Go for the cheaper roll, as wide as you can. 21" is great, 18" will usually do.
Other Supplies
In addition to those major items, you’ll want a few basics:
- A pen/pencil, and a marker. This will help you with designing and transferring your applique design.
- Thread. What colour you use depends on your design. In some cases, you’ll want to match the applique. In others, you’ll want a darker (or lighter!) thread so that your sewn design lines / quilting actually shows up.
- Design tools. Depending on what you’re doing, you may want a ruler, set of french curves, and/or those flexible curve rulers - for creating your own shape guides. You may want to design it on the computer and print it out - so many ways to go about it!
Equipment Needed
Sewing Machine
Without looking at anything else to do with constructing whatever garment you’re making, you’ll want a sewing machine with a zig zag stitch for this technique.
Scissors
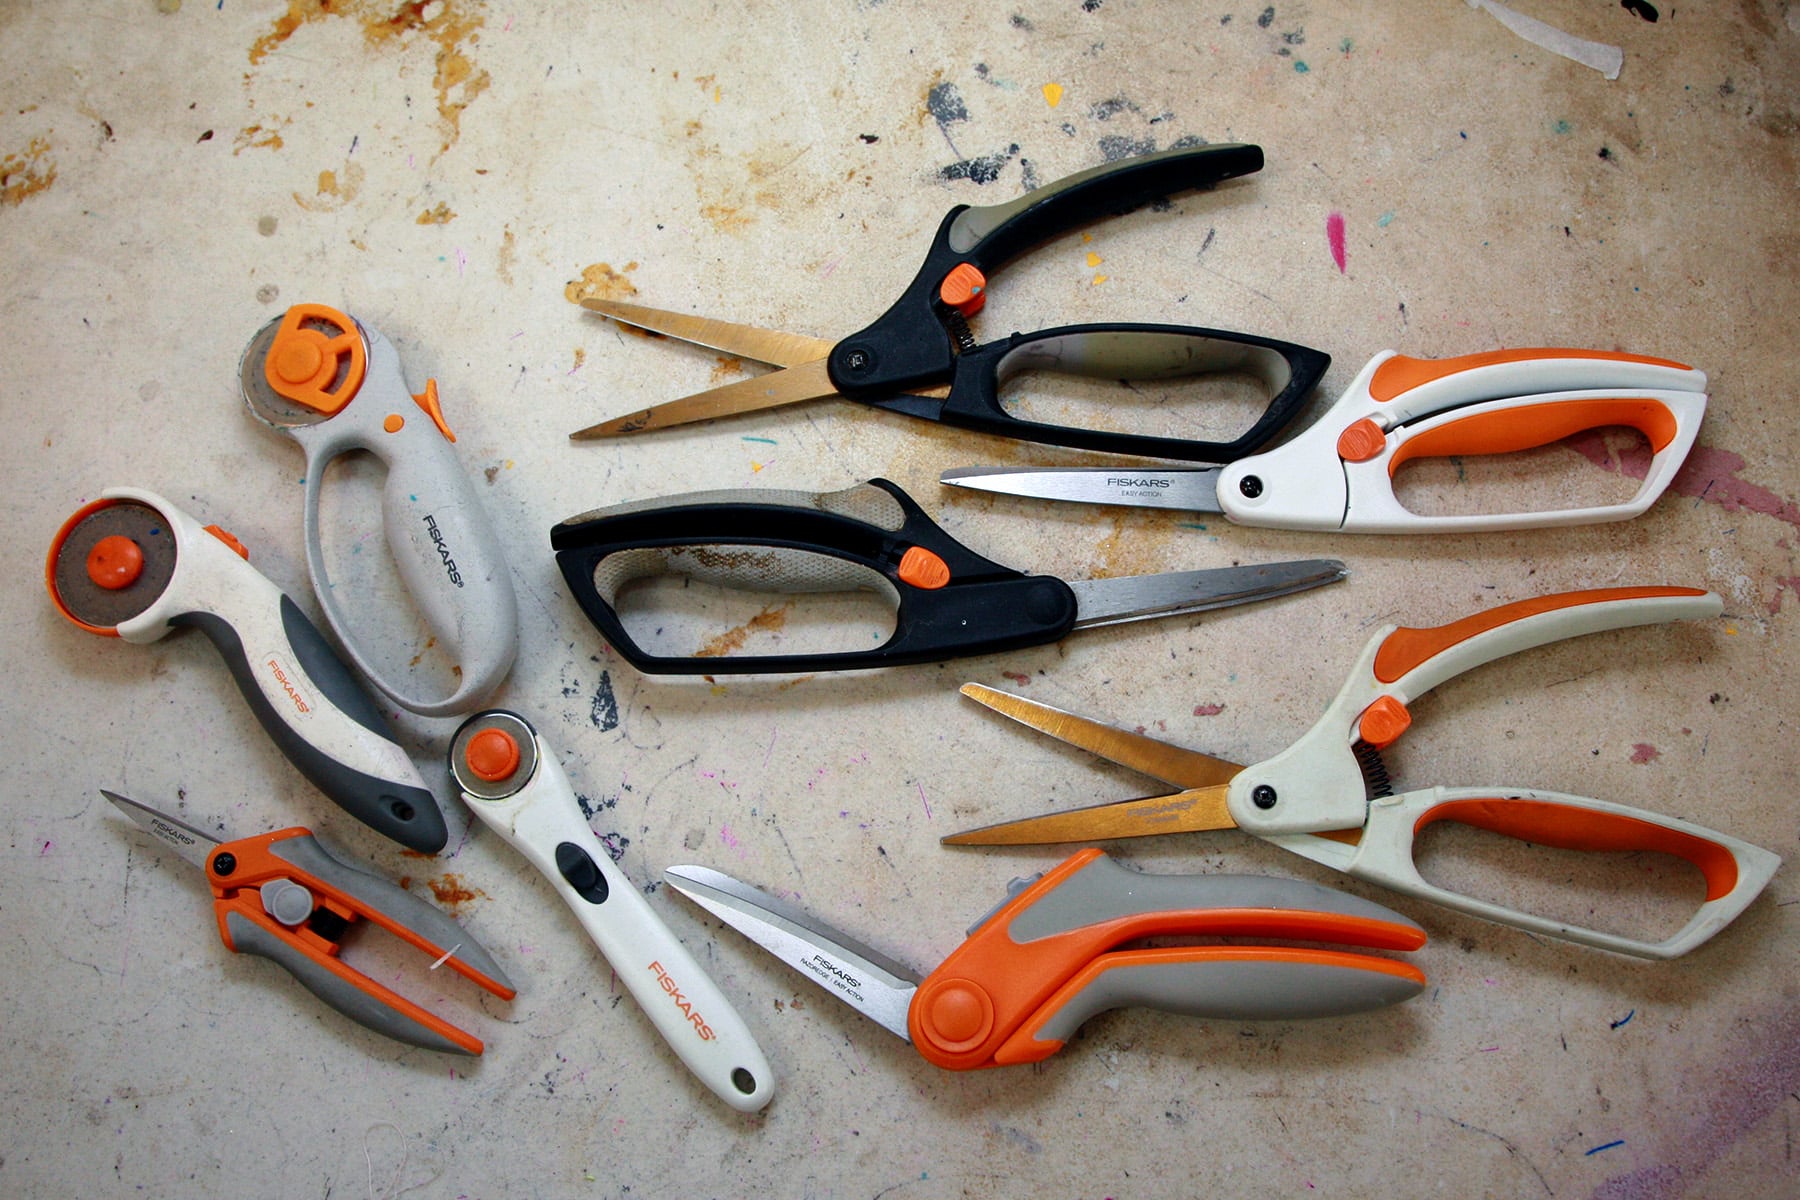
Have some good, sharp scissors on hand, that you’re able to cut very precisely with.
I love Fiskar scissors - the spring loaded "Easy Action" scissors, especially. I have ... a few pairs. LOL.
How to Sew a Padded Applique
Patterning
1. Design your base pattern. (See our Patterning Tutorials for tips on style and fit alterations.)
2. Draw any of your base design elements onto the base pattern. This would be any color blocking, piping, and/or basic spandex applique that will need to be in place before your padded applique is sewn onto it.
3. Draw your padded applique design onto the base pattern. This will be to ensure placement and proportion look good with everything else.
4. Use a separate piece of exam table paper to trace the padded applique pattern. Be sure to include any design lines within it, that you’ll be stitching down.

Cut and Sew the Base
5. Before getting started with the actual applique, you’ll want to piece your base and do any design work that needs to be done before attaching the padded applique.
In this case, I laid out the stretch mesh top and the black spandex base onto the cut out front bodice lining, and appliqued the black down. Then I cut, placed, and appliqued the “necklace cord”. (Not pictured)
Cut the Applique Pieces
As you do this next section, always be mindful of which way is the right side of the pattern, if you’re doing something asymmetrical / that has a definite right side.
6. Use your applique pattern to cut the actual shape and size of the applique piece(s) out of the neoprene. If you’re using a foam that has 2 different coloured sides, decide which will be the best to be facing up (under the applique fabric).
A lot of the time, it won’t matter. If your applique fabric is light, though, you’ll want to use the lighter side of the foam.
If you are doing an applique in a light fabric, and your foam is dark, you can use spray adhesive to bond a layer of beige or white swimsuit lining to the foam, before proceeding. It’ll prevent show-though.
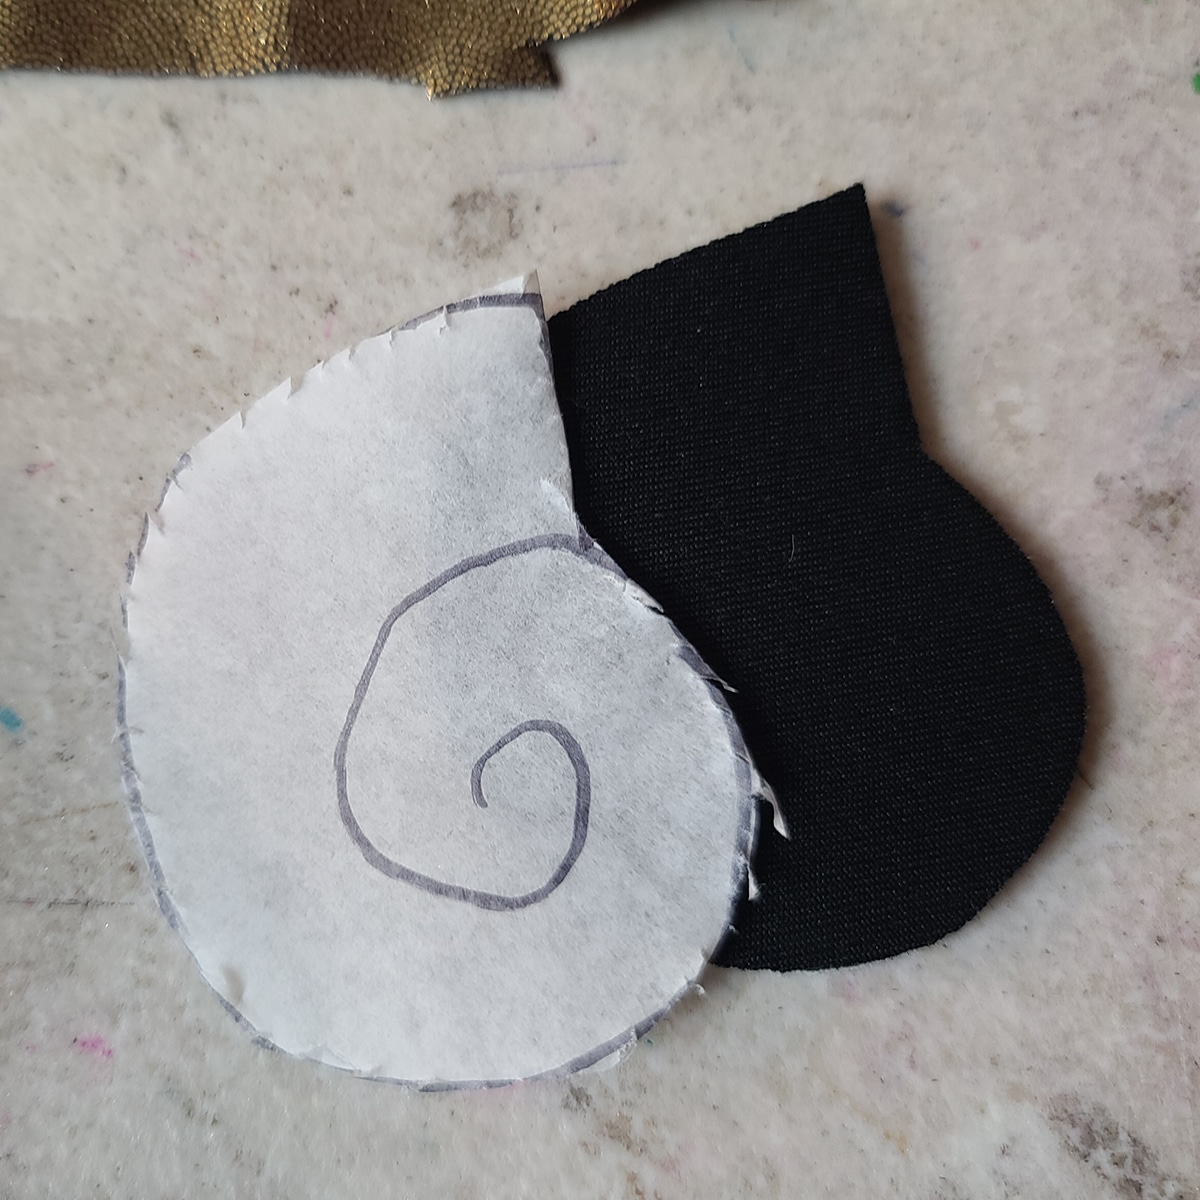
If your pattern piece is fussy to cut out, you can hit the WRONG side of the pattern with some repositionable adhesive, and stick it to the RIGHT side of the foam, to secure it before cutting it out.
For this example, I’m doing the black side of the neoprene as my RIGHT side.
If you’re doing multiple layers to your padded applique (see the video tutorial at the end of this post for an example), be sure to cut your foam such that all “right sides” of the foam are the same colour, to avoid possible confusion.
Cut the Applique Fabric
7. Spray the RIGHT side of your foam piece, and press it down on the WRONG side of your applique fabric. Press firmly, smooth out any wrinkles that may be present.
8. Cut out your applique, leaving a margin around the foam piece. The size of that margin should be roughly the same as the thickness of the foam being used.
If you’re using a 3 mm thick neoprene, leave a 3mm border around the foam as you cut it out.

If you’re going to err, err on the side of slightly too much border. It’s better for the extra fabric to stitch down on the base garment, than to not have enough fabric to cover the foam.
It may not be a big deal, depending on what colour(s) your foam is, but in general you don’t want to see the cut edge of the foam on the sides of your applique.

Affix the Applique to the Garment
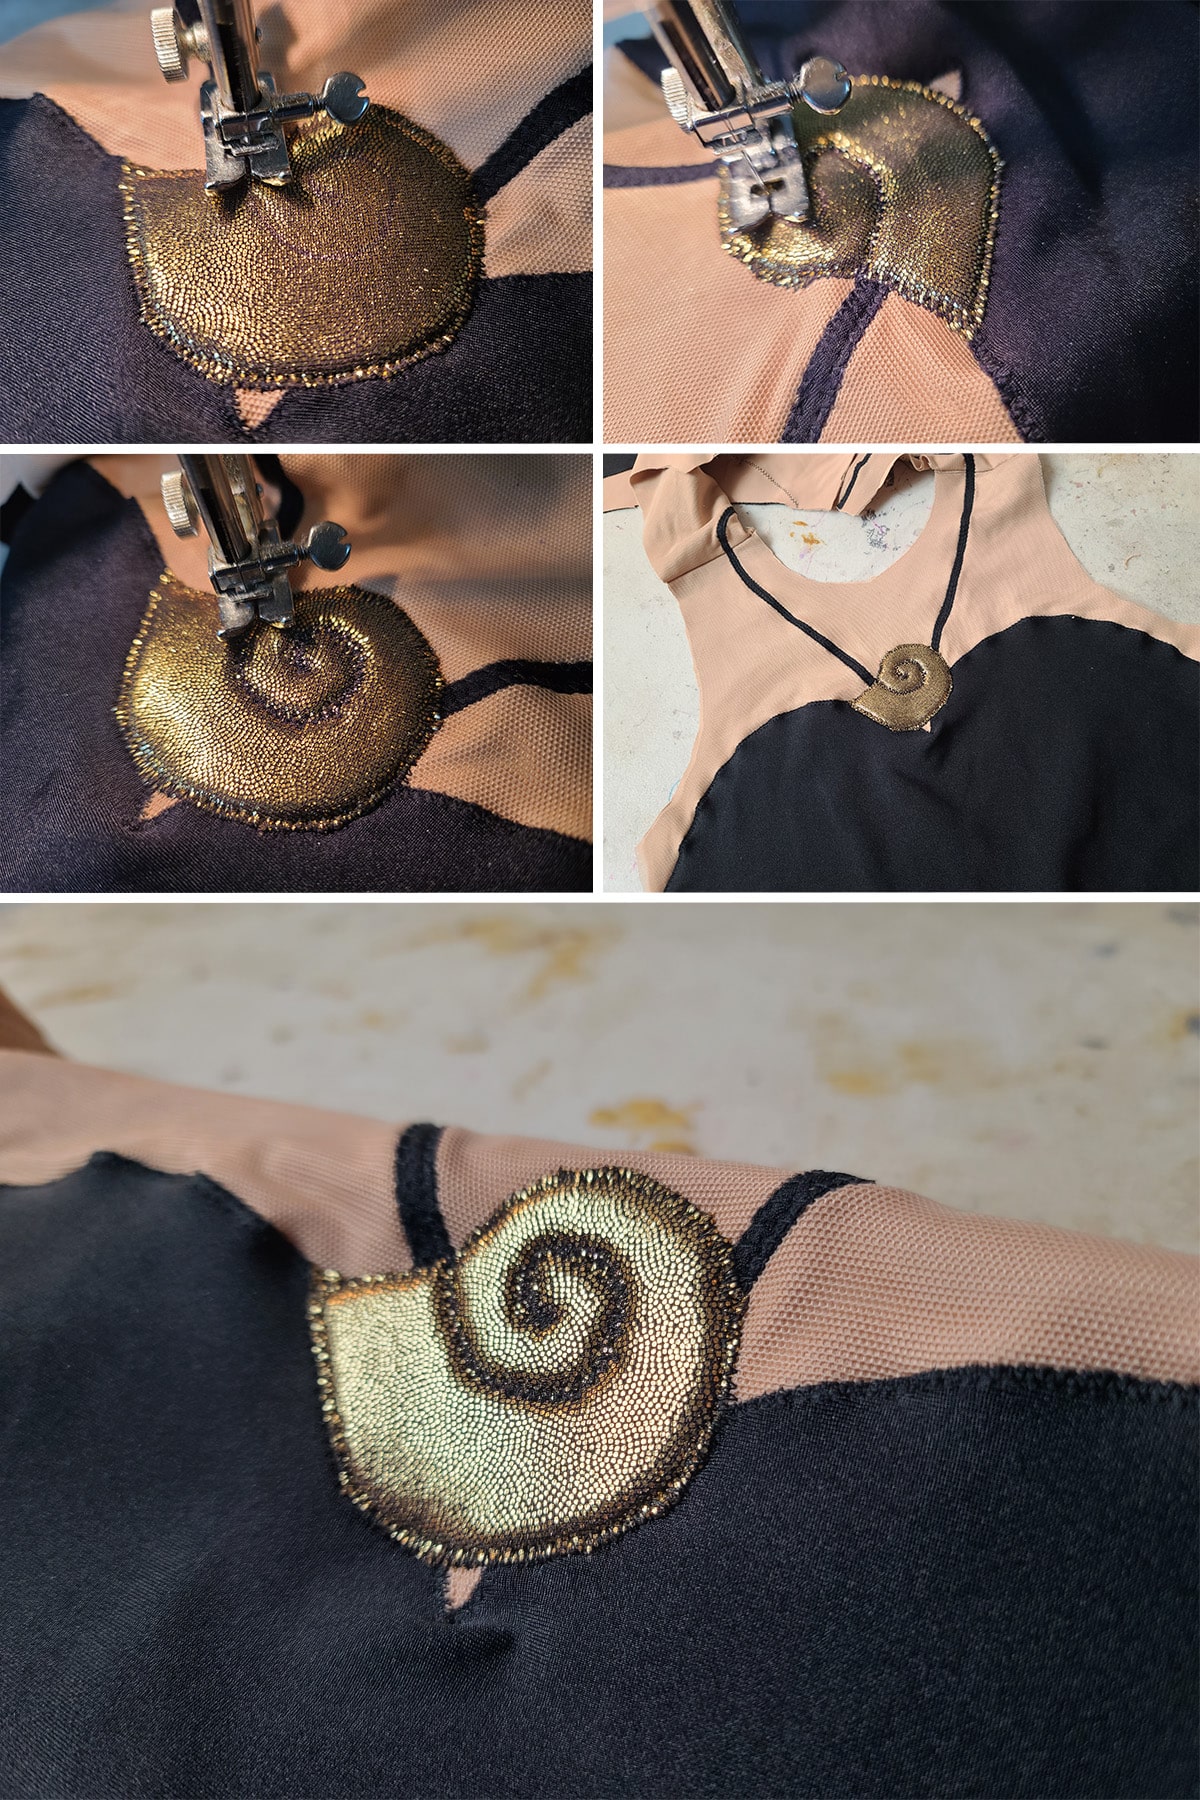
9. If your applique has any internal design to be stitched - in this case, the spiral - carefully mark it on the RIGHT side of the applique.
Dressmaker’s chalk is usually a good choice for this, just be sure to test it on the fabric to make sure it’ll come off cleanly.
10. Spray the WRONG side of your applique with spray adhesive. Be sure to get the flat area of the foam, the border of spandex, and - ideally - the cut edge of the foam.
11. Position the padded applique down on the garment, where it’s supposed to be. I like to keep a copy of the original base pattern for reference, if needed.
12. Use a fingernail to press the border of spandex downward, molding it around the cut edge of the foam all the way around the design. Ease any fullness into tiny pleats, if needed.

Stitch the Applique
13. Using a wide zig zag - The thicker your foam, the wider you’ll want it - and a medium or medium-short stitch length, stitch around the outer edge of the FOAM, trapping the edge of the applique fabric in your seam.
14. If your design has any internal design stitching/quilting to do, use a more narrow zig zag and a medium-short stitch length to stitch along the design line.
I like to go over any of these lines twice. In this case, I sewed from the outside of the spiral inwards. Then I dropped the needle, pivotted 180 degrees, and re-stitched along the same seam I’d just sewn.
Whenever possible, try to minimize the number of start/end points of your stitching. In the case of this shell, I started my border stitching at the inner corner of the “shell opening”, as that is also where the inner spiral started.
When I finished stitching the outside, I dropped the needle, pivotted, and stitched that inside design, as one continuous seam with the outside.

15. Trim your threads and assemble the garment as you normally would.
To Have a Fabric Border
The shell design was appliqued directly onto the garment, but the Captain Marvel star was done slightly differently.
The padded applique was stitched down to some navy blue spandex, following the above method.
The appliqued star was cut out of the blue spandex, leaving a bit of a border. Then I sprayed the wrong side of the star (the blue), and positioned the whole thing on the actual garment.
Then I stitched the blue edge of the new applique down to the garment, the same as I would any other applique.
Anyway, I've got to toss on a batch of Sushi Bake, so that's all for now! Let me know if you have any questions!
More Sewing Technique Tutorials
Interested in learning the basics of sewing with spandex? Here are a few more posts
How to Cut Spandex
Sew Spandex with or without a Serger
How to Install Snaps in Spandex Garments
Hemming Spandex Skirts
How to Apply Elastic
Appliquing Spandex
How to Make Covered Elastic Straps
How to Make Bikini String
... and always, be sure to check out our Table of Contents for a full, categorized listing of all of our posts and tutorials!
Share the Love!
Be sure to take some pics of your handiwork! If you post it to Bluesky, be sure to tag us - @SpandexSimplified.
Also, be sure to follow me on Pinterest, and subscribe to my Youtube Channel, so you never miss out on any of my nonsense. Well, the published nonsense, anyway!
Finally: If you loved this tutorial - or have any questions about it - please leave a comment below! I'll do my best to answer any questions you may have!



This is fantastic! Thank you!!