

Elastic straps are basically covered lengths of elastic, used for all kinds of strappy backs on figure skating dresses and synchro swimsuits, as well as for swimwear - especially Strappy Underwire Bikini Tops.

As far as the two methods that I’ll show you go, here’s the basic rundown:
Rolled Straps: Doesn’t require equipment beyond a sewing machine (serger optional) and a pair of scissors. Not fussy upfront, but takes a bit longer to make. Has visible top stitching up the middle.
Turned Straps: Requires a little more in the way of equipment, and a bit more fussing up front. Much faster to sew, more professional looking result. No top stitching.
The Less Ideal Way
As far as the not-recommended technique goes, it doesn’t require any less in the way of equipment than turned straps, is a bit more work, and the finished result isn’t great.
With that technique, you’d sew a narrow tube of spandex, turn it right side out, then run an elastic through it. It’s fussy to do, and the finished strap can be bunchy - like a scrunchie.
Turned straps are the same basic idea, but fewer steps and the elastic is sewn right into the seam - so the fabric doesn’t move or bunch along the length of it.
Anyway, enough about what NOT to do, let’s get to those tutorials.
Need more visuals? I’ve got a video tutorial towards the end of the post.
Materials for Making Elastic Straps
The materials you’ll need for making straps are exactly the same, regardless of which method you’ll use, with one small caveat as far as fabric goes.
Spandex
First, let’s address that caveat:
If you’re using a fabric that is only 2 way stretch, the rolled strap method will be easier, as you really do need some crosswise stretch for the turned method.
Ideally, though, you’ll use a good 4 way stretch for these, as they’re generally meant to match the body of a garment, and you should always aim for using a good 4 way stretch for that!
Beyond that, you can use any type of performance stretch fabric for this, even stretch mesh.
Assuming a good amount of stretch in both directions, it doesn’t really matter which way the greatest degree of stretch goes.
If you’re using a fabric where there’s a big difference in the degree of stretch, I recommend cutting it so that the greatest degree of stretch goes WITH the elastic, not ACROSS the elastic.
That is to say, when you cut a long narrow strip of spandex, the greatest degree of stretch would go along the length of it, not across the short width.
If you’re using something with a nap - like a stretch velvet - just be sure to keep track of the direction of the nap when you cut and cut the straps, and keep all pieces facing the same way when sewing them in.
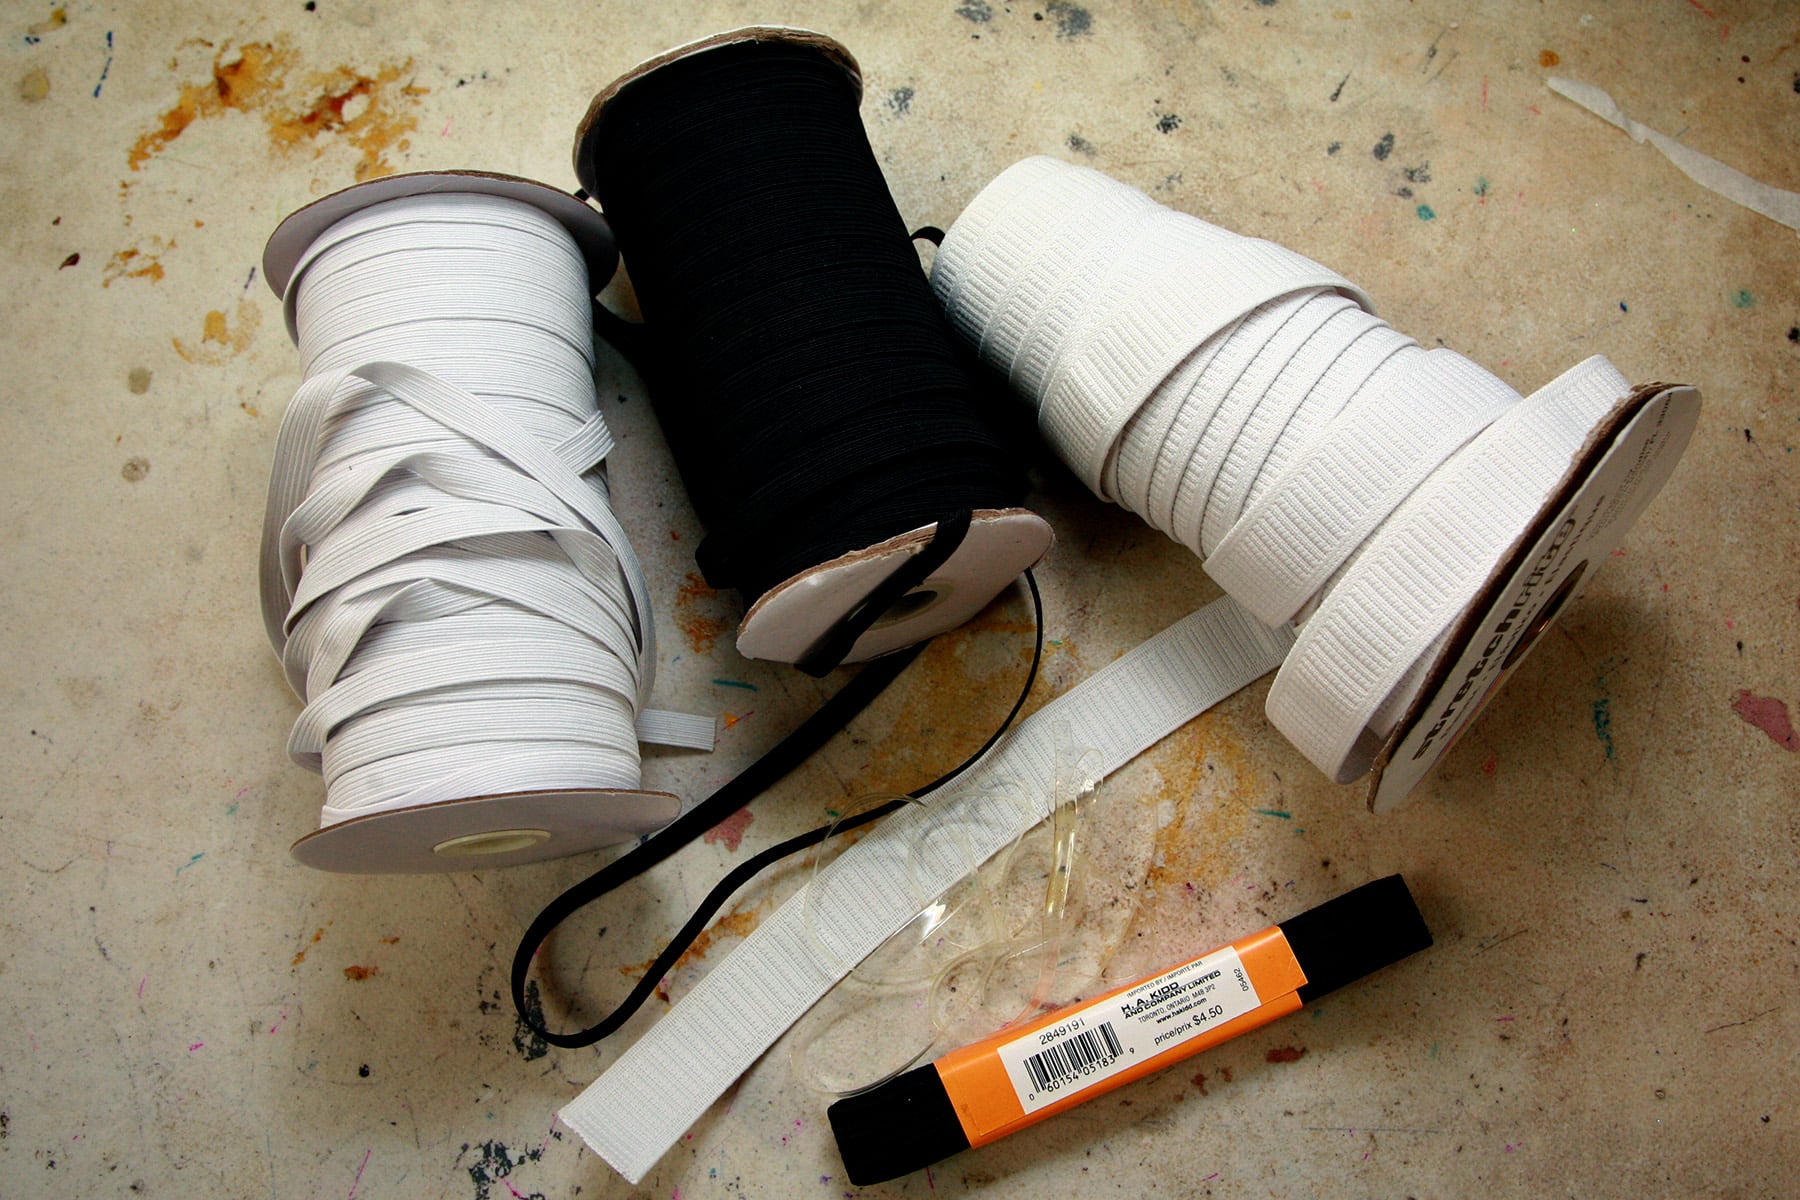
Elastic
My default size elastic for making straps is ⅜", I just find it tends to look the best and also have a great hold/retention. (More narrow elastic can stretch out more).
As mentioned in my Spandex Costuming Tools & Supplies post, I like to use this ⅜" Braided White Elastic - as my go to elastic for leg holes, necklines, arm holes, etc. It’s what I use for most straps, as well.
That said, you can definitely use these techniques for making wider straps, and sometimes I’ll make them with 1" Braided White Elastic - This is what I use for the vast majority of my waist bands.
When doing a wider strap like this, I recommend using the turned strap technique.
Anyway, I generally use a white/off white elastic that I buy in bulk, as you really don’t see it under any colour of spandex. If you’re using a light coloured spandex, I’d avoid using black elastic, etc.
That said, if you’re using stretch mesh for straps, I recommend using elastic to match the skin tone of the wearer.
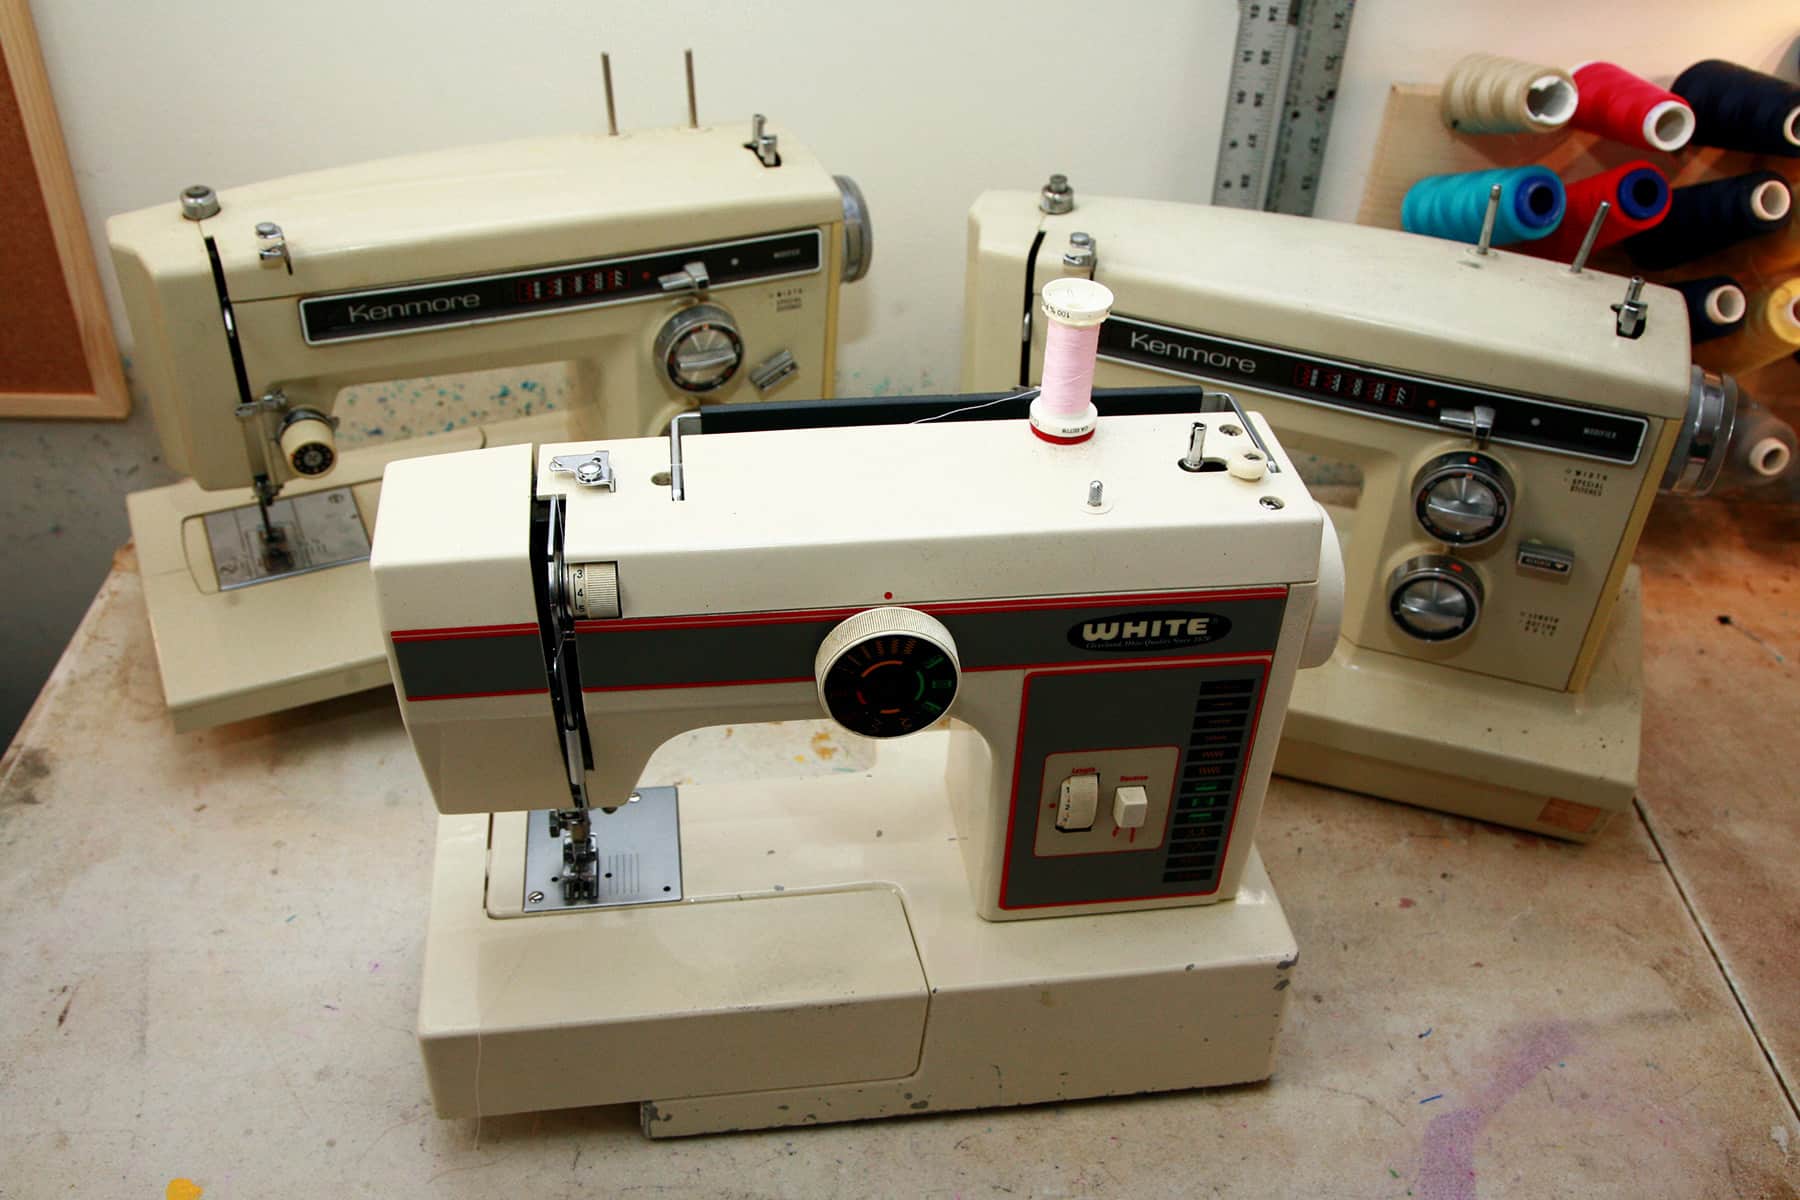
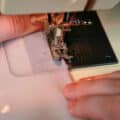
A few of my machines
Equipment for Making Elastic Straps
Sewing Machine
First off, regardless of which technique you use, you’ll need a sewing machine.
You can do either of these techniques with nothing but a zig zag (medium-wide or wide stitch width, medium stitch length).
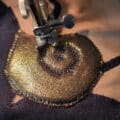
A serger is nice, but optional.
For serged rolled straps, you’ll still need to do top stitching - I do a zig zag, but you can use a coverstitch machine if that’s what you have / are used to.
For serged turned straps, you can do them with only a serger, as there’s no top stitching.
Equipment for Rolled Straps
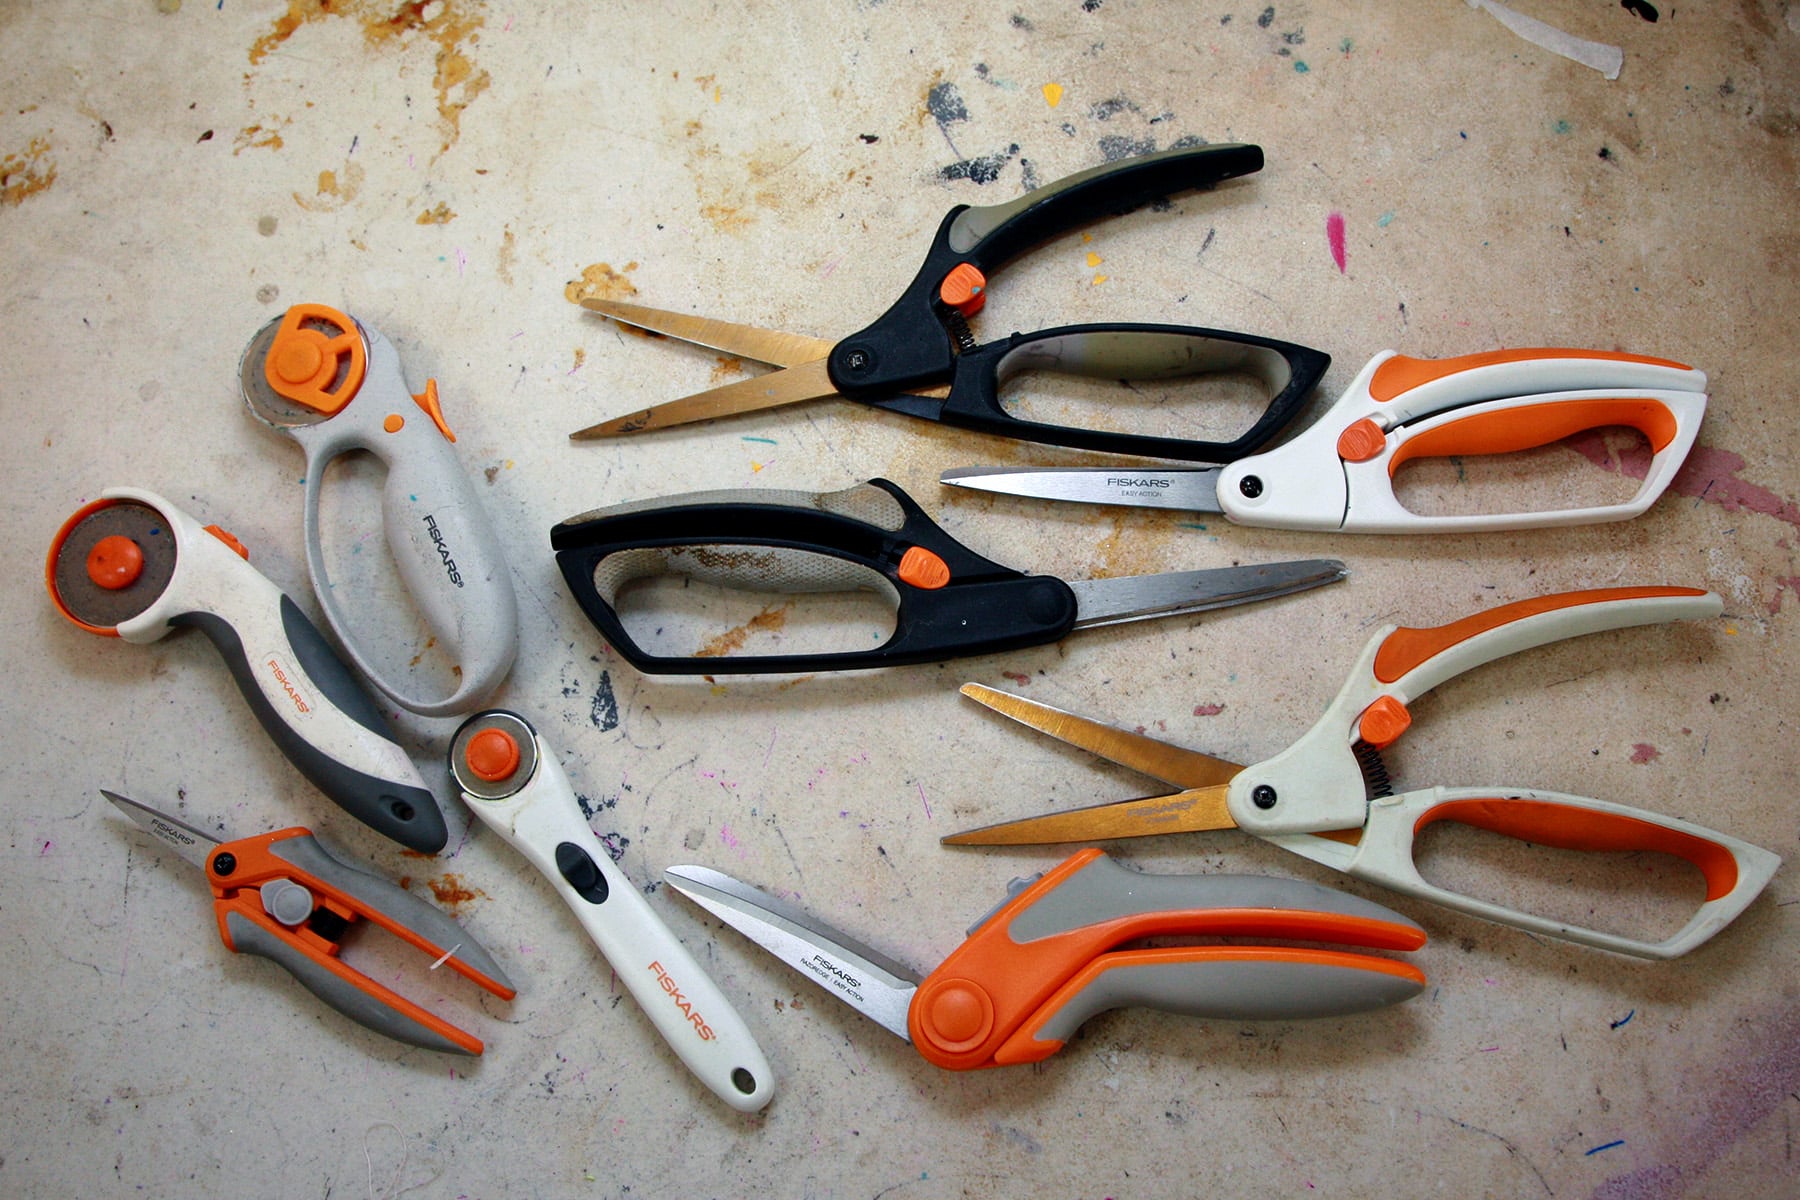
If you’re doing rolled straps, the only equipment you’ll need is a good sharp pair of scissors.
Personally, I love Fiskar scissors - the spring loaded "Easy Action" scissors, especially.
Note: You CAN use a cutting mat and rotary cutters, as discussed below. That level of accuracy just isn’t required for this technique, you can really just freehand cut strips for it.
Equipment for Turned Straps
Turned straps do require a few pieces of equipment, but they’re all relatively small ticket items that I recommend having, even beyond straps.:
Cutting Mat & Rotary Cutters
You’ll want a Self-Healing Cutting Mat for this, but they’re great to have in general.
I recommend having at least two - one in the biggest size that you can afford / have space for, and a second that’s fairly small (9 x 12 or whatever) when you’re doing really small things. When making straps, I use my big mat.
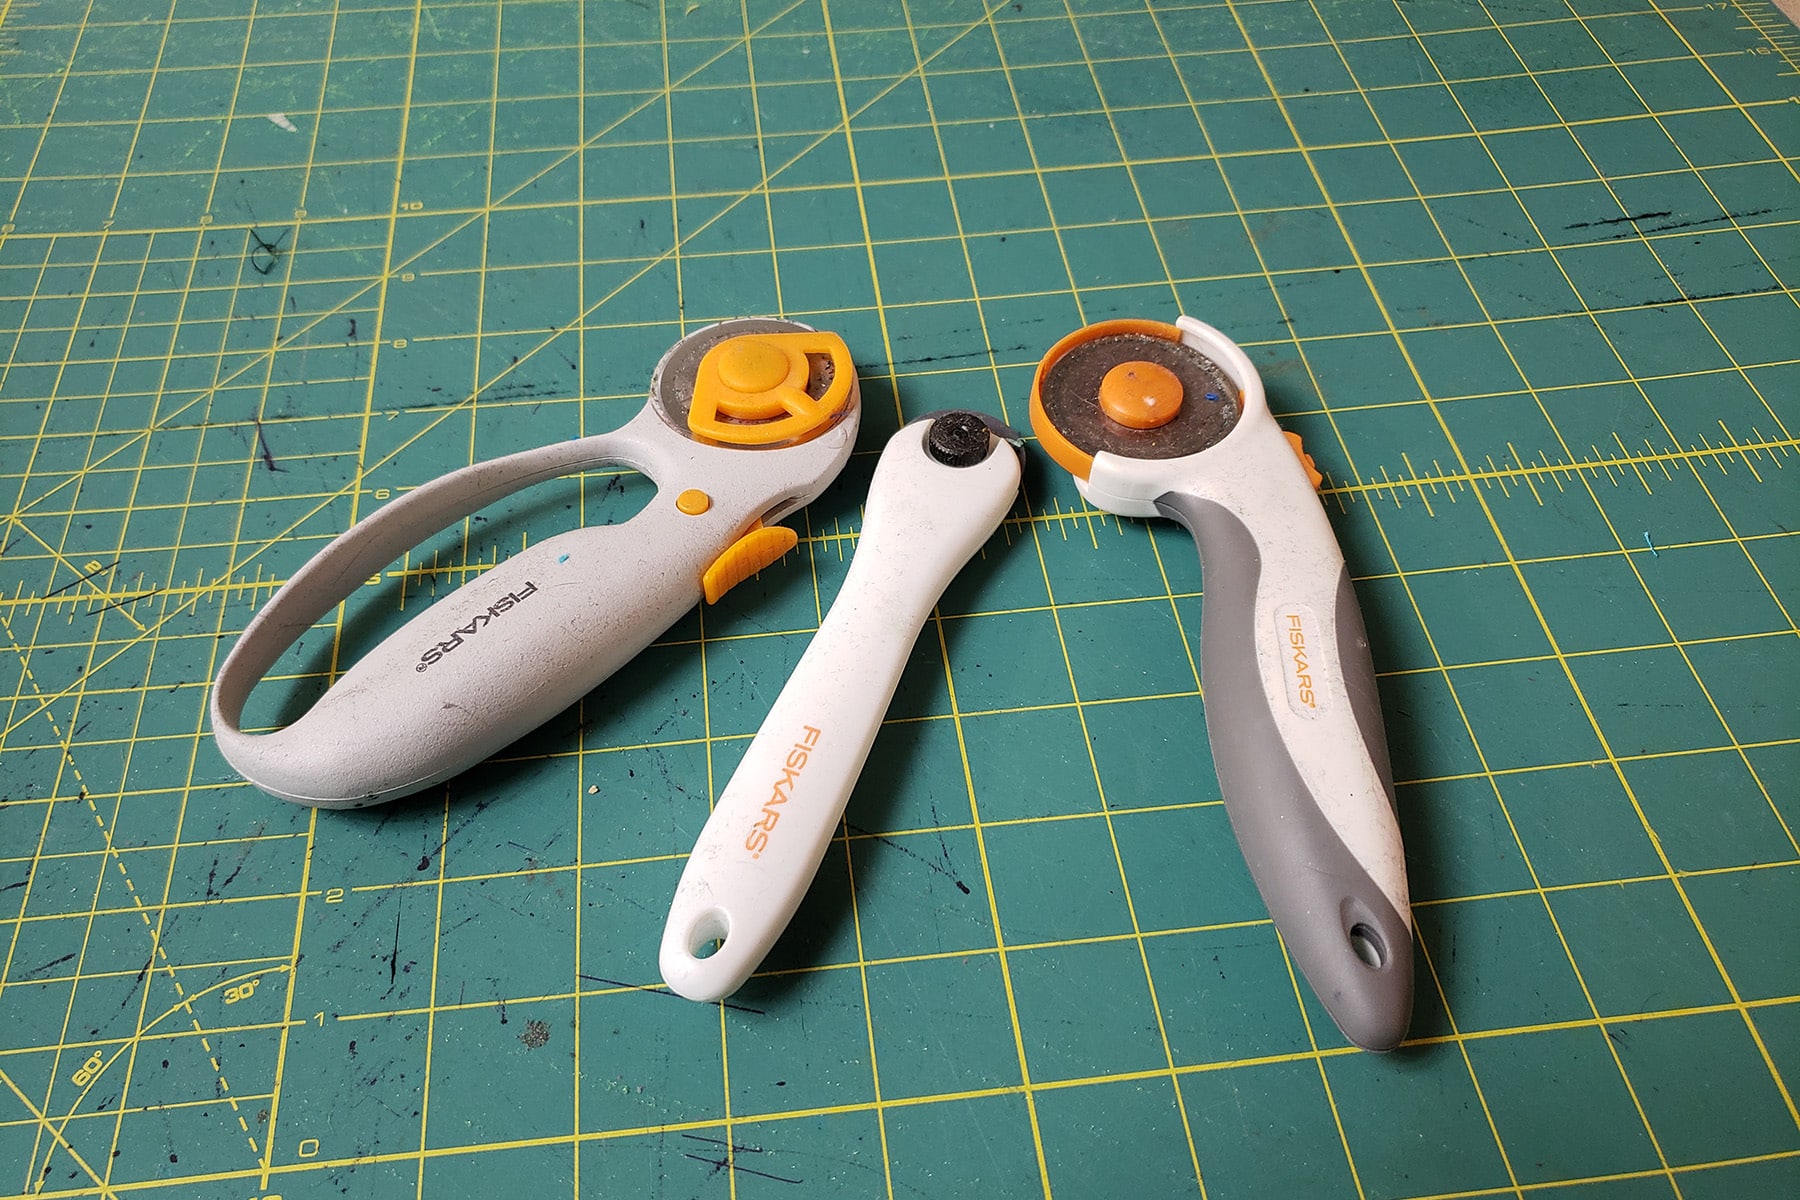
I love the Fiskars rotary cutters, personally.
I have several in different diameters - I use the larger diameter ones for things like cutting straps, and the small ones for cutting appliques.
Yardstick / Long Ruler
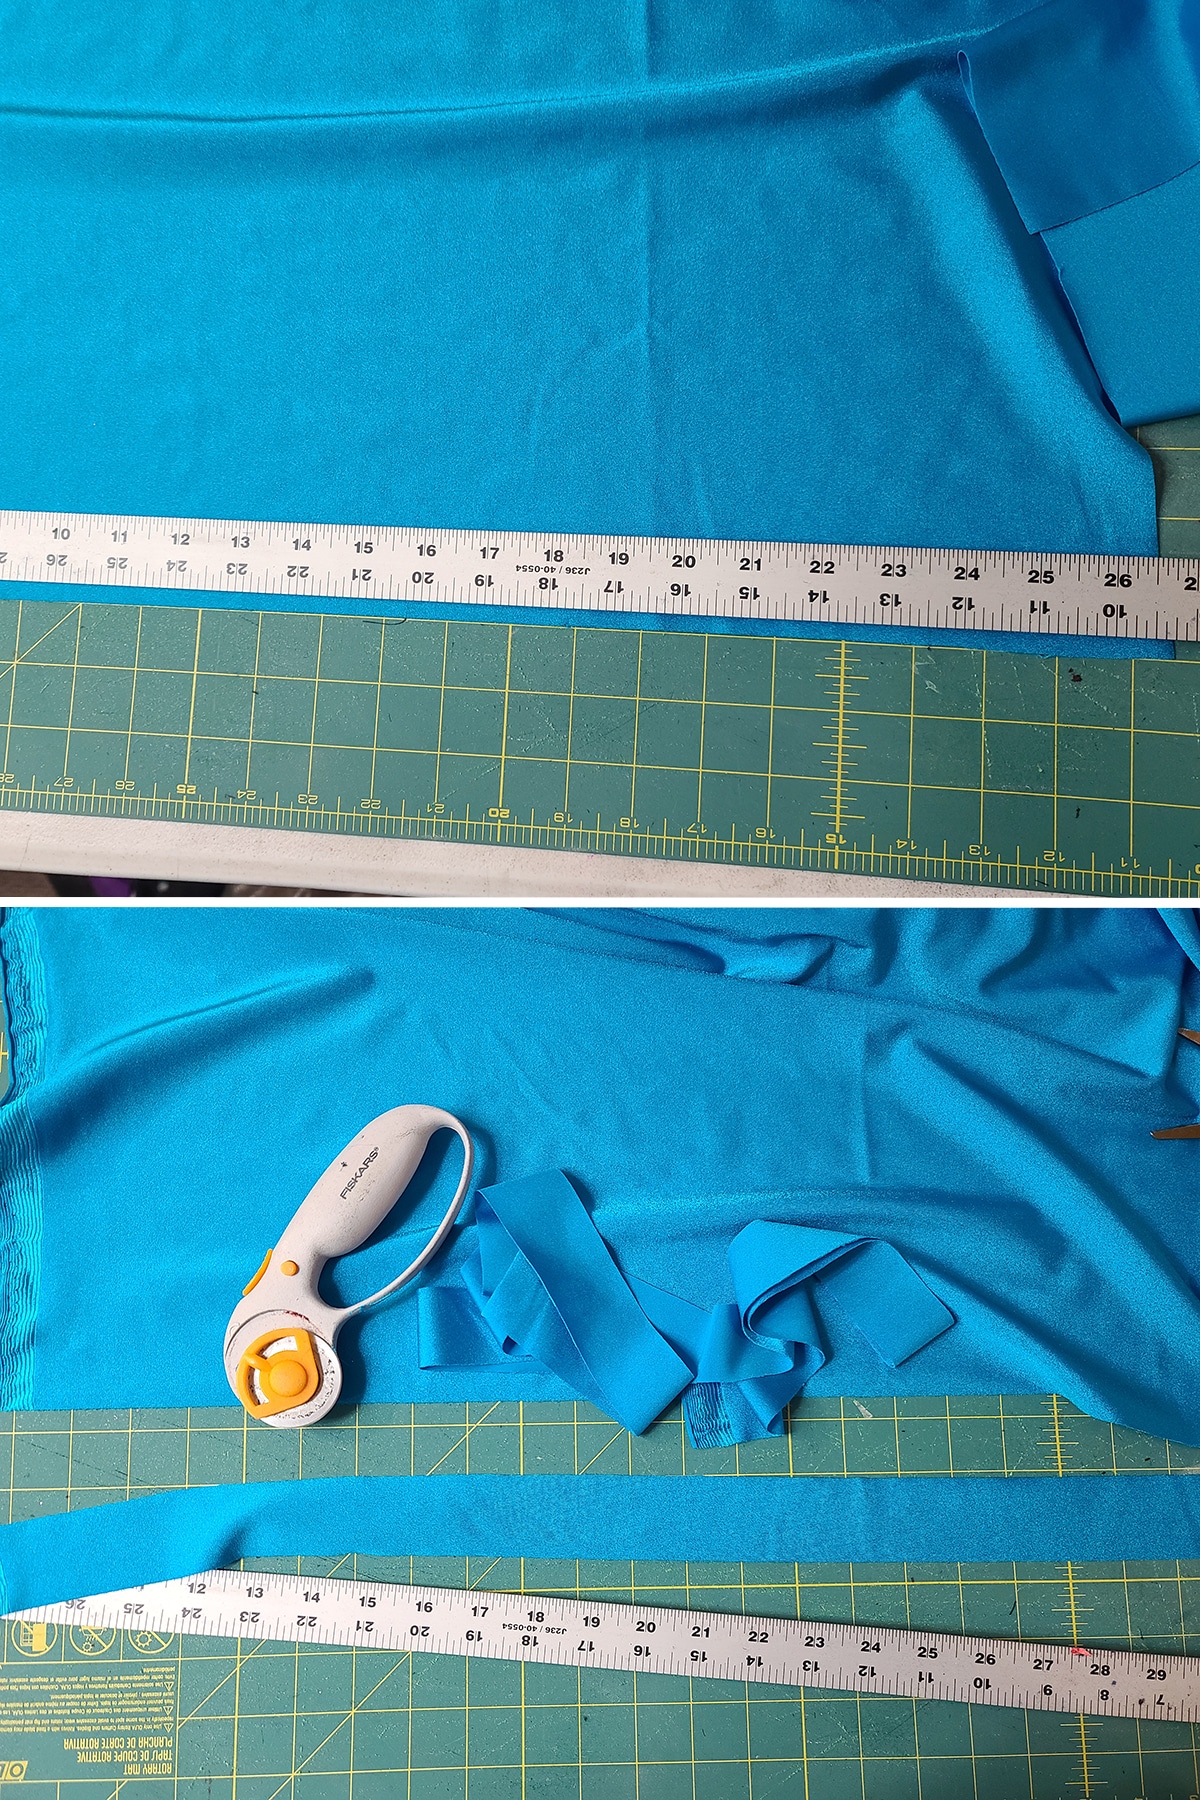
You’ll be using this - along with your cutting mat - to cut precise lengths of spandex.
I like to use a metal long straight edge ruler, as I find it gives me more control and accuracy, cutting against the thin metal edge.

Cutting strips with a rotary cutter.
Cord Threader or Safety Pin
This is what you’ll use to turn your straps:
- Use a cord threader if you’re using a serger to make your straps, tying your chain to the eye/loop of the threader.
- Use a safety pin - stuck through the end of the elastic - to turn your strap if you used a sewing machine instead of a serger.
I keep a couple Cord Threaders on hand (as I tend to lose them, when I need them!), mostly for making bikini strings and scrunchies, but also for things like Making Grip Bags.

I always like to have a few Safety Pins on hand, in general.
They serve the same purpose as the cord threader, but for when dealing with items with a small diameter, where feeding the cord threader through would be difficult - like making Bun Covers.
Sometimes I’ll use a cord threader for those, but - especially for the smaller sizes - a safety pin comes in handy.
How to Make Rolled Elastic Straps
For both sewing steps, remember to stretch the elastic/fabric both ways - towards you and away from you -, as I go over in my
Cut Your Pieces
1. Determine how long you’ll need the strap.
I usually like to add up the lengths I’ll need, and make one long strap, cutting off the lengths I need once it’s done. Cut a piece of elastic that length.
2. Cut a piece of fabric that is that length, by about 2" wide - assuming you’re making straps that are about ⅜" wide. If using a different width of elastic, you’ll want to aim for about 4x the elastic width.
Sew the Straps
3. Zig zag or serge the length of elastic along the length of wrong side of the fabric, keeping the edges together and stretching as you go.

4. With the wrong side facing up, and the length of elastic on the right hand side, flip the elastic over to the left twice.
Once will have the elastic facing down on the wrong side, the second time completely encloses it with the remaining fabric hanging out underneath it on the left side.
5. Making sure that the fabric is tightly wound around the elastic (push the elastic to the right, tightly / pull the fabric to the left), use a zig zag stitch to sew up the entire length, down the center of the elastic.

6. Once you’ve sewn up the whole length, trim the excess fabric from the elastic, cutting as close as possible to the seam.
I use the pointer and middle fingers on my left hand to pull the excess fabric away from the elastic, while the right hand cuts the elastic very close to the seam.
Be very careful to not cut the seam. If you do nick it, you’ll want to sew over it to reinforce that area.
7. Cut the long length of finished elastic strap down to whatever sizes you need.

How to Make Turned Elastic Straps
For both sewing steps, remember to stretch the elastic/fabric both ways - towards you and away from you -, as I go over in my
Do the Math & Cut Your Straps
This technique requires the spandex be cut to precise measurements before it’s sewn - you can’t just trim excess, like in the other technique.
To do this, add the width of your elastic to the width of your seam.
I use ⅜" elastic and a ¼" seam allowance. Add those together, and you get ⅝". (¼ = 2/8, which you can add directly to the ⅜).
Once you know elastic + seam, take that number and double it. In this case, it’s 10/8, which is 1 2/8, or 1 ¼".
This is the width you’ll need to cut your fabric straps, and you’re going to want to be as accurate as possible in cutting. The more accurate the measurement / cut fabric, the cleaner the final strap will look.

As with the rolled strap technique, I generally just cut long strips, and cut them down to size after they’re done.
Sew the Elastic Straps
1. Fold your cut strip of spandex - long side to long side, right sides together, edges meeting.
2. With the edges lined up, sew or serge the elastic to the long, cut edges of the folded fabric.
Be sure to keep your stitching right on the edge - it’s important that the seam allowance used - and accounted for in measurements - is contained to that outer edge.
3. When you come to the end of the length of fabric, leave several inches of chain (serging), or 1-2" of elastic (zig zag) extending from the end of the sewn strip.

Turn the Strap
4, Serger: Starting from the end you finished sewing, insert the cord threader into the tube of spandex. Once you’ve got the cord threader mostly inside the tube, tie the chain to the loop of the threader.

4, Sewing Machine: Attach a safety pin to the end of the elastic that was left overhanging from the end you finished sewing. You will use this as a needle.
Insert the free end of the safety pin into the tube of spandex at the end closest to it. (See the video, I didn’t photograph this!)
Carefully feed the cord threader/safety pin through the length of spandex tube.
I like to give the elastic a little help at the point it/the fabric first turns into itself, to get the actual turn started.
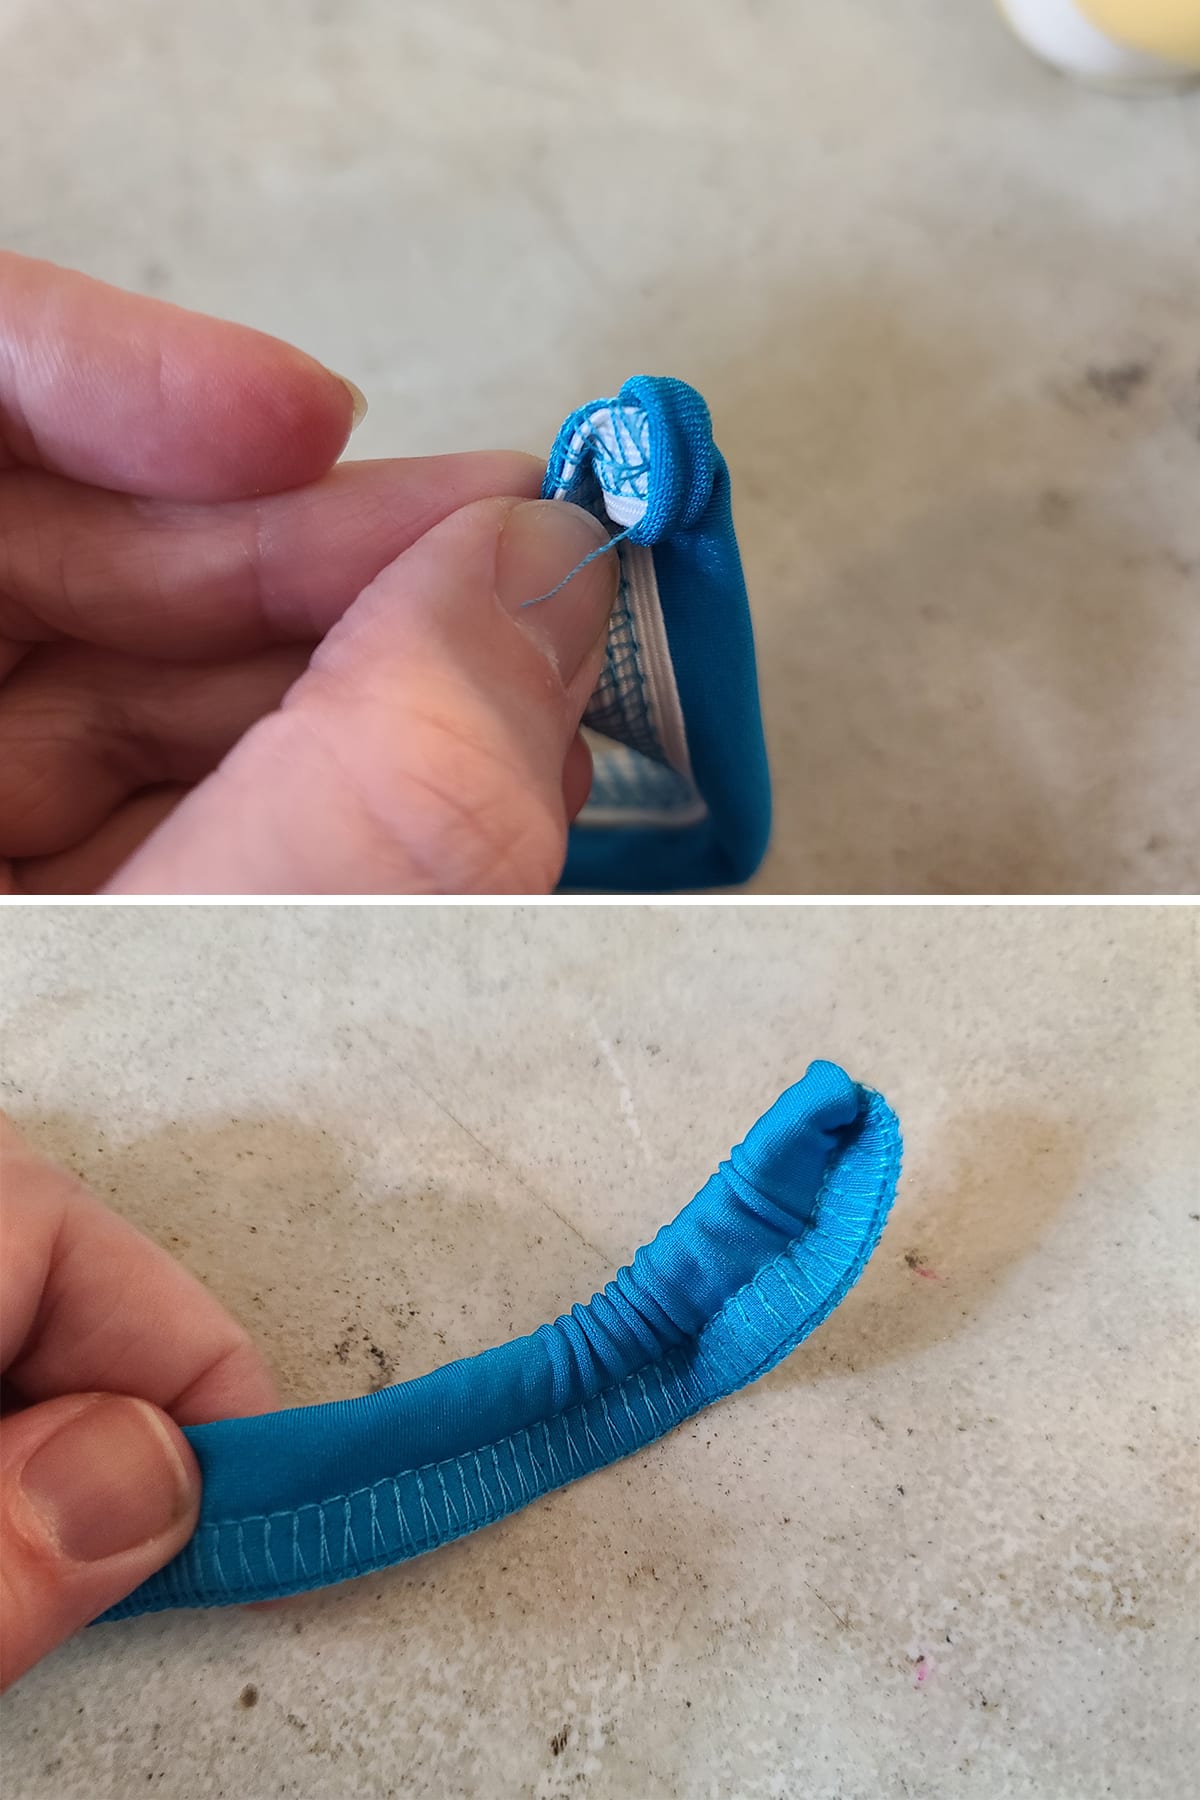
This takes some stress off the thread - when using the cord threader - but makes it easier for both techniques.
Gently feed the loop over/into itself, turning the whole thing inside out.
If you are doing this with serger chain / cord threader, you want to be very careful not to break the thread in doing so - you’ll need to just start over, if it breaks.
6. Once the whole tube is turned right side out, trim the excess thread / elastic from the end.

7. Cut the finished strap to the lengths needed.
Elastic Straps - Video Tutorial
Here is the video tutorial. For reference:
0:00 - Rolled Strap, regular machine
6:40 - Rolled strap, serger
8:45 - Turned strap cutting
11:33 - Turned strap - Serger
14:14: Wide turned strap - Serger
18:50: Turned strap - Sewing Machine
Also, I said ¾" width - it's ⅜". I misspoke, sorry!
More Spandex Sewing Technique Tutorials
Interested in learning the basics of sewing with spandex? Here are a few more posts
How to Cut Spandex
Sew Spandex with or without a Serger
How to Install Snaps in Spandex Garments
Hemming Spandex Skirts
How to Apply Elastic
Appliquing Spandex
Padded Applique
How to Make Bikini String
... and always, be sure to check out our Table of Contents for a full, categorized listing of all of our posts and tutorials!
Share the Love!
Be sure to take some pics of your handiwork! If you post it to Bluesky, be sure to tag us - @SpandexSimplified.
Also, be sure to follow me on Pinterest, and subscribe to my Youtube Channel, so you never miss out on any of my nonsense. Well, the published nonsense, anyway!
Finally: If you loved this tutorial - or have any questions about it - please leave a comment below! I'll do my best to answer any questions you may have!

Leave a Reply