

How to make grip bags: Gymnastics grip bags are quick and easy to make, and a fun way to personalize a gymnast's equipment.
This tutorial is excerpted from Spandex Simplified: Sewing for Gymnasts book by Marie Porter. All photos, & accompanying tutorial are copyright @ 2000 - Marie Porter, all rights reserved.

Grip bags are quick and easy to make, and a fun way to personalize a gymnast's equipment.
You can use pretty much any kind of fabric for them, from fun printed quit fabric, to glitzy metallic spandex. In this tutorial, I’m using a printed cotton with a glitter finish.
I've started my own line of fabric print designs, though Spoonflower!
There are fantastic plaids, colourful houndstooth designs, cats, figure skating prints, and autistic pride prints, with many more in the works. Click here to read my announcement with a LOT of details, or click HERE to go to my main Design Collections page on spoonflower.
Of particular interest for this project: All of the prints in my "Great for Face Masks" collection are appropriately sized for not only making face masks, all of them work well for other smaller-type projects, like this sewing project.

How to Make Grip Bags
Figure Out Your Sizing
Sizing of grip bags is completely up to you... the younger gymnasts will usually use smaller bags, while older girls tend to have more stuff to carry - butt glue, tape, etc in addition to their handgrips.
Whatever size you’ll want to finish with, you’ll want to cut your pattern slightly bigger. Add your seam allowance (I used ½" to both sides, as well as the bottom. For the top edge, you’ll need to add 1".
SO, if you’d like a bag that’s 8" wide and 10" long - and are also using a ½" seam allowance - you’ll cut your pattern to 9" wide and 11.5" long.
I like to use a Square Ruler to draw my pattern out on Exam Table Paper.
Cut Your Fabric Out
Use your pattern to cut two pieces of fabric out. (For context, this grip bag demonstration used two pieces of fabric that were cut to roughly 8 x 11 inches.)
If your fabric has a direction - whether as a print or as a nap - be sure to cut your pieces facing the same way.

Sew Your Grip Bag
To begin, serge or zig zag around each edge of both pieces of your cut fabric.
Place the pieces with right sides facing each other. If you’d like to, pin the two pieces together.

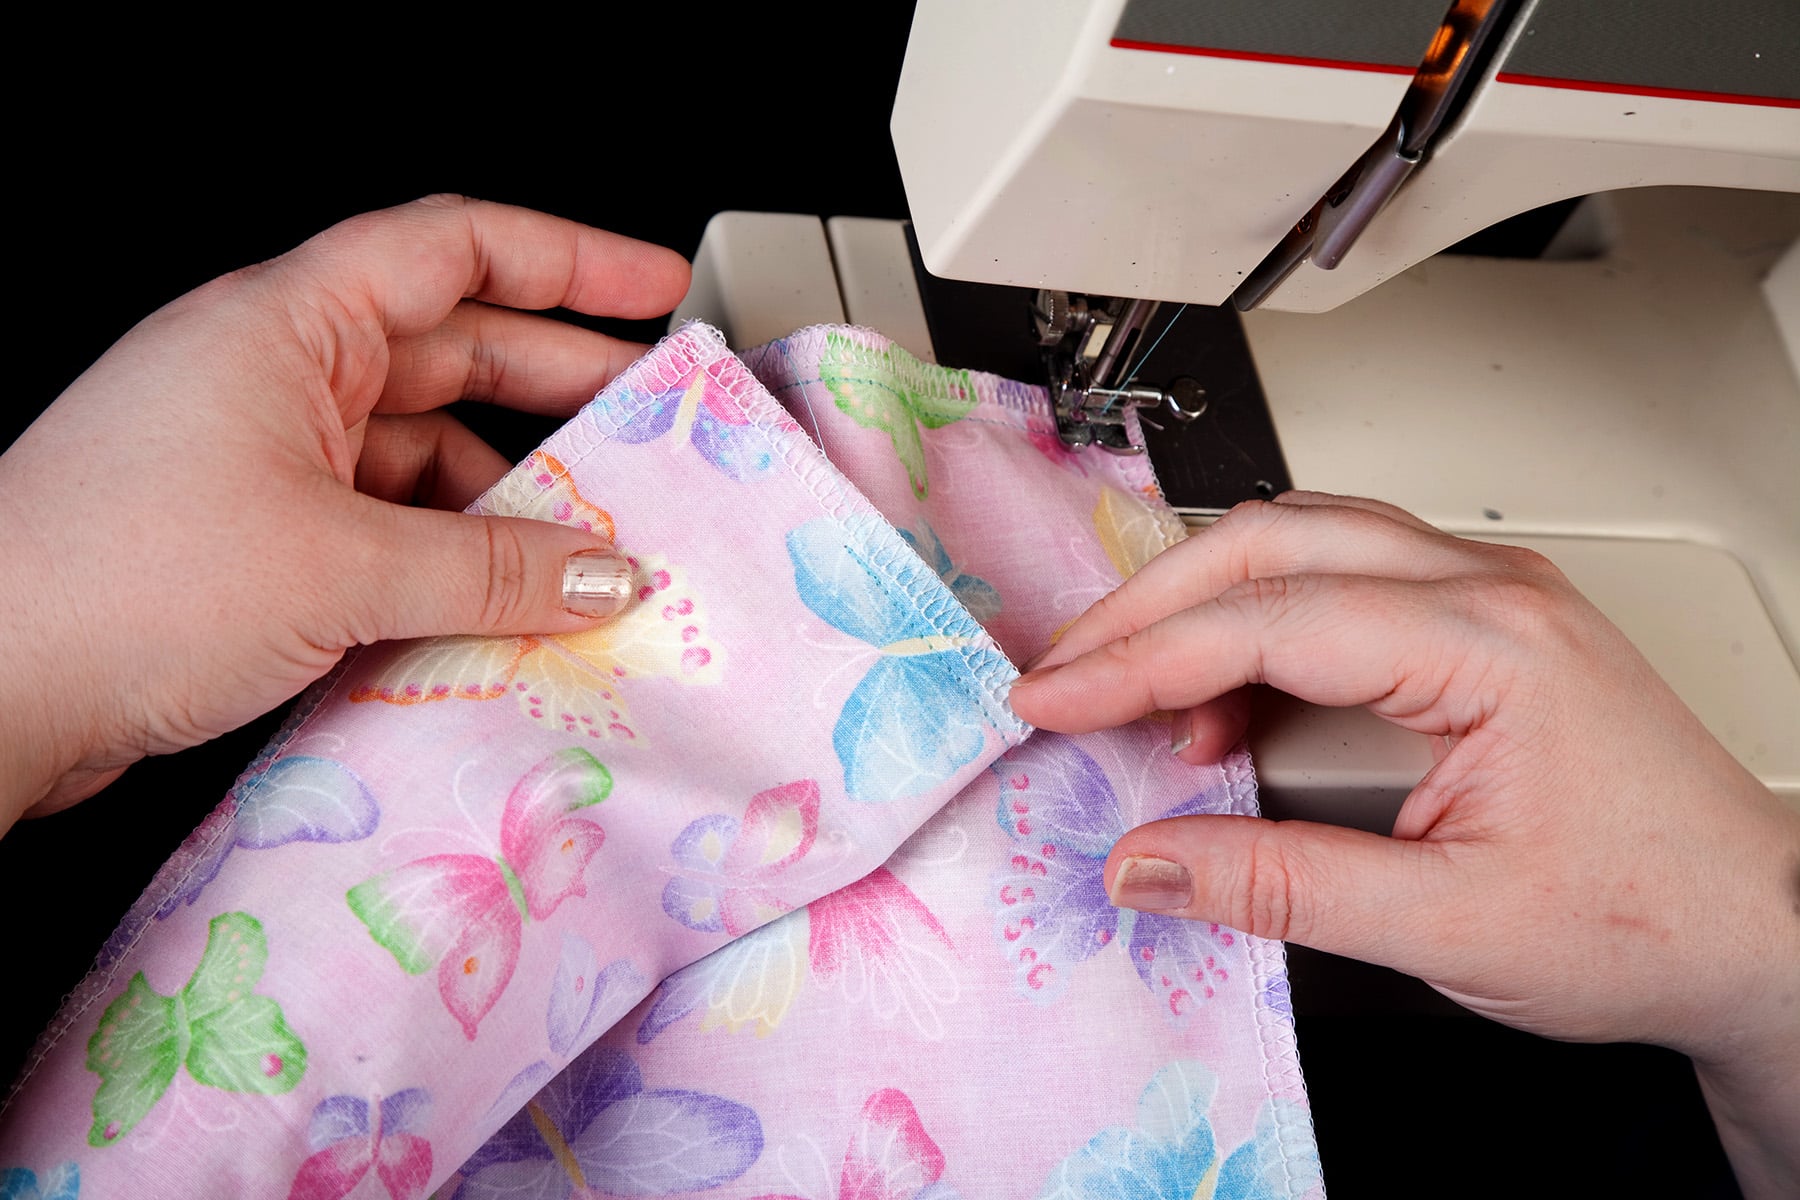
Starting on what will be one of the sides, start a straight stitch seam about 2" below what will be the top edge of the bag. Stitch down the side to the bottom, pivot, sew across the bottom. Pivot, sew up the other side, ending 2" from the top.
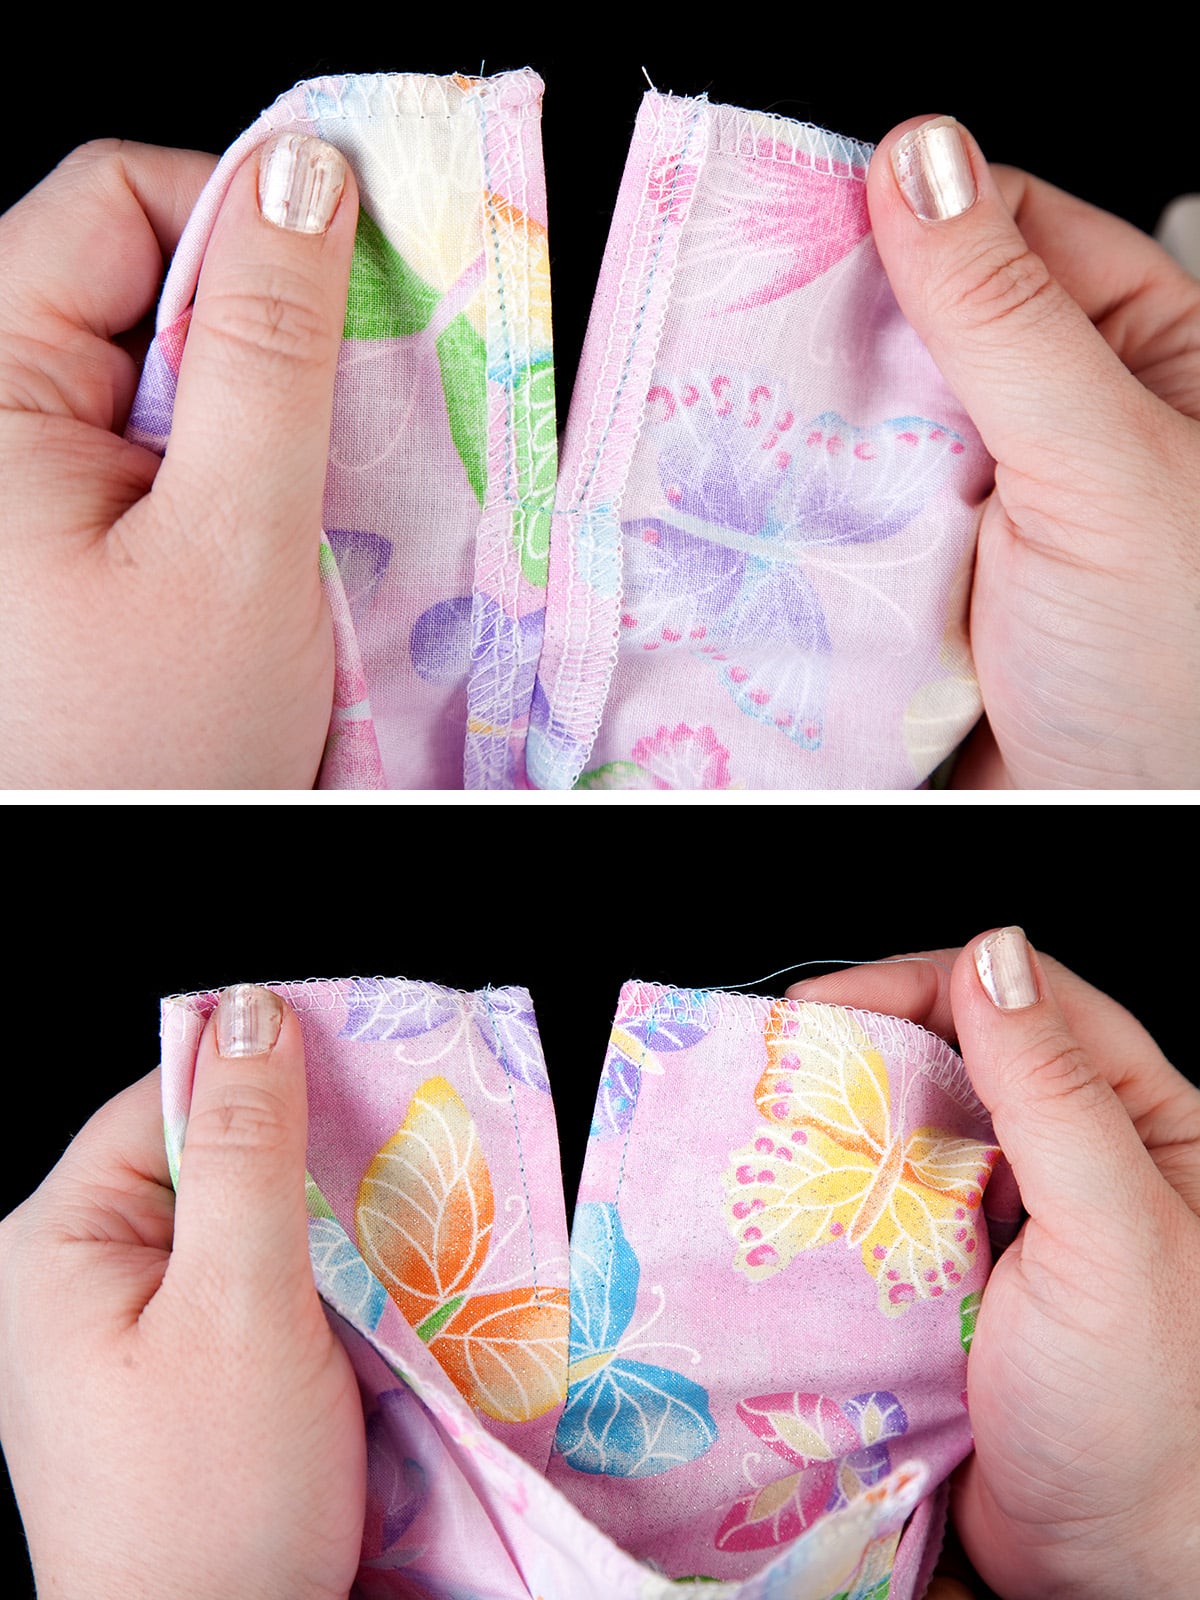
Open your bag a little, to be able to flatten one of the side seams. Press open the seam near the top, using either your fingers or an iron. (I’m too lazy to bother with an iron!).

Starting at one top edge, stitch the flap of the seam down, ending just below where the original seam started. Pivot, sewing a short seam across the bottom of this v shaped opening, and ending almost at the serged edge of the other side.

Pivot, and sew the other side flap down, ending at the top edge.
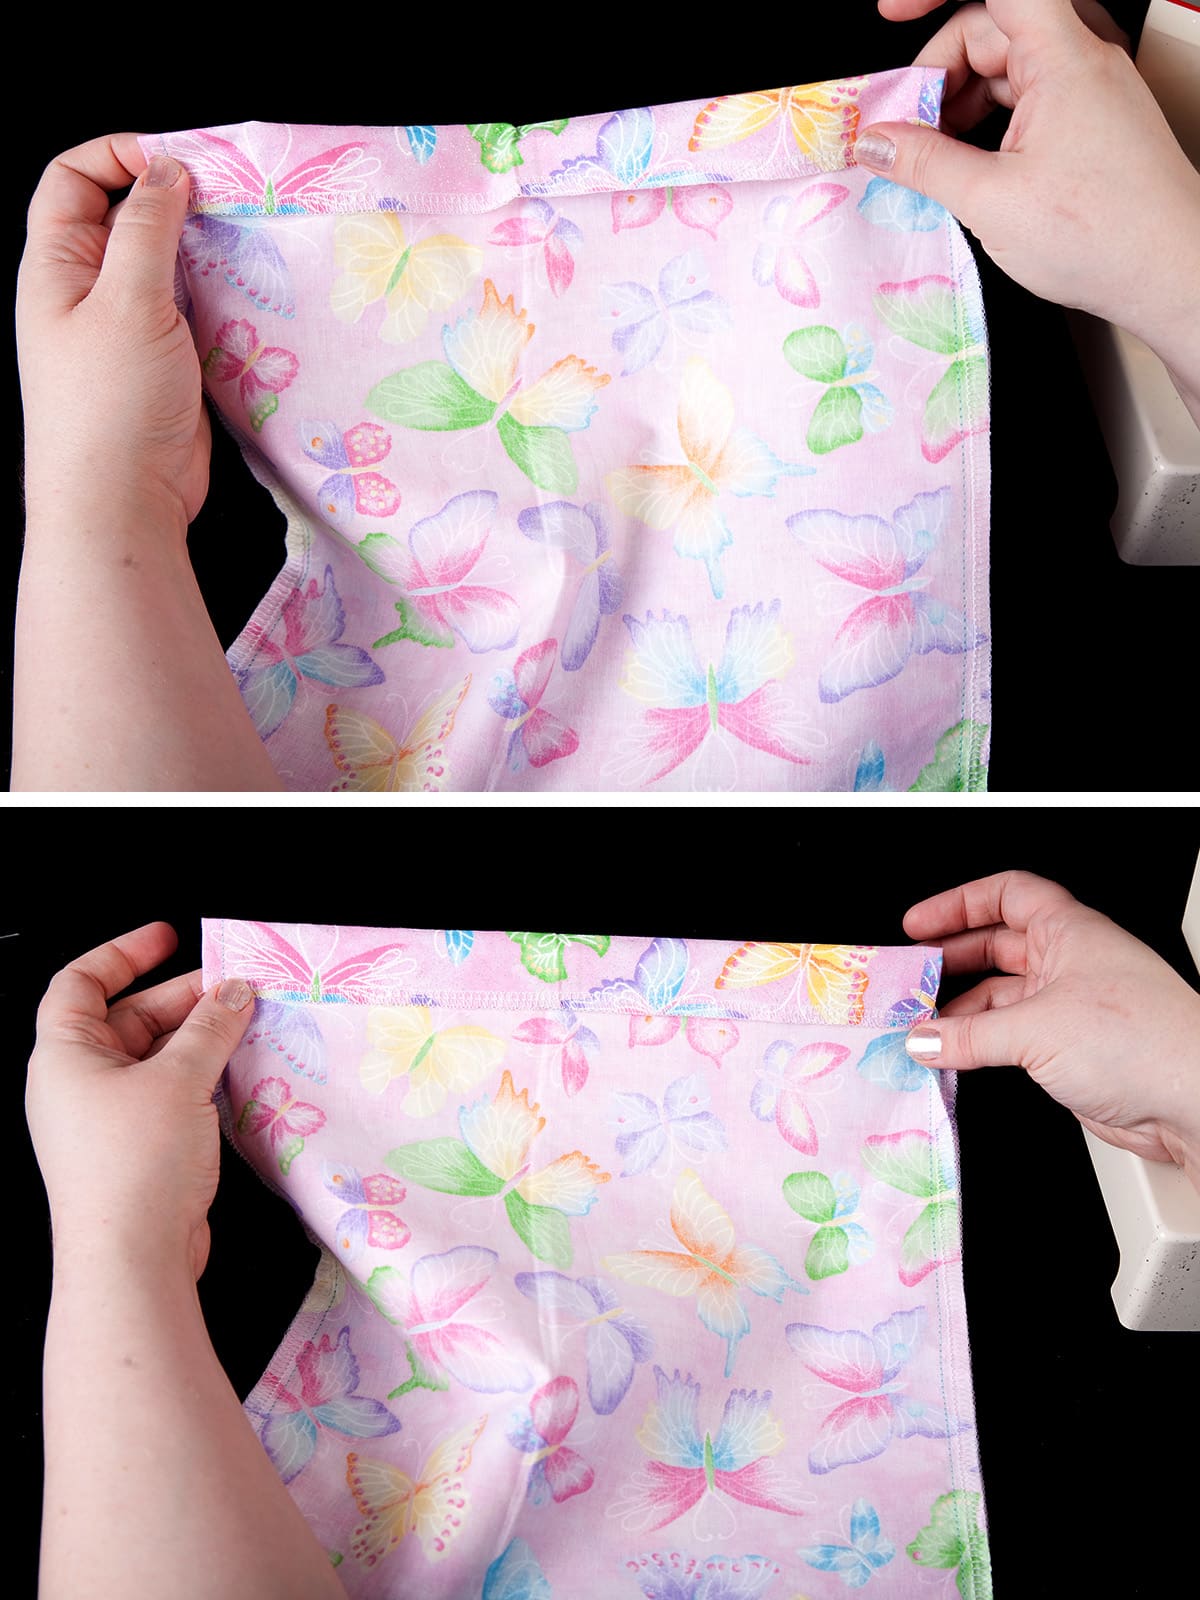
Fold the top edge of the bag over 1", with the right side facing out. Press it down, again either with fingers or an iron. Repeat on the other side.
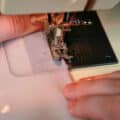
Sew a straight seam along the serged/zig zag (formerly!) top edge of the bag, the whole way around. Stitch over the initial few stitches when you reach the starting point, then stitch back and forth a couple of times for extra security.

Turn bag right side out.

Run a cord through the top channel of the bag. As I mentioned in my "Tools and Supplies for Spandex Costuming" post, I keep a couple Cord Threaders on hand (as I tend to lose them, when I need them!), mostly for making bikini strings and scrunchies... and they work great for actual cords, too!

Tie the two ends of cord together a couple times so that it forms a loop of the desired length. Trim very ends of cord, if necessary.

Share the Love!
Be sure to take some pics of your handiwork! If you post it to Bluesky, be sure to tag us - @SpandexSimplified.
Also, be sure to follow me on Pinterest, and subscribe to my Youtube Channel, so you never miss out on any of my nonsense.
Well, the published nonsense, anyway!


How to Make Grip Bags
Equipment
- Sewing Machine
- Serger (Optional)
- Cord threader
Materials
- Fabric - I like cotton prints for this.
- Thread
- Cord of choice
Instructions
- To begin, serge or zig zag around each edge of both pieces of your cut fabric. Place the piece with right sides facing each other. If you’d like to, pin the two pieces together.
- Starting on what will be one of the sides, start a straight stitch seam about 2" below what will be the top edge of the bag. Stitch down the side to the bottom, pivot, sew across the bottom. Pivot, sew up the other side, ending 2" from the top.
- Open your bag a little, to be able to flatten one of the side seams. Press open the seam near the top, using either your fingers or an iron. (I’m too lazy to bother with an iron!).
- Starting at one top edge, stitch the flap of the seam down, ending just below where the original seam started.
- Pivot, sewing a short seam across the bottom of this v shaped opening, and ending almost at the serged edge of the other side. Pivot, and sew the other side flap down, ending at the top edge.
- Fold the top edge of the bag over 1", with the right side facing out. Press it down, again either with fingers or an iron. Repeat on the other side.
- Sew a straight seam along the serged (formerly!) top edge of the bag, the whole way around. Stitch over the initial few stitches when you reach the starting point, then stitch back and forth a couple of times for extra security.
- Turn bag right side out.
- Run a cord through the top channel of the bag. Tie the two ends of cord together a couple times so that it forms a loop of the desired length. Trim very ends of cord, if necessary.


Leave a Reply